KE2010.Instruction Manual.Ver.2.01,Rev.08.pdf - 第704页
10 − 20 10.8 Vacuum Calibration W hen y ou select the [ V acuum calibrat ion] command on t he "Set-up g roup" comm and menu, the f ollowing "Calibrat ion of vacuum" dialog box appears on the screen. F…
10 − 19
(When the right standard VCS is selected)
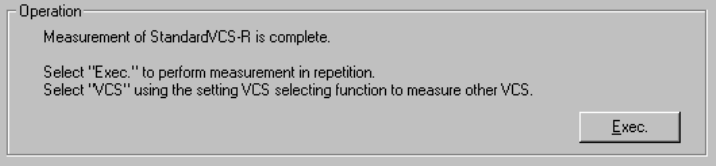
The machine has finished measurement operation.
To repeat the measurement operation, select the <Exec.> button.
When you select the <Exec.> button, the previous screen reappears.
To measure another VCS, select the desired VCS in the “Select VCS” combo
box.
When you change the VCS to be set in the “Select VCS” combo box, the
initial screen appears.
To quit Self-calibration mode, select the <OK> button.
10 − 20
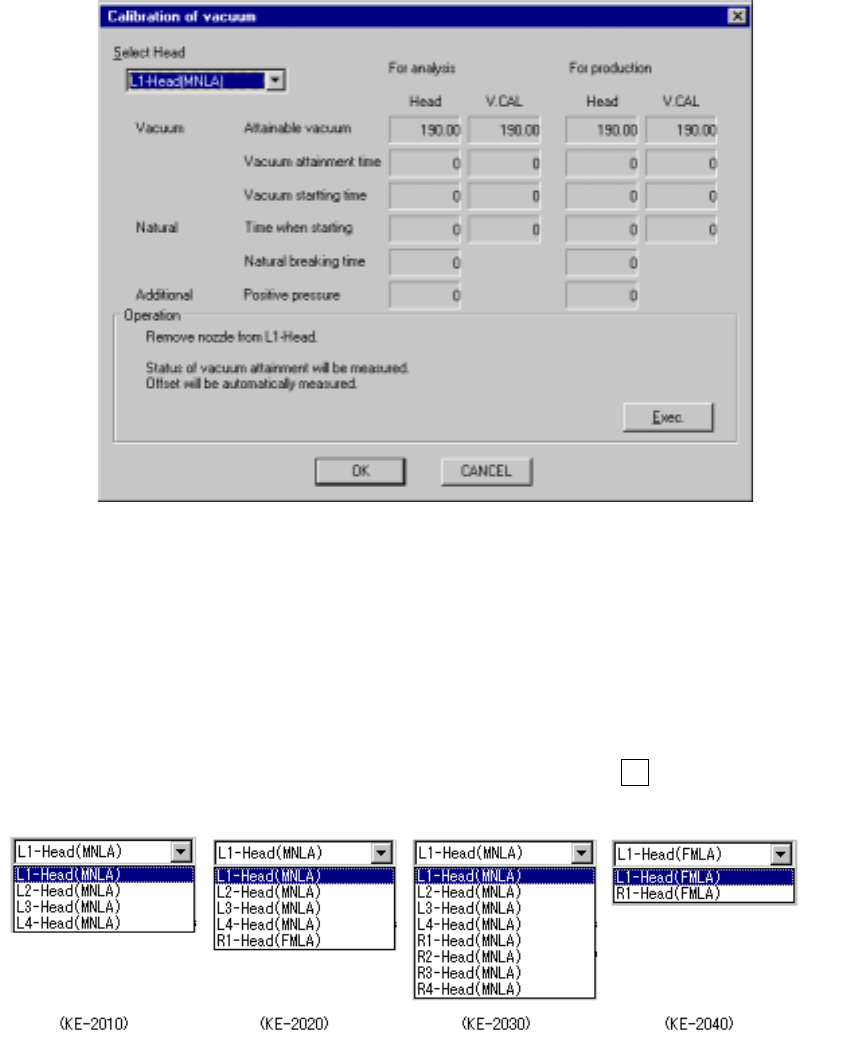
10.8 Vacuum Calibration
When you select the [Vacuum calibration] command on the "Set-up group" command
menu, the following "Calibration of vacuum" dialog box appears on the screen.
Figure 10.8 Calibration of vacuum dialog box
− Select Head
Select the head to be set from the combo box.
You cannot a unit which was not checked (not used) on the "Device enable" dialog
box invoked from the Machine Setup menu.
− When you press the down arrow key while holding down the Alt key, the following
list appears on the screen.
10 − 21
(1) Setting items
No. Item Description
1 Available vacuum Shows the maximum available vacuum level detected with
the pressure sensors located on the head and the vacuum
calibration unit respectively.
2 Vacuum attainment time Shows the time required to enter the vacuum condition
detected with the pressure sensors located on the head and
the vacuum calibration unit respectively.
3 Vacuum starting time Shows the time the machine started vacuuming, detected
with the pressure sensors located on the head and vacuum
calibration unit respectively
4 Time when starting Shows the time spent since the vacuum electromagnetic
valve was turned off until the vacuum value reached the
component pick-up vacuum lower limit, detected with the
pressure sensors located on the head and the vacuum
calibration unit respectively
5 Natural breading time Shows the time spent since the vacuum electromagnetic
valve was turned off until the vacuum value reached the
component pick-up vacuum limit, detected with the pressure
sensors located on the head and vacuum calibration unit
respectively
6 Positive pressure Shows the time spent since the blow electromagnetic valve
was turned off until the vacuum value became beyond the
atmospheric pressure, then reached the positive value.
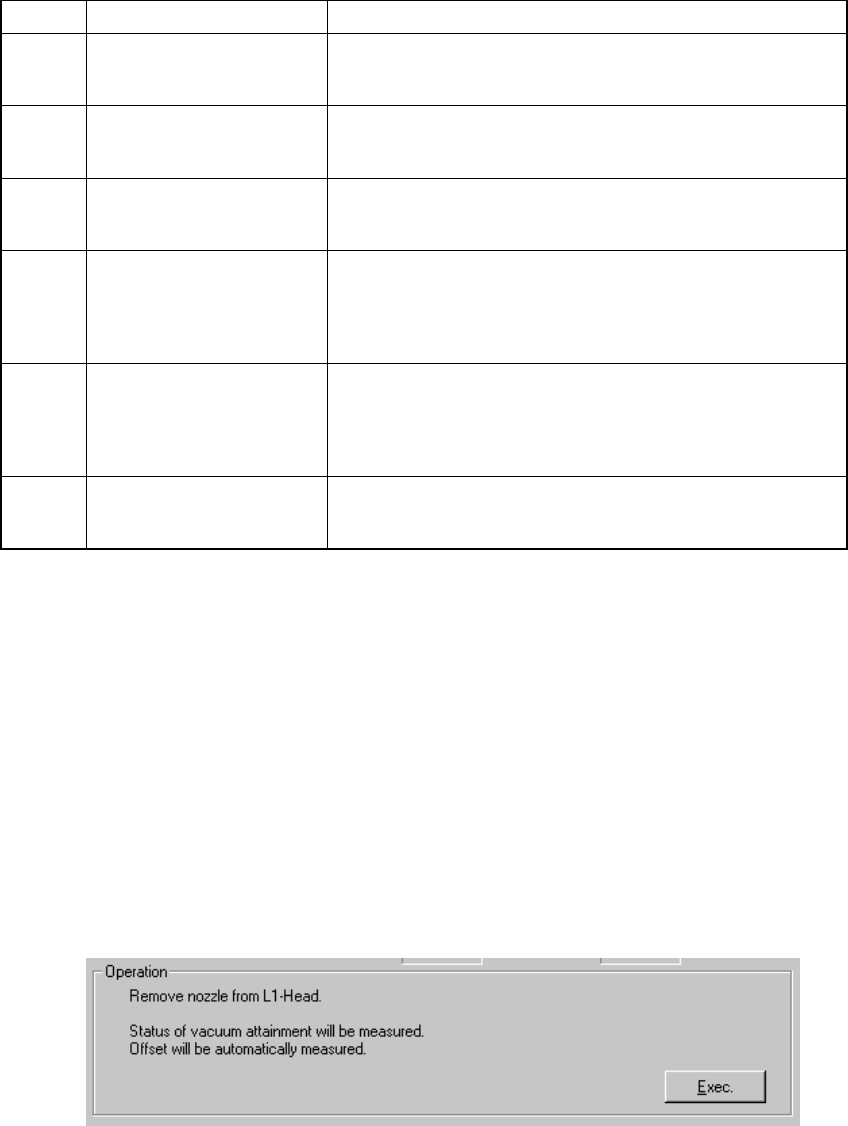
(2) How to set
- Follow the instructions displayed on the "Operation" dialog box according to
the head you selected from the "Select Head" combo box.
- When you click the <OK> button, your settings become effective (at this point,
these settings are not saved into the database yet).
- When you click the <CANCEL> button, your settings become invalid.
− How to operate
When you follow the instructions displayed on the dialog box, each value is
automatically obtained.
Set the head you selected from the "Select Head" combo box
- Click the <Exec.> button.
- When you click the <Exec.> button, the machine automatically calculates the
time required to enter the vacuum condition.