1OM-1603-006_w.pdf - 第157页
1OM-1603 3-32 2. Pattern Program Change : Chap.3 F1C22 Using each icon, the check and setting of the corresponding function are performed. Reference Refer to "4.2 Operation Mode" in "Chapter 1 (V olume 2)&…
1OM-1603
3-31
2. Pattern Program Change : Chap.3
2.4 ConrmationofPlacement
2.4.1 Setting of Operation Mode
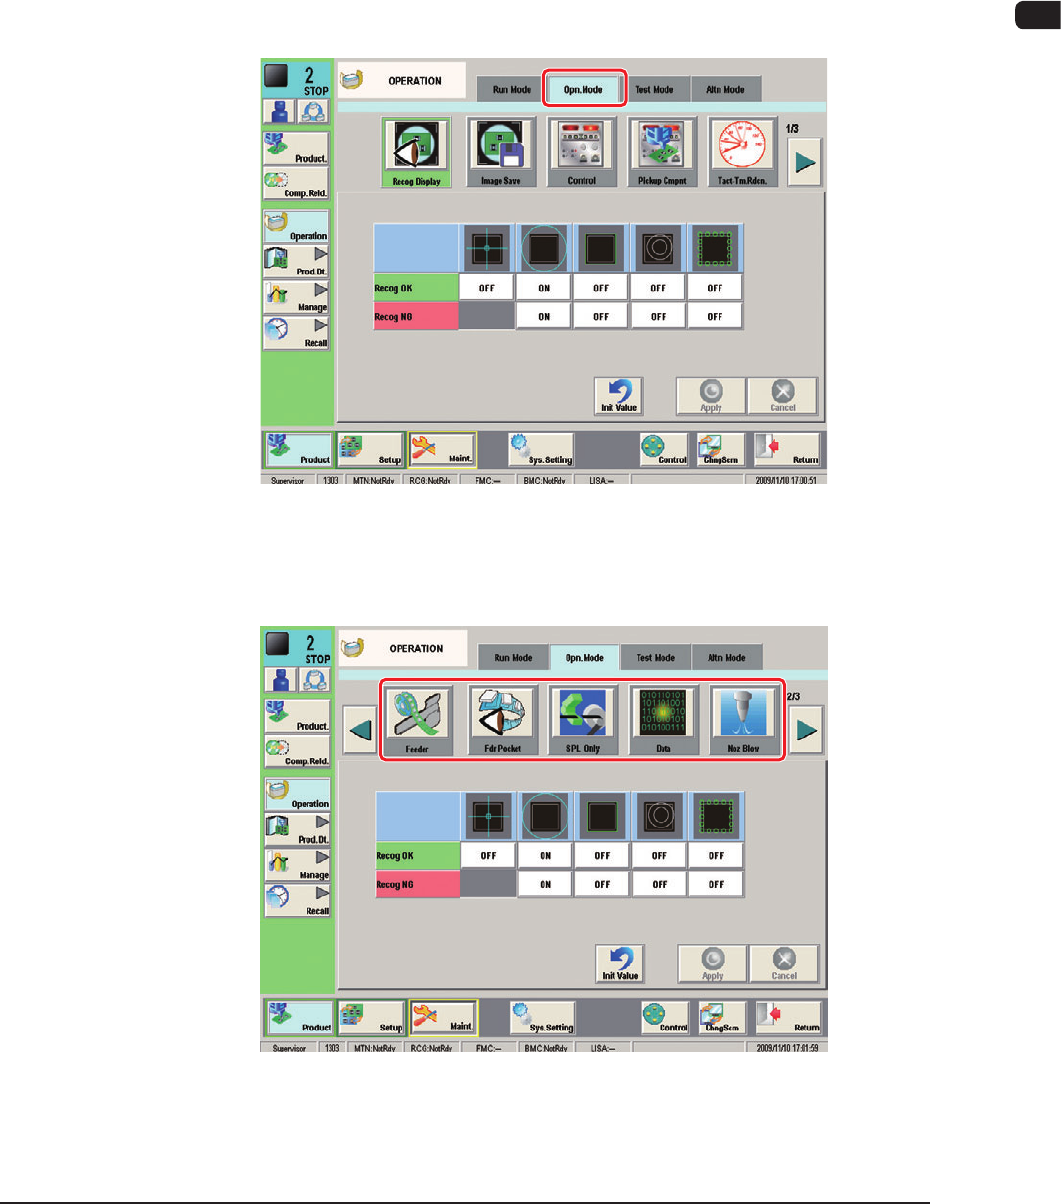
Before starting the automatic operation, press the [Operation] button on the
submenu bar. The "OPERATION" window appears. Conrm and specify the
following items related to the operation mode for the production model.
ConrmationandSettingofOperationMode
When the [Opr.Mode] tab is pressed in the "OPERATION" window, the "Opr.
Mode" window appears.
"Opr. Mode" Window (First Page) F1C20
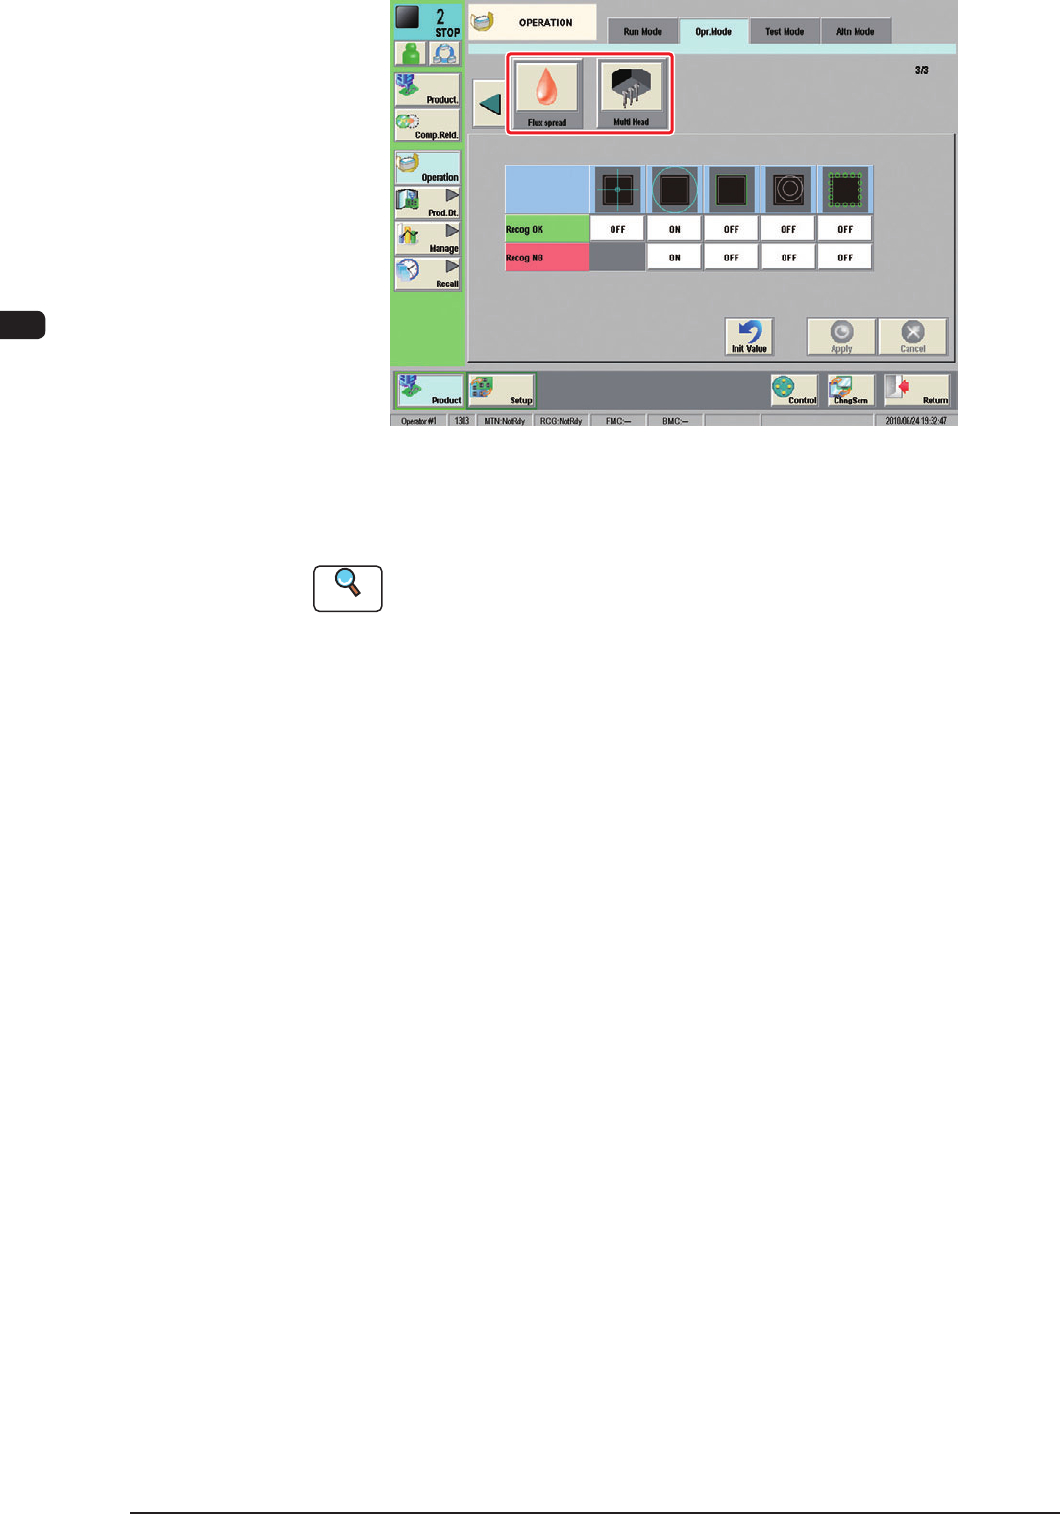
Every time the [Page] button is pressed, the next page in the "Opr.Mode" is
displayed.
"Opr. Mode" Window (Second Page) F1C21
1012-005
1OM-1603
3-32
2. Pattern Program Change : Chap.3
F1C22
Using each icon, the check and setting of the corresponding function are
performed.
Reference
Refer to "4.2 Operation Mode" in "Chapter 1 (Volume 2)" for details.
1007-004

1OM-1603
3-33
2. Pattern Program Change : Chap.3
2.4.2 ConrmationofComponentPlacement
Conrm whether the components can be placed correctly or not.
Procedure
(1) Input the PCB from the input machine.
Reference
When the PCB is to be input manually, refer to "4.1.1 PCB Manual Input
Procedure", in Chapter 3.
(2) Press the [START] button on the operation panel.
The placement operation starts.
(3) Press the [All PCB out] button.
(4) Conrm whether the placement position, angle, and component types of the
processed PCB are correct or not.
1007-004