00193790-01.pdf - 第92页
2 English Installat ion and Getting Started with CACCIA 2.6 CACCIA Installat ion Issue 07/2004 26 → The foll owing mes sage wil l appe ar once t he installat ion has b een su ccessfull y compl eted: Fig. 2 - 21 Inst alli…
Installation and Getting Started with CACCIA 2 English
Issue 07/2004 2.6 CACCIA Installation
25
2.6.2.1 Installing the Board Driver
You need to install the relevant driver for the CAN card in your system, otherwise error messages
will be issued and CACCIA will not function.
All CAN card drivers are stored in the following directory on the installation CD:
Toolbox / Common / Drivers / CAN
Note
Please follow the manufacturer's instructions for each driver.
2.6.2.2 Installing the Toolbox Scripts
Use the Toolbox to install scripts required for CACCIA SIPLACE functions.
→ Select the "Toolbox.cpf" file from the Update directory on the installation CD and doubleclick
to open. Script installation will begin.
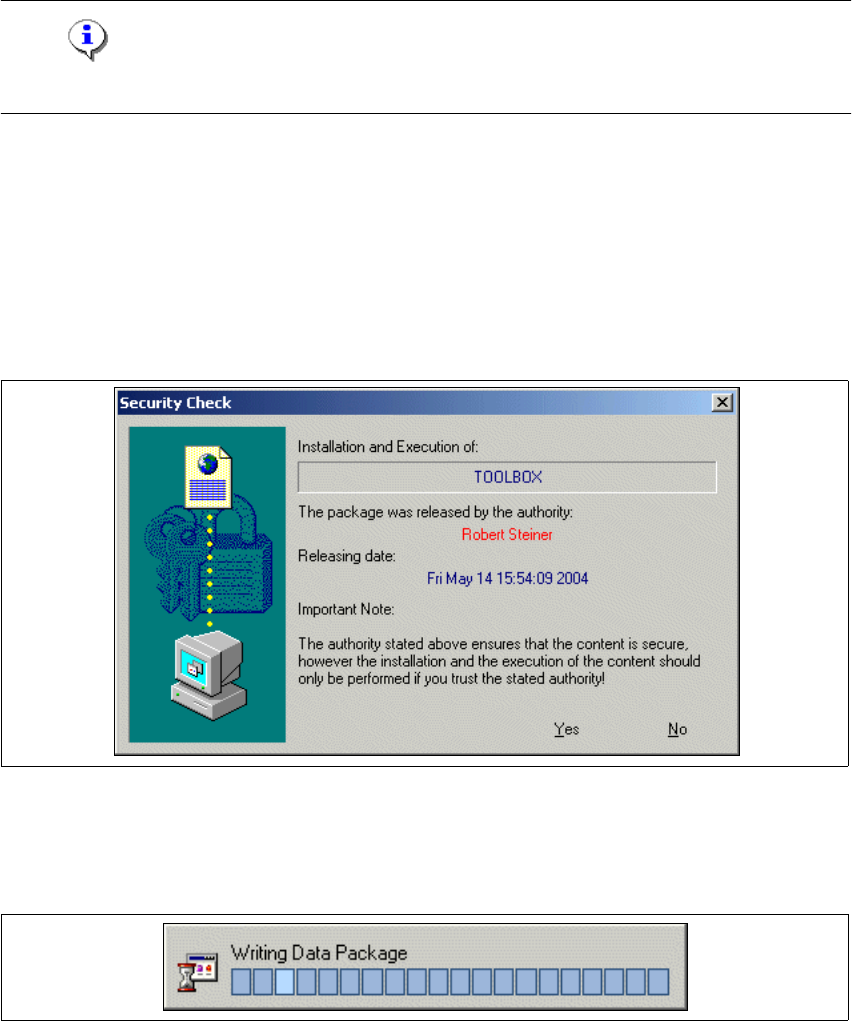
→ The following dialog box will open:
Fig. 2 - 19 Installing the Toolbox Scripts
→ Confirm with Yes.
A window showing the installation progress will open:
Fig. 2 - 20 Installing the Toolbox Scripts
2 English Installation and Getting StartedwithCACCIA
2.6 CACCIA Installation Issue 07/2004
26
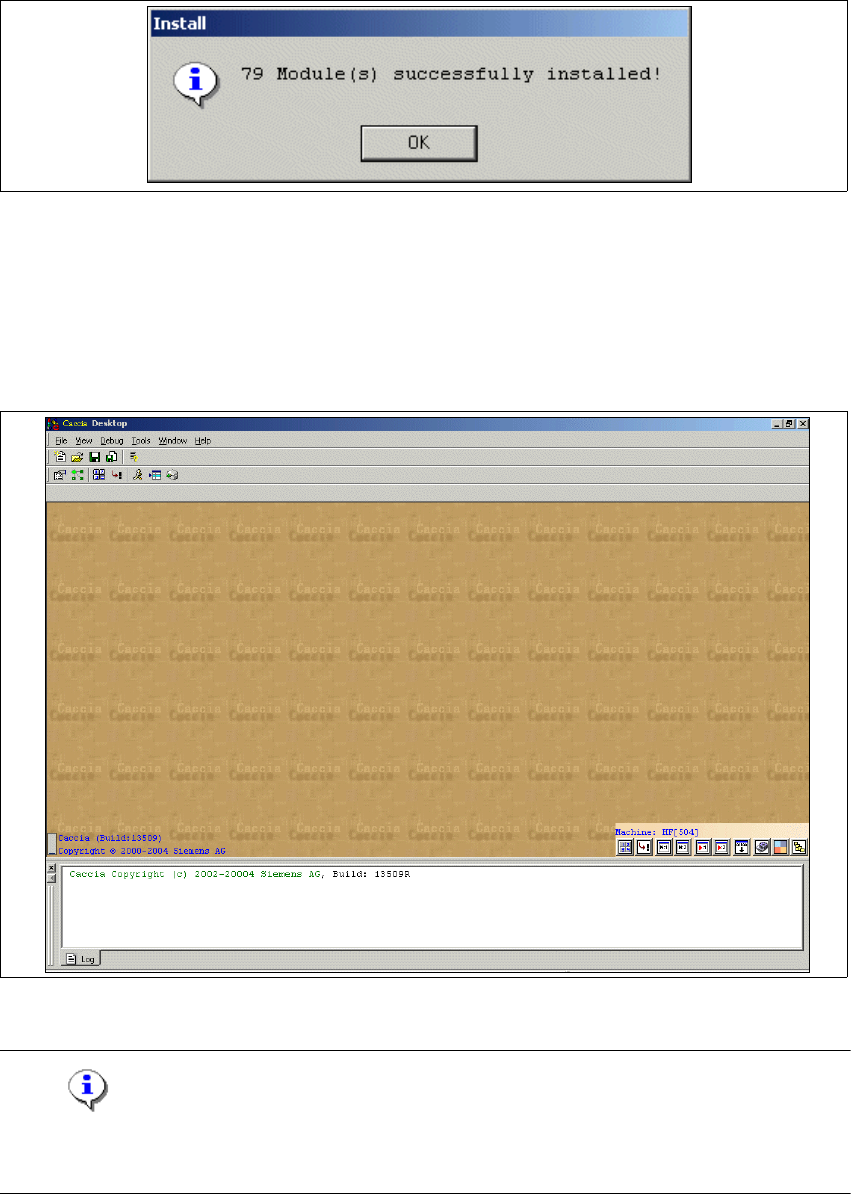
→ The following message will appear once the installation has been successfully completed:
Fig. 2 - 21 Installing the Toolbox Scripts
→ Confirm with OK. The of Toolbox scripts installation has been successfully completed.
→ You can now start CACCIA. Open the Windows Start menu and select Program Files →
CACCIA → CACCIA or use the icon on your desktop.
→ The following screen should appear:
Fig. 2 - 22 CACCIA - Main View
Note
Please refer to the Online Help for a detailed description of the user interface and how to use
CACCIA.

Installation and Getting Started with CACCIA 2 English
Issue 07/2004 2.6 CACCIA Installation
27
2.6.3 Update Installation
There are two ways to install an update for CACCIA:
– Manual update installation from the installation CD
– Automatic update installation via the server
The following steps are performed with both options:
– Registration of new CACCIA components
– Installation of a new Toolbox folder
– The new version of CACCIA is started automatically after successful installation.
2.6.3.1 Manual Update Installation
→ Select the "Update.exe" file from the Update folder on the installation CD and doubleclick to
open. The CACCIA update installation will begin.
→ The steps listed at Section 2.6.3 Update Installation will be performed.
2.6.3.2 Automatic Update Installation
The following conditions need to be fulfilled to allow automatic update installations to be run on
your computer:
– Access to the "mchrm19a" server
– The update notification option must be set in CACCIA. To do this, proceed as follows:
→ Start CACCIA. Open the Windows Start menu and select Program Files → CACCIA →
CACCIA or use the icon on your desktop.
→ Select the menu Tools → Options.
Fig. 2 - 23 Set update notification option