00197674-01-UM-E-Series-EN-12-2014.pdf - 第304页
7 Cleaning and Checking User manual SIPLACE E 7.4 Cleaning and Checking Intervals SIPLACE CP12/CP6 From softwa r e version SC 708.0 12/2014 Edition 304 –S t a r : – Clean the star and th e vacuum distributor disk – Greas…
User manual SIPLACE E 7 Cleaning and Checking
From software version SC 708.0 12/2014 Edition 7.3 Cleaning and Checking Intervals SIPLACE TH/PP
303
7.3 Cleaning and Checking Intervals SIPLACE TH/PP
7
7.4 Cleaning and Checking Intervals SIPLACE CP12/CP6
7
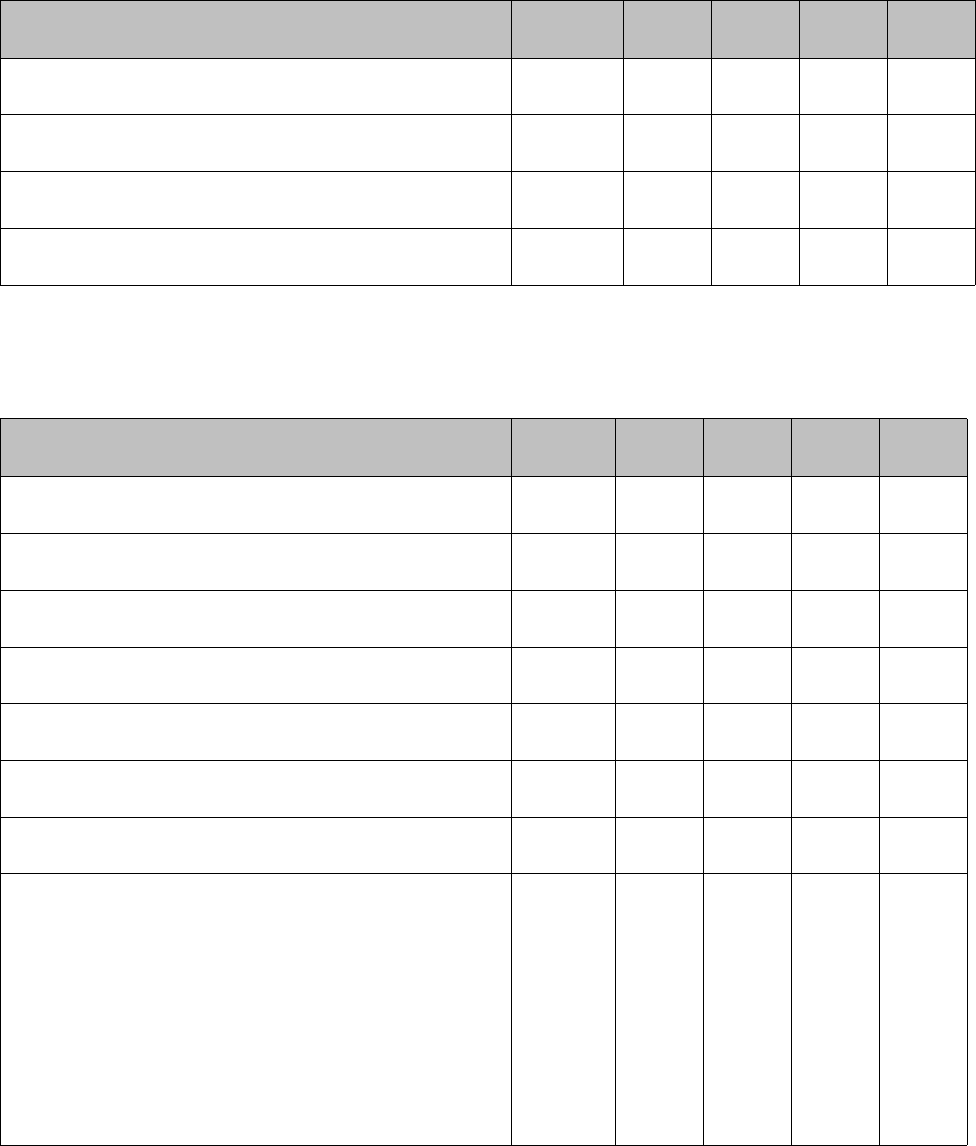
Cleaning and Checking tasks
SIPLACE TH/PP
Duration
[min]
Each
week
Every 3
months
Every 6
months
Every 12
months
– Preparing the Placement Head
5X
– Replacing the Pressure Control Valve
3X
– Cleaning the Sleeve and Nozzle Seat
2X
– Cleaning/Replacing the Additional Volume Filter
2X
Cleaning and Checking tasks
SIPLACE CP12/CP6
Duration
[min]
Each
week
Every 3
months
Every 6
months
Every 12
months
– Removing the Valve Plungers
2/4 X
– Cleaning the Valve Casings
1/2 X
– Cleaning the Valve Plungers
3/6 X
– Greasing the Valve Plungers
3/6 X
– Inserting the Valve Plungers
2/4 X
– Checking, Cleaning and Greasing the Sleeves
20/40 X
– Cleaning the Turning Station Read Unit
2/2 X
–Z axis:
– Clean the toothed belt
– Clean the rollers and toothed wheels
– Check the toothed belt
– Grease the toothed belt
– Check the Z axis guide
– Check the jaws
– Grease the Z axis guide
6/6 X

7 Cleaning and Checking User manual SIPLACE E
7.4 Cleaning and Checking Intervals SIPLACE CP12/CP6 From software version SC 708.0 12/2014 Edition
304
–Star:
– Clean the star and the vacuum distributor disk
– Grease the running surface of the star brake
– Clean the segments
– Remove dirt from around the segments
3/4 X
– Distributor:
– Clean and grease the O-rings
– Check the distributor piece.
– Clean the distributor
– Blow air through the distributor
– Check the ball catches
– Clean the seat
3/3 X
– Star brake:
– Check for damage and function
– Wipe/remove grease
– Fill the holes with grease
– Grease the surface
2/2 X
– Valve adjustment drives:
– Clean the valve adjustment drives
– Clean the disk and the space between
– Clean the ball bearings
– Check that the ball bearings are working correctly
– Remove visible dirt
2/2 X
– Turning station:
– Clean the black O-rings
– Check the O-ring for damage
– Check the toothed belt for damage
– Clean the stop faces
– Clean the friction wheel
4/4 X
– Turning station:
– Clean the black O-rings
– Check the O-ring for damage
– Check the toothed belt for damage
– Clean the stop faces
– Clean the friction wheel
4/4 X
Cleaning and Checking tasks
SIPLACE CP12/CP6
Duration
[min]
Each
week
Every 3
months
Every 6
months
Every 12
months

User manual SIPLACE E 7 Cleaning and Checking
From software version SC 708.0 12/2014 Edition 7.5 Cleaning and Checking Intervals Nozzles
305
7.5 Cleaning and Checking Intervals Nozzles
7
– Vacuum generator:
– Installation/removal
– Clean the Venturi nozzles
– Blow air through Venturi nozzles
– Clean and grease the O-rings
– Clean and blow through the vacuum generator
block.
– Silencer: remove
– Silencer: clean holes to the Venturi nozzles
– Silencer: check for dirt
– Silencer: check the plastic fixtures
6/6 X
– Component sensor
– Cleaning the Component Sensor
1/1 X
– Installation and removal of the head front section
6/6 X
– Calibrate and measure
20/25 X
Cleaning and Checking tasks
SIPLACE CP12/CP6
Duration
[min]
Each
week
Every 3
months
Every 6
months
Every 12
months
Cleaning and Checking tasks
Nozzles
Duration
[min]
Each
week
Every 3
months
Every 6
months
Every 12
months
– Cleaning/Replacing the Ceramic Nozzles
2X
– Replacing the Plastic Nozzles
2X