YS24X_Ope_E.pdf - 第135页
3-3 3 Starting and ending pr oduction 2. [Required Nozzles] button Displays a list of nozzle types that should be attac hed to each head. When the mac hine has no nozzle station or uses a head not designed for auto nozzl…
3-2
3
Starting and ending production
n
NOTE
When producing boards using both lanes of dual-lane machines, use the [ Lane select ] button to select the lane to
be operated and then adjust or check the conveyor unit setup.
2
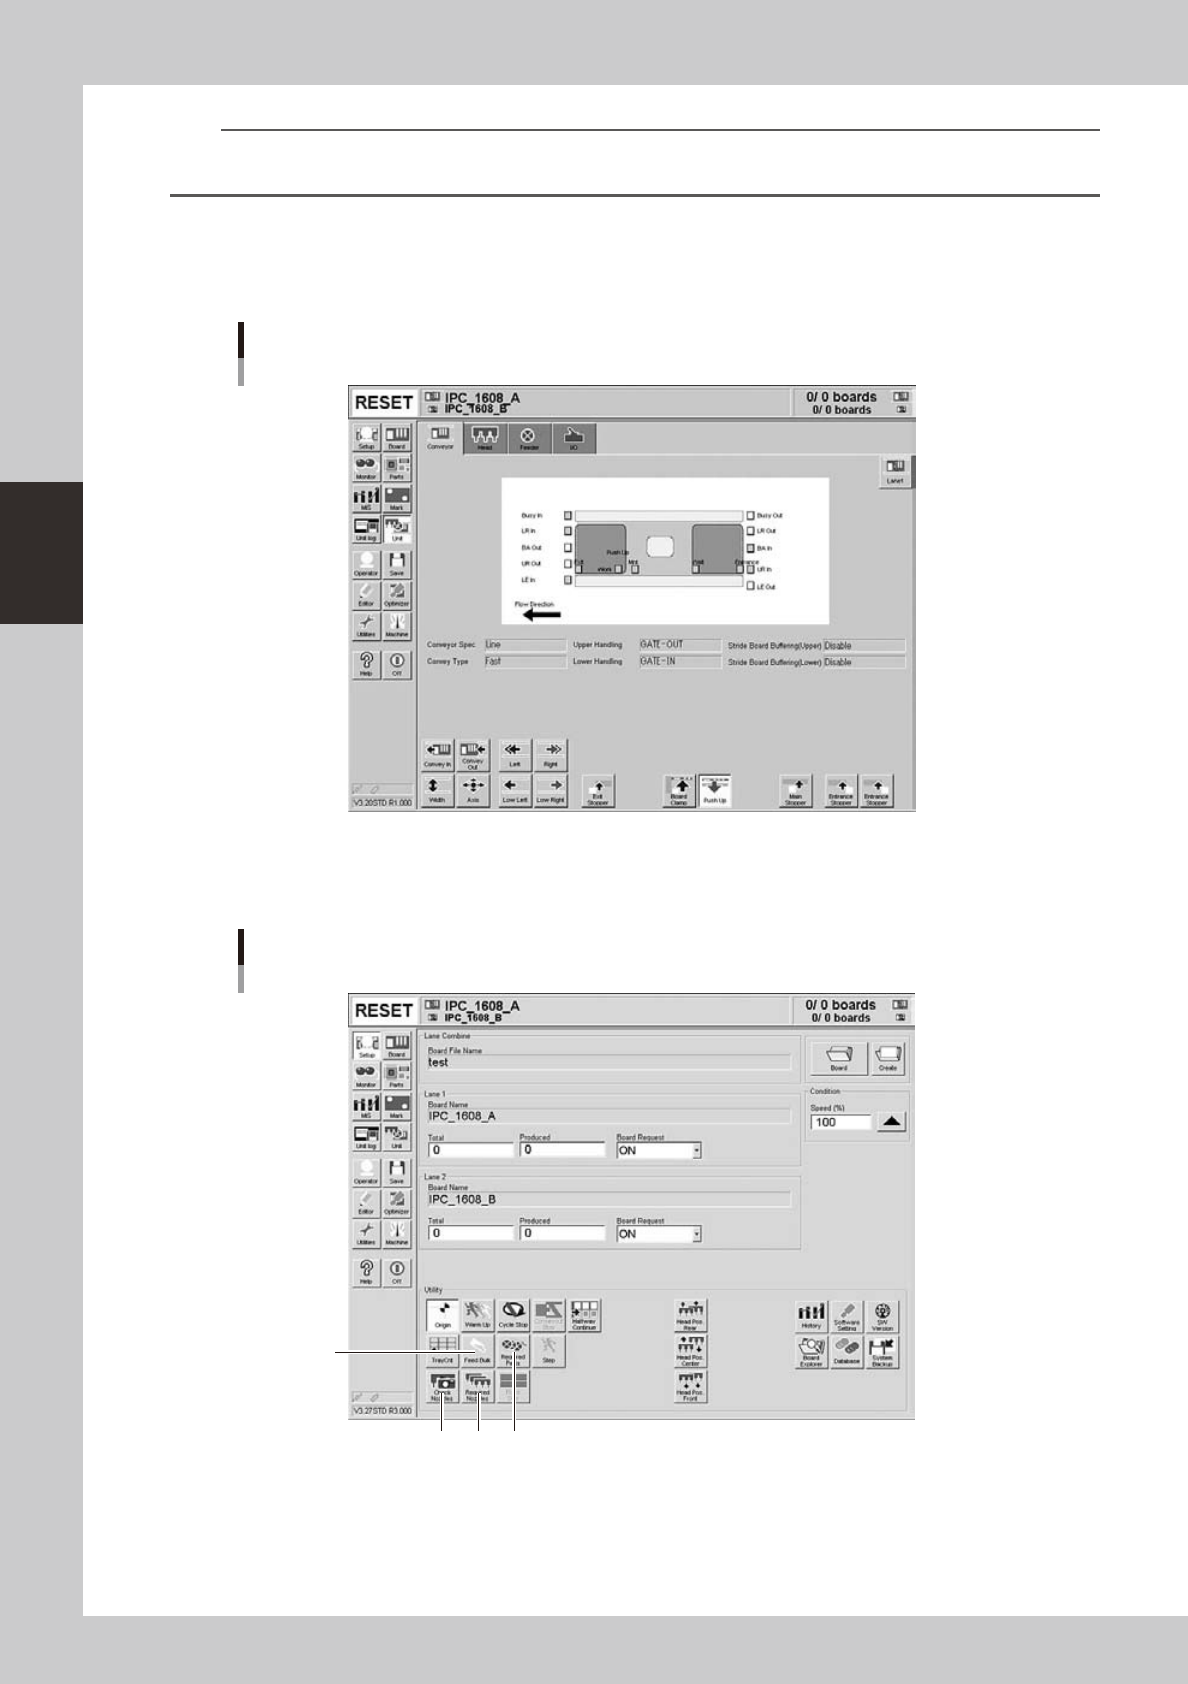
Set up the conveyor unit.
Open the [Unit] - [Conveyor] tab screen, and adjust the conveyor width and push-up pins according to
the board. For further details, refer to "3.4 Adjusting the convey unit setup" in Chapter 2.
[Unit] − [Conveyor] screen
Example of Dual-lane
24301-L4-10
3
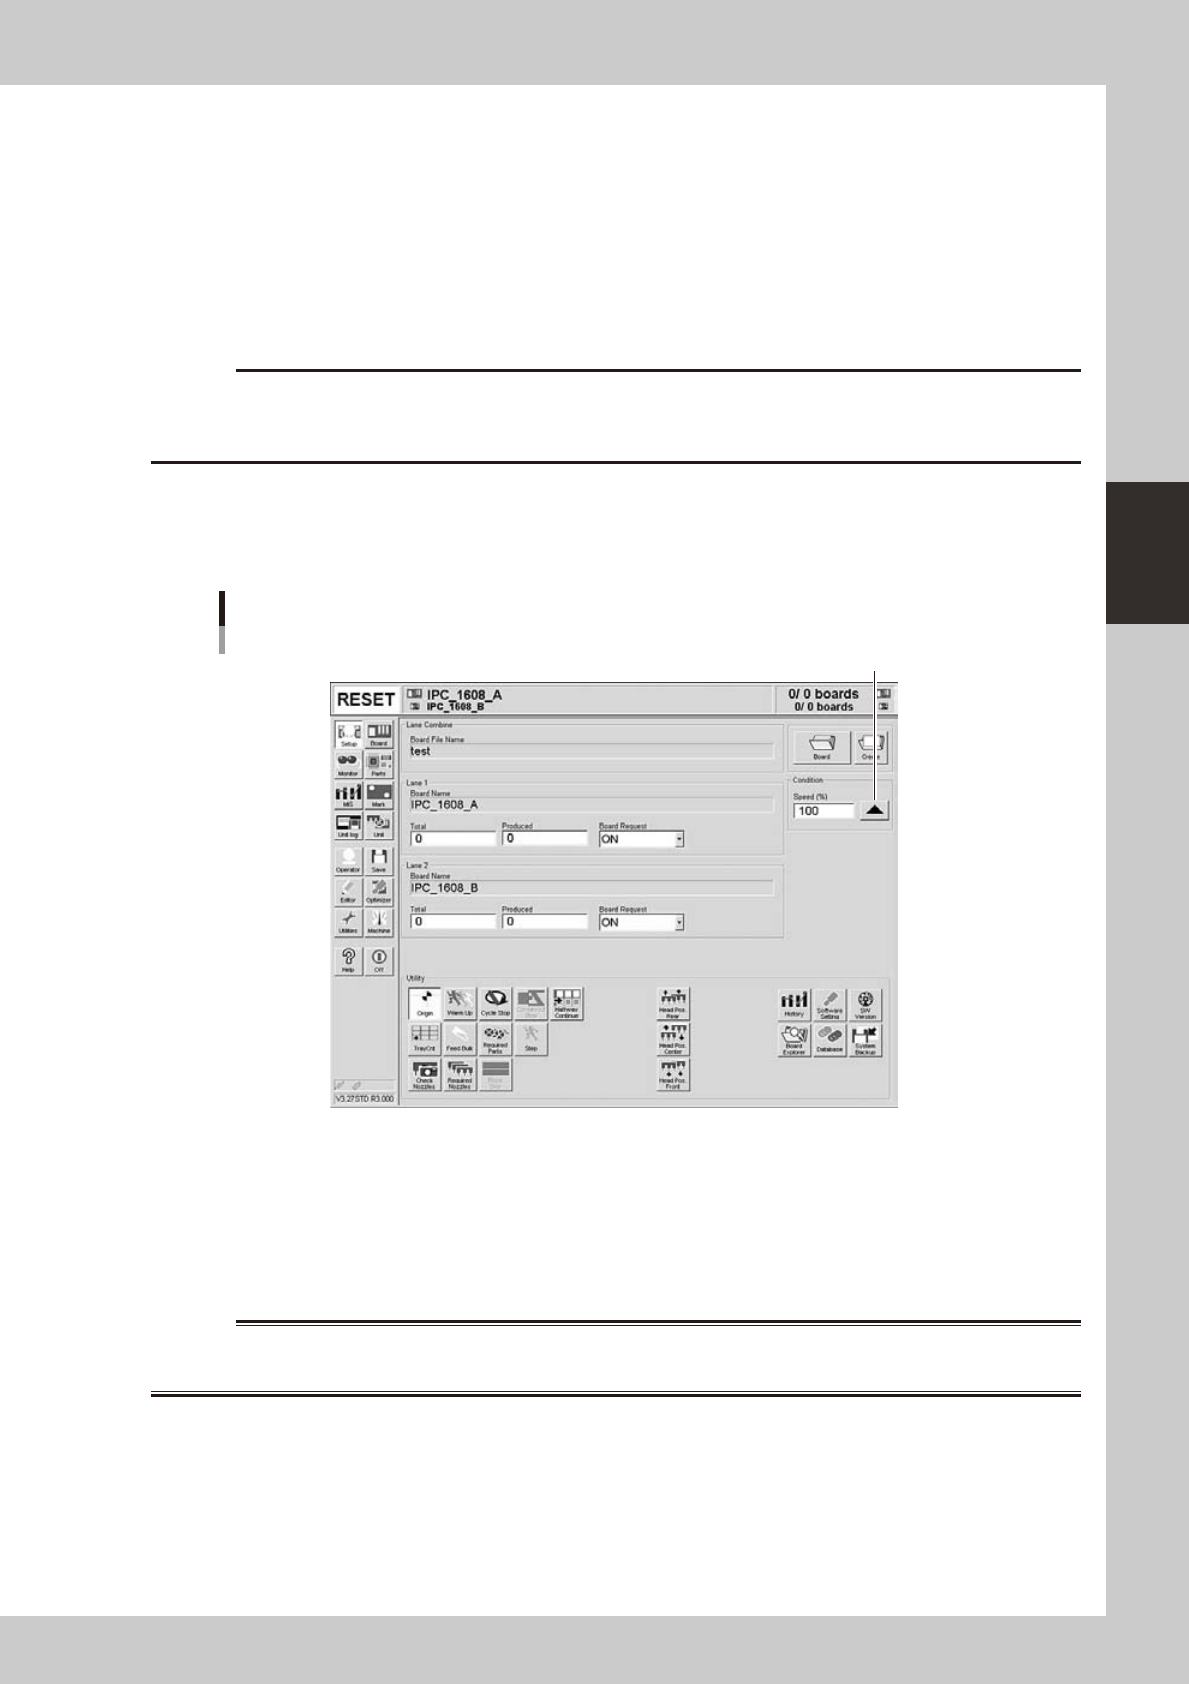
Check the other setup items.
Return to the [Setup] screen, and press the following buttons to check or change the setting data.
3
124
Setup screen
Example of Dual-lane
24302-L4-20
1. [Required Parts] button
Displays the designated feeder set positions and components to be mounted. Check whether the necessary feeders are
installed in the correct feeder set positions on the feeder plate.
3-3
3
Starting and ending production
2. [Required Nozzles] button
Displays a list of nozzle types that should be attached to each head. When the machine has no nozzle station or uses a
head not designed for auto nozzle change. Check that the correct nozzle is attached to each head by referring to the
displayed list.
3. [Feed Bulk] button
Cannot be used with this machine.
4. [Check Nozzles] button
Checks the nozzle tip condition with the vision camera. If an error occurs with this check, clean the nozzle.
c
4
Set the operation speed.
The currently set operation speed is displayed in the "Speed" box. Press the UP arrow button to change
te operation speed.
Set the operation speed.
Setting the operation speed
24303-L4-20
5
Start operation.
1. Release the emergency stop button, and press the [READY] button on the operation panel.
2. Check that the surroundings are safe, and then press the [START] button on the operation panel.
3. When the entrance sensor detects a board, the conveyor belt will start rotation. The board will be
transferred to the work position, and component mounting will start.
w
WARNING
3-4
3
Starting and ending production
n
Disposing of used top tape
We recommend disposing of used top tape periodically as routine maintenance.
n
NOTE
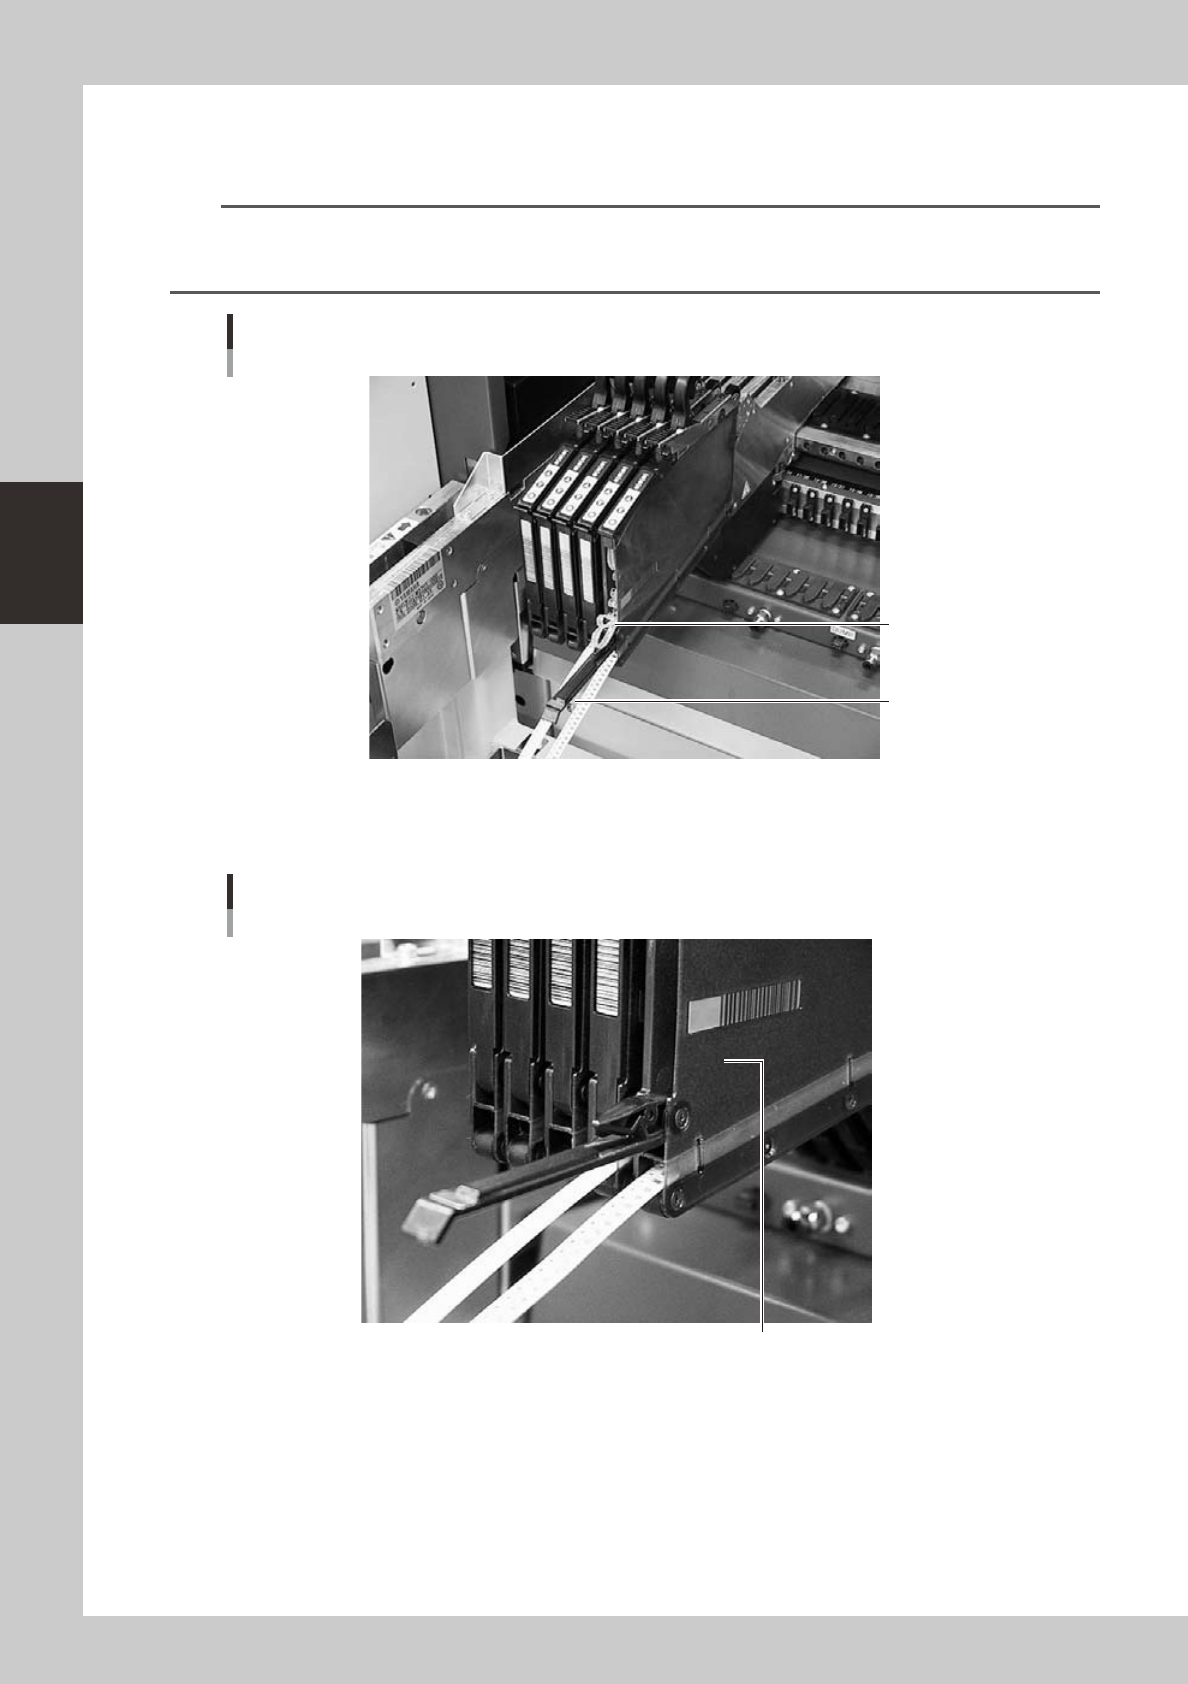
When continuously supplying components using the splicing function, too much used top tape (about 2 reels of 8mm
tape) accumulates and pushes the tail cover so it is automatically opened as shown below. If this happens, cut off
the used top tape with the edge cutter inside the tail cover using the same procedure as described below.
Tape feeder with its tail cover automatically opened
Pushed out top taped
Tail cover
23302-L4-00
1
Check the used top tape.
Open the tail cover and check if there is much used top tape inside.
Checking the used top tape
Used top tape accumulates inside.
23304-L4-00