Printer 600 Machine Programming.pdf - 第14页
0$&+,1( 352*5$00 ,1* 67$*($ ),7648 ((*((6 1.14 User Manual Software Ve rsion 07SP04 Squeegee Reference Hei ght Every time new squeegees are moun ted onto the machine, the squeegee height must be ca librated to…
0$&+,1(352*5$00,1*
67$*($),7648((*((6
Software Version 07SP04 User Manual 1.13
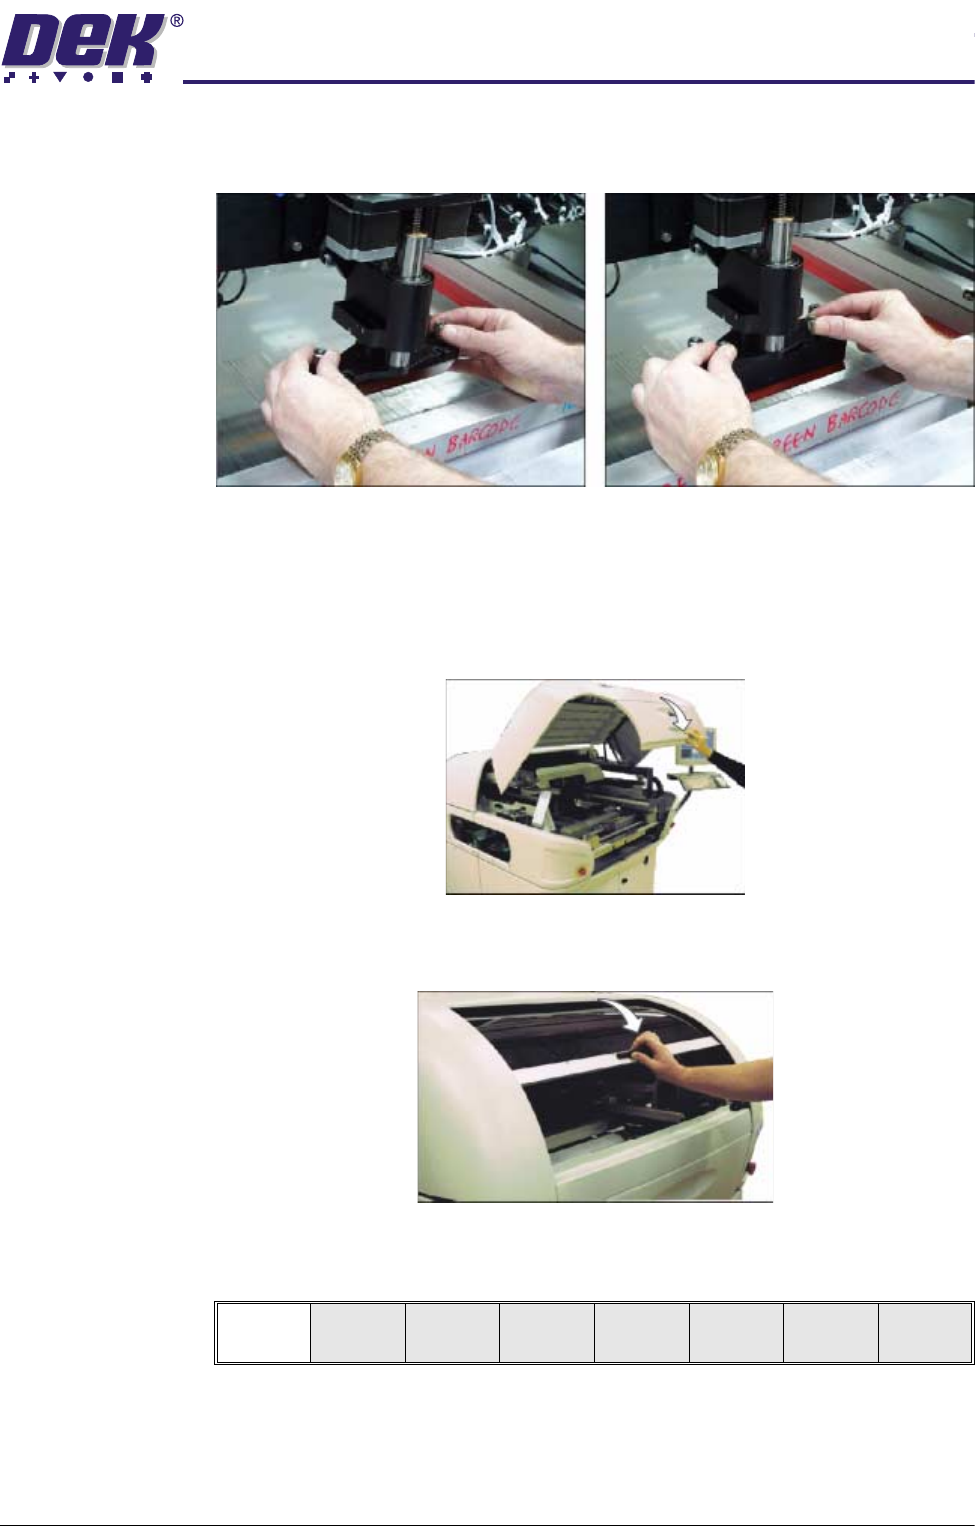
6. Fit the rear squeegee onto the rear squeegee mount, tightening the thumb-
screws until they are finger tight.
7. Fit the front squeegee onto the front squeegee mount, ensuring that the
thumbscrews are only finger tight
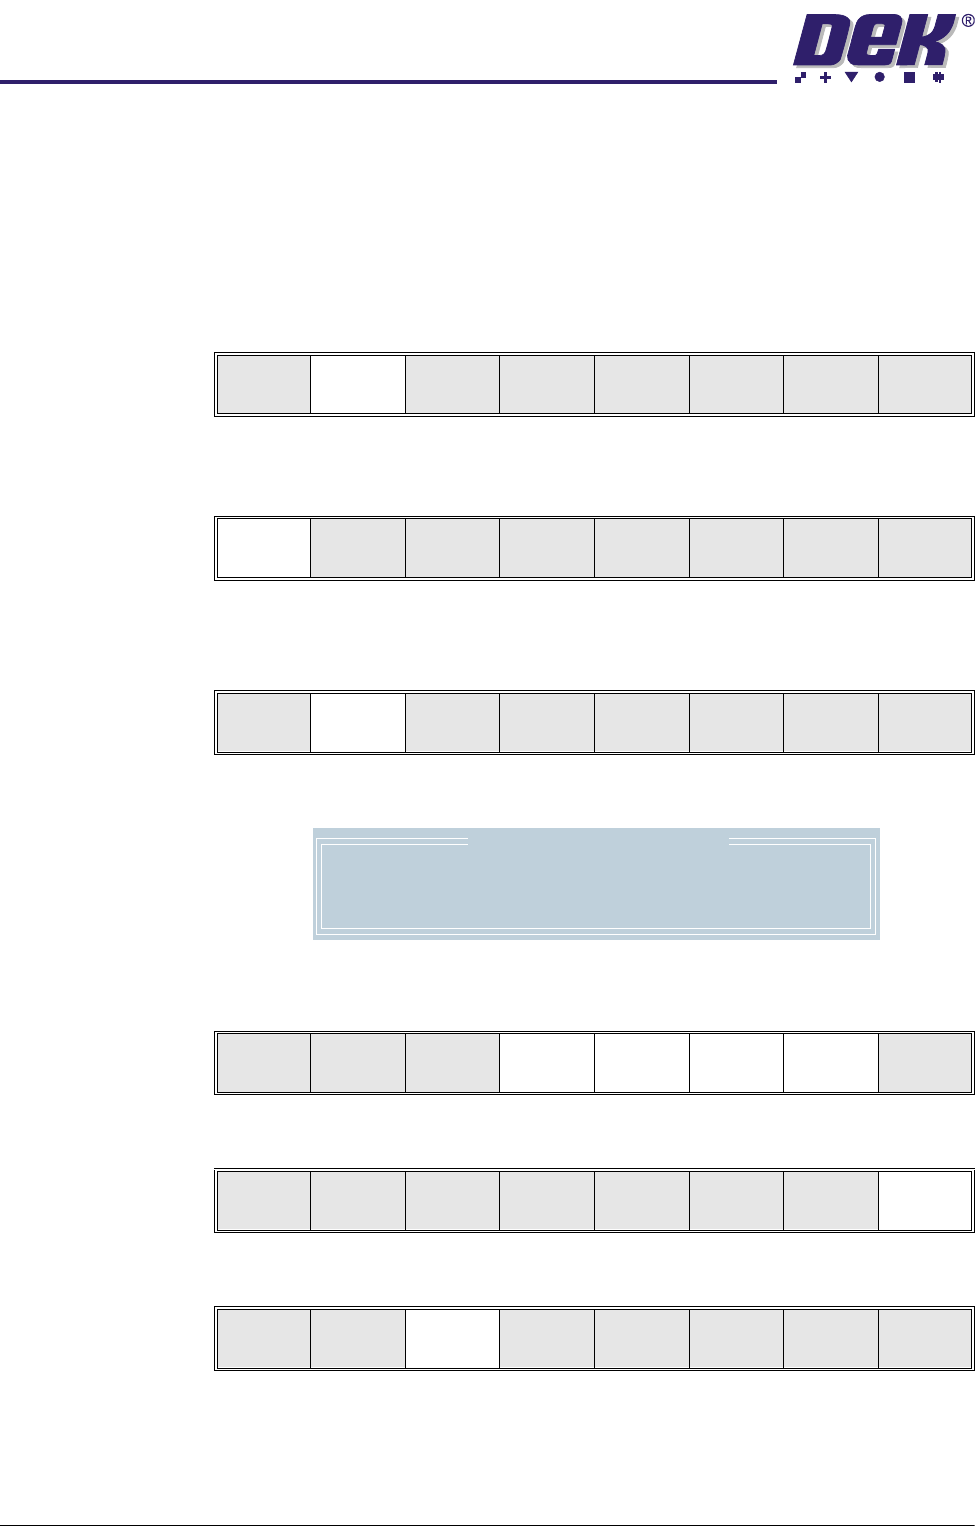
8. If fitted, remove stencil.
9. Either:
a. Close the front printhead cover.
or
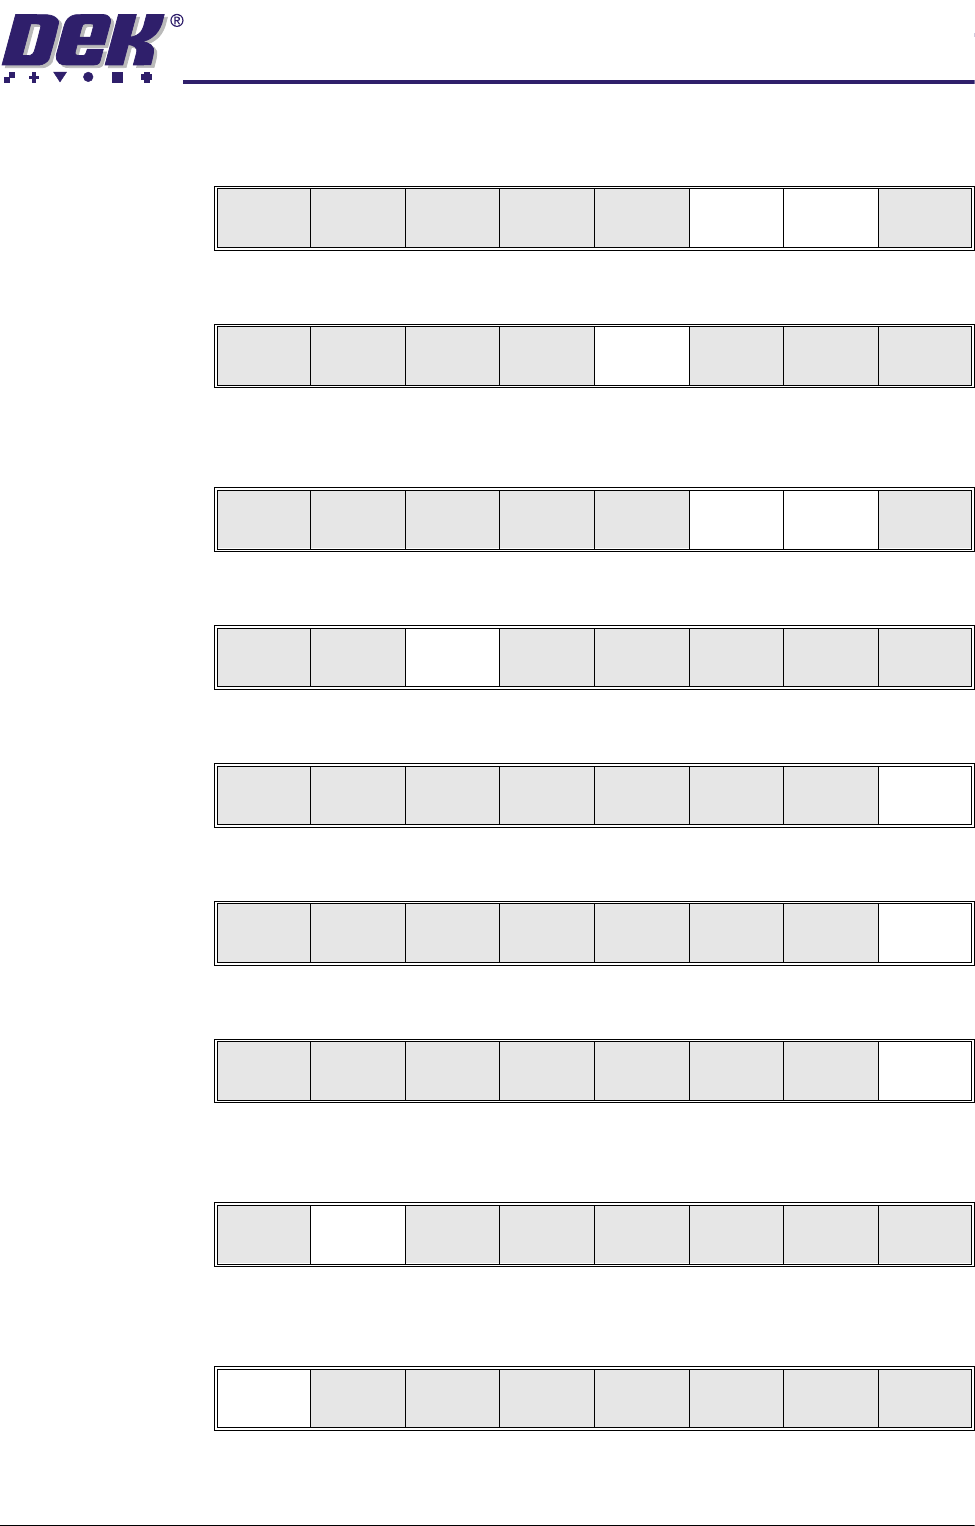
b. Lower the printhead shutter.
10.Press the System button.
11. Select Continue (F1).
Continue
0$&+,1(352*5$00,1*
67$*($),7648((*((6
1.14 User Manual Software Version 07SP04
Squeegee
Reference Height
Every time new squeegees are mounted onto the machine, the squeegee
height must be calibrated to a new reference height setting. When set, the
reference height is stored in the machine software as the zero pressure position.
To complete this calibration for machines with the non-feedback pressure
system, carry out Steps 1-13. For machines with the pressure feedback option
carry out Steps 14-17.
Non Feedback 1. Press Calibrat Heights (F2). The message ‘Ensure correct squeegees
are fitted’ is displayed.
2. Press Continue (F1). The message ‘Set Squeegee Pressure Height’ is
displayed.
Either:
3. Press Adjust (F2).
The following window is displayed:
4. Using Next, Previous, Incr. and Decr. (F4, F5, F6 and F7) enter the
squeegee heights parameters as necessary.
5. Press Exit (F8).
6. Press Save (F3).
Or:
Change
Squeegee
Calibrat
Heights
Exit
Continue
Restore
Defaults
Exit
Adjust Save
Front
Squeegee
Rear
Squeegee
Step
Up
Step
Down
Exit
Squeegee Heights Parameters
Front Zero Ref
Rear Zero Ref
4000
4040
Next Previous Incr. Decr. Exit
Next Previous Incr. Decr. Exit
Adjust Save
Front
Squeegee
Rear
Squeegee
Step
Up
Step
Down
Exit
0$&+,1(352*5$00,1*
67$*($),7648((*((6
Software Version 07SP04 User Manual 1.15
7. Using Step Up and Step Down (F6 and F7) as necessary to raise or lower
the front squeegee until it just touches the front rail.
8. Press Rear Squeegee (F5).
9. Using Step Up and Step Down (F6 and F7) as necessary to raise or lower
the rear squeegee until it just touches the front rail.
10.Press Save (F3).
11.Press Exit (F8).
12.Press Exit (F8).
13.Press Exit (F8).
Feedback Option 14.Press Calibrat Heights (F2). The message ‘Ensure correct squeegees
are fitted’ is displayed.
15.Press Continue (F1). The message ‘Calibrating Pressure Heights - DO
NOT Open Covers!’ is displayed.
Adjust Save
Front
Squeegee
Rear
Squeegee
Step
Up
Step
Down
Exit
Adjust Save
Front
Squeegee
Rear
Squeegee
Step
Up
Step
Down
Exit
Adjust Save
Front
Squeegee
Rear
Squeegee
Step
Up
Step
Down
Exit
Adjust Save
Front
Squeegee
Rear
Squeegee
Step
Up
Step
Down
Exit
Adjust Save
Front
Squeegee
Rear
Squeegee
Step
Up
Step
Down
Exit
Change
Squeegee
Calibrat
Heights
Exit
Mode
Load
Data
Edit
Data
Setup
Squeegee
Change
Screen
Change
Tool ing
Change
Language
Exit
Change
Squeegee
Calibrat
Heights
Exit
Continue
Restore
Defaults
Exit