Printer 600 Machine Programming.pdf - 第5页
0$&+,1 (352*5$0 0,1* 67$*( 32:(583$ 1'/2* 21 Software Version 07SP04 User Manual 1.5 3. Use Lef t , Right, Up or Down f unction key s (F4- F7) to hig hlight the requi red file. 4. Press Load (F1). 5. P…

0$&+,1(352*5$00,1*
67$*(32:(583$1'/2*21
1.4 User Manual Software Version 07SP04
STAGE 1 - POWER UP AND LOG ON
For machines with the remote board stop option, ensure that the machine is
correctly configured for the intended product. Carry out the appropriate one of
the following procedures:
• Camera to Remote Board Stop - LHS Configuration
• Camera to Remote Board Stop - RHS Configuration
• Remote Board Stop - LHS to RHS Configuration
• Remote Board Stop - RHS to LHS Configuration
• Remote Board Stop - Same Side Configuration
• Remote Board Stop to Camera Board Stop
See Technical Reference Manual, Rising Table Module Chapter, Replacement
Procedures, for the first five procedures and Technical Reference Manual,
Camera and Vision System Module Chapter, Replacement Procedures for the
Remote Board Stop to Camera Board Stop procedure.
CAUTION
CAMERA BOARD STOP.
To prevent damage to the camera board stop the
remote board stop must be used for product boards over 1kg in weight.
1. Turn the mains isolator switch to ON.
2. When the message ‘Press SYSTEM Switch To Initialize Printer or Select
Diagnostics or Load Data’ is displayed in the message prompt bar, either:
a. Select Load Data (F2) if the loaded product is unknown or needs to be
changed.
b. Go to Step 6 if the loaded product file is known to be the correct one.
The following Load Data File window is displayed:
Load
Data
Diagnost
Load Data File
Product ID
Search
Training
265TEST1
265TEST1
ANDY H
CALIBRA
DEFAULT
DEK04
DEK06
0$&+,1(352*5$00,1*
67$*(32:(583$1'/2*21
Software Version 07SP04 User Manual 1.5
3. Use Left, Right, Up or Down function keys (F4-F7) to highlight the required
file.
4. Press Load (F1).
5. Press Exit (F8).
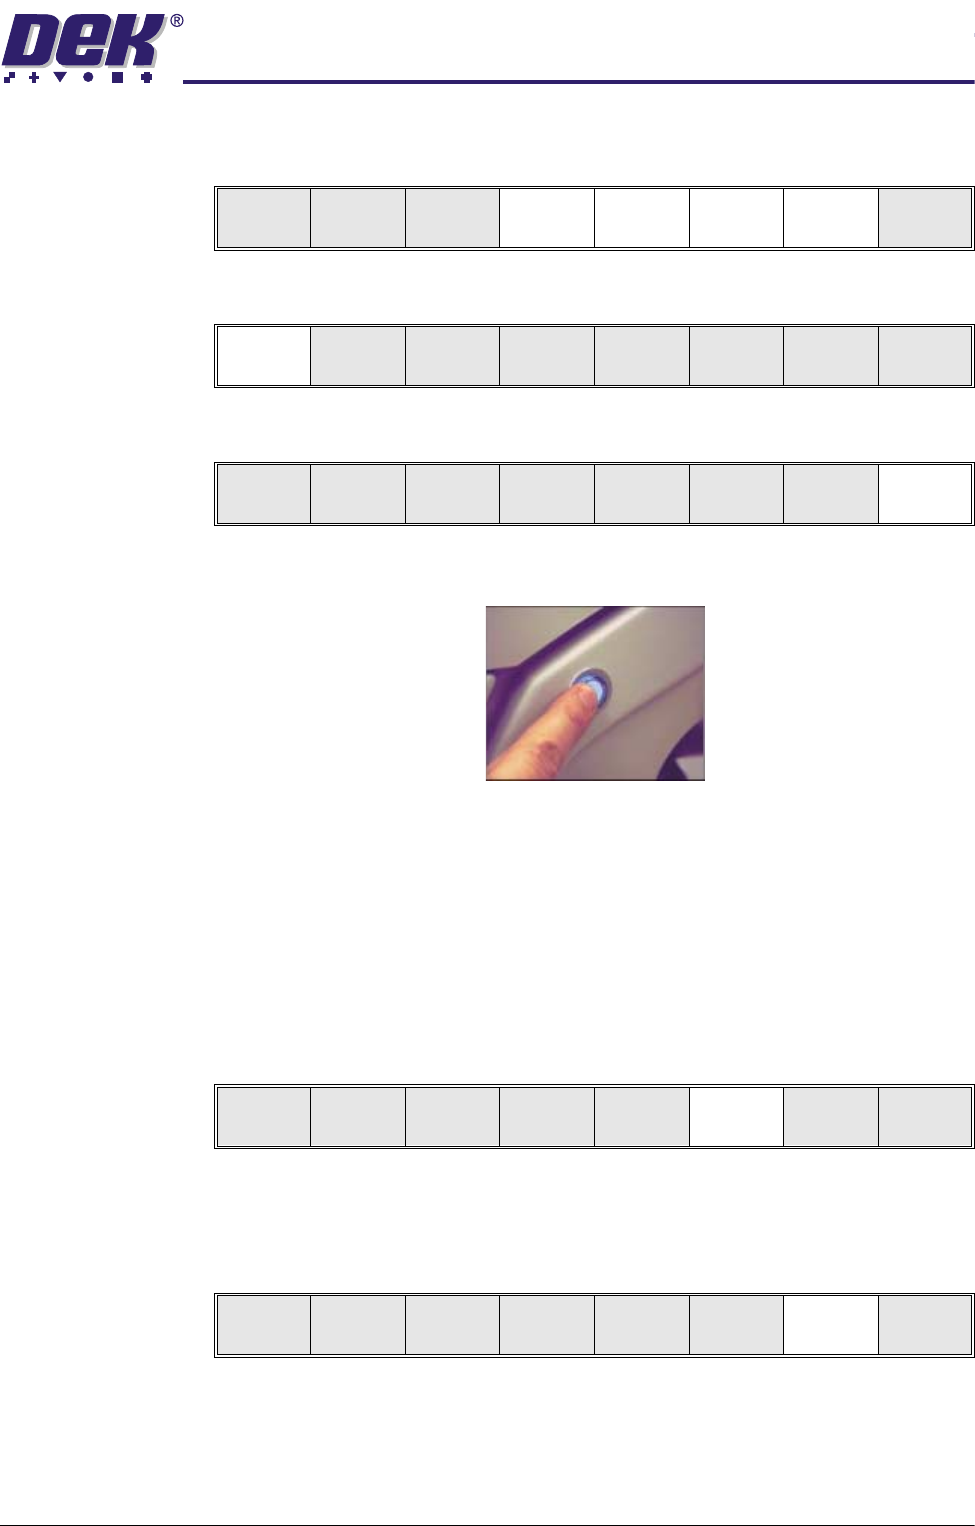
6. Initialize the machine by pressing the System button.
The selected file is now displayed on the status page.
NOTE
If Auto Rail Width in Set Prefs is set to disabled, this needs to be set to
enabled to allow the rear rail to move to the new board width.
The operator can change the language used in the display menus.
To select a different language continue with Step 7. If the correct language
is loaded go to Step 13.
7. Select Setup (F6).
NOTE
If ProFlow is fitted, Paste Load (F3) becomes Knead Paste.
8. Select Change Language (F7).
NOTE
If ProFlow is fitted, Setup Squeegee (F4) becomes Setup ProFlow.
9. A list of installed languages is displayed. Select Up (F5), or Down (F6) until
the desired language is highlighted.
Load
Rebuild
List
Left Right Up Down Exit
Load
Rebuild
List
Left Right Up Down Exit
Para
Rebuild
List
Left Right Up Down Exit
Run
Open
Cover
Paste
Load
Clean
Screen
Adjust Setup Monitor Maint.
Mode
Load
Data
Edit
Data
Setup
Squeegee
Change
Screen
Change
Tooling
Change
Language
Exit
0$&+,1(352*5$00,1*
67$*(32:(583$1'/2*21
1.6 User Manual Software Version 07SP04
10.Select Load (F1). The message ‘Loading Language...’ is displayed. A
delay of approximately 20 seconds takes place and all displayed text is
changed to the selected language. The message ‘Language Loaded...’ is
displayed.
11. Select Exit (F8).
12.Select Exit (F8)
13.Select Monitor (F7)
14.Select Log On (F1).
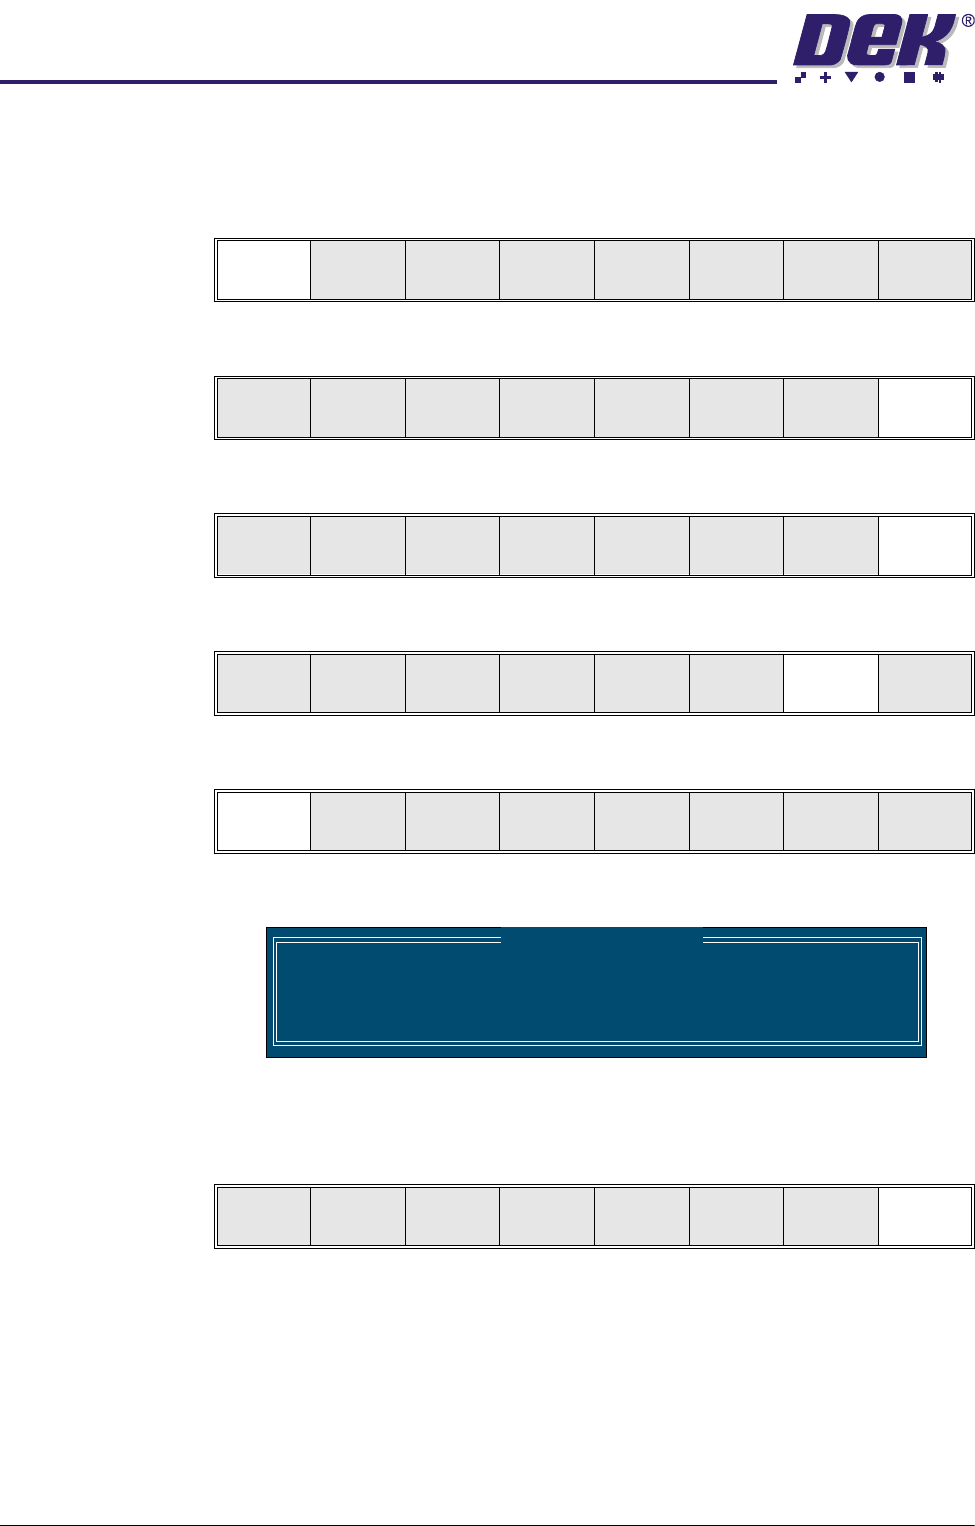
The Operator Log On window is displayed:
Using the keyboard, enter the operator’s name/ID and press Enter on the
keyboard, the operator’s name/ID appear on the status page.
15.Select Exit (F8).
If this is the correct file for the product proceed to Stage 4. If the file has to
be edited proceed to Stage 3.
Load Up Down Exit
Load Up Down Exit
Mode
Load
Data
Edit
Data
Setup
Squeegee
Change
Screen
Change
Tool ing
Change
Language
Exit
Run
Open
Cover
Paste
Load
Clean
Screen
Adjust Setup Monitor Maint.
Log
On
Host
Comms
Clear
Batch
Batch
Limit
Perform
Display
Event
Display
System
Disable
Exit
Operator Log On
Enter Operator ID :
Log
Off
Host
Comms
Clear
Batch
Batch
Limit
Perform
Display
Event
Display
System
Disable
Exit