00193687-06_Installation SIPLACE Explorer2.1_DE.pdf - 第50页
3 Installation des SIPLACE Explorer Installati ons- und Konfigurationsanleitung SIPLACE Explor er 3.1 Erstinstallation von SIPLACE Explorer 2.1 Ausgabe 11/2006 DE 50 3.1.3.2 Bundled Web Ser ver Inst allation - MS XML Cor…
Installations- und Konfigurationsanleitung SIPLACE Explorer 3 Installation des SIPLACE Explorer
Ausgabe 11/2006 DE 3.1 Erstinstallation von SIPLACE Explorer 2.1
49
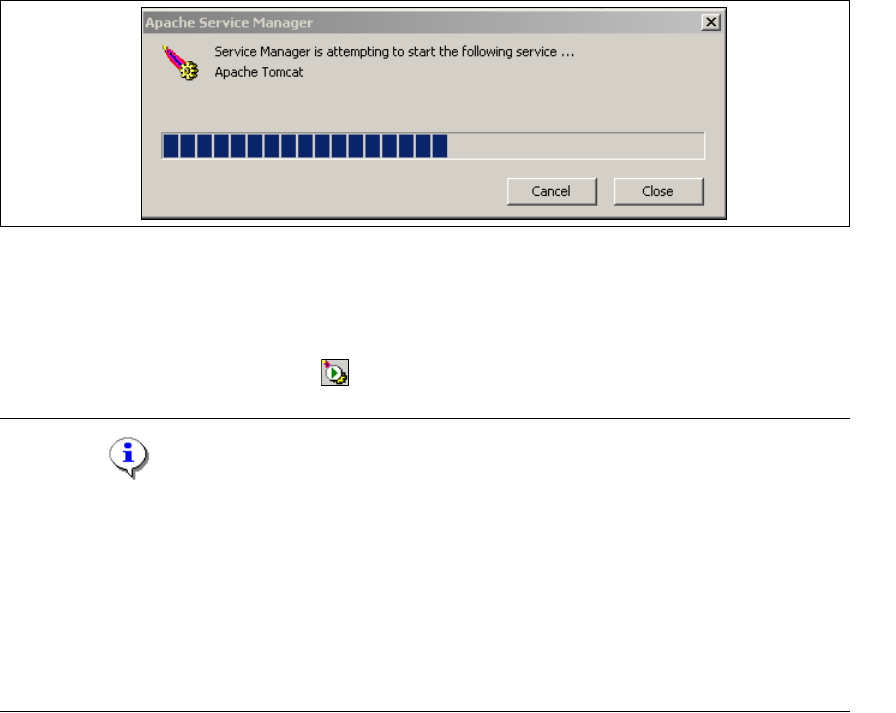
→ Haben Sie die Option Run Apache Tomcat aktiviert, wird der Windows Service für Tomcat
gestartet.
3
Abb. 3 - 33 Apache Service Manager
→ Ansonsten müssen Sie um Tomcat nun zu starten, den Computer neu starten oder Tomcat
manuell starten.
→ Tomcat 5.5 wird bei jedem Neustart des Computers als Windows Service automatisch
gestartet. Sie sehen das Symbol in der Konsole.
HINWEIS
Sie müssen für die Arbeit mit SIPLACE Explorer Tomcat 5.5 in folgenden Fällen
nachkonfigurieren:
- Verwendung von Windows XP Professional mit SP2
- Port-Konfiguration bei Veränderung der Tomcat-Portnummer
- Speichererweiterung für Tomcat.
Eine detaillierte Beschreibung dieser Themen erhalten Sie in dem Abschnitt “Konfiguration von
Tomcat” auf Seite 64. 3
3 Installation des SIPLACE Explorer Installations- und Konfigurationsanleitung SIPLACE Explorer
3.1 Erstinstallation von SIPLACE Explorer 2.1 Ausgabe 11/2006 DE
50
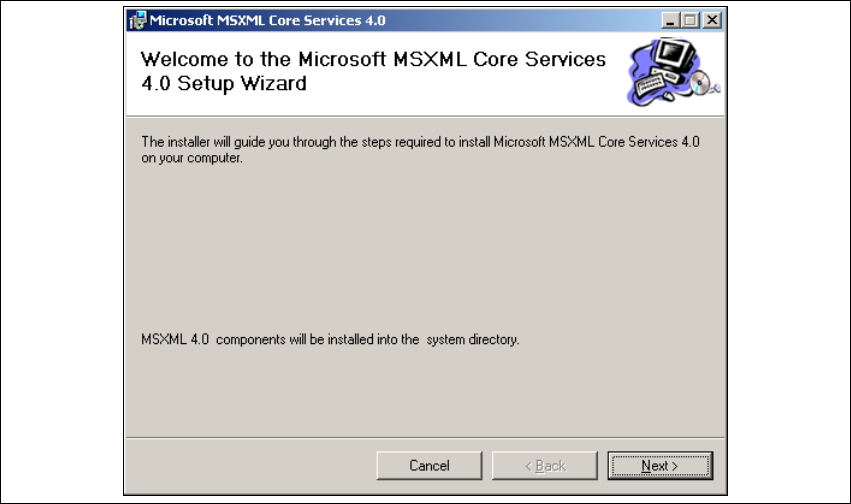
3.1.3.2 Bundled Web Server Installation - MS XML Core Services 4.0 SP2
→ Die benutzergeführte Installation von MSXML wird gestartet.
3
Abb. 3 - 34 MSXML 4.0 Setup - Willkommen bei MSXML 4.0
→ Beenden Sie alle anderen Programme und klicken Sie auf Next (Weiter). Das Dialogfenster
License Agreement wird geöffnet.

Installations- und Konfigurationsanleitung SIPLACE Explorer 3 Installation des SIPLACE Explorer
Ausgabe 11/2006 DE 3.1 Erstinstallation von SIPLACE Explorer 2.1
51
→ Lesen Sie die Lizenzbestimmungen. Wenn Sie zustimmen, I Agree anklicken, ansonsten I Do
Not Agree. Wenn Sie I Do Not Agree anklicken, wird die Installation beendet.
3
Abb. 3 - 35 MSXML 4.0 Setup - Lizenzvereinbarungen
→ Klicken Sie auf Next (Weiter), die Installation wird fortgeführt.
→ Das Dialogfenster Confirm Installation wird geöffnet.
3
Abb. 3 - 36 MSXML 4.0 Setup - Benutzerinformationen