MV-9_Chapter 5. Teaching.pdf - 第17页
错误 ! 使用“开始” 选项卡将 제목 2 应用于要在此处显示的文字。 错误 ! 使用“开始”选项卡将 제목 2 应用 于要在此处显示的 文字。 . 5- 17 3) Multiple bo ard Fi ducia l mark Use this function if there is a m odul e in many shapes in one PCB. It can be applied for a new m odul e…
MV-9 User Manual
5-16
[Figure 5-4 Screen to set Fiducial mark window]
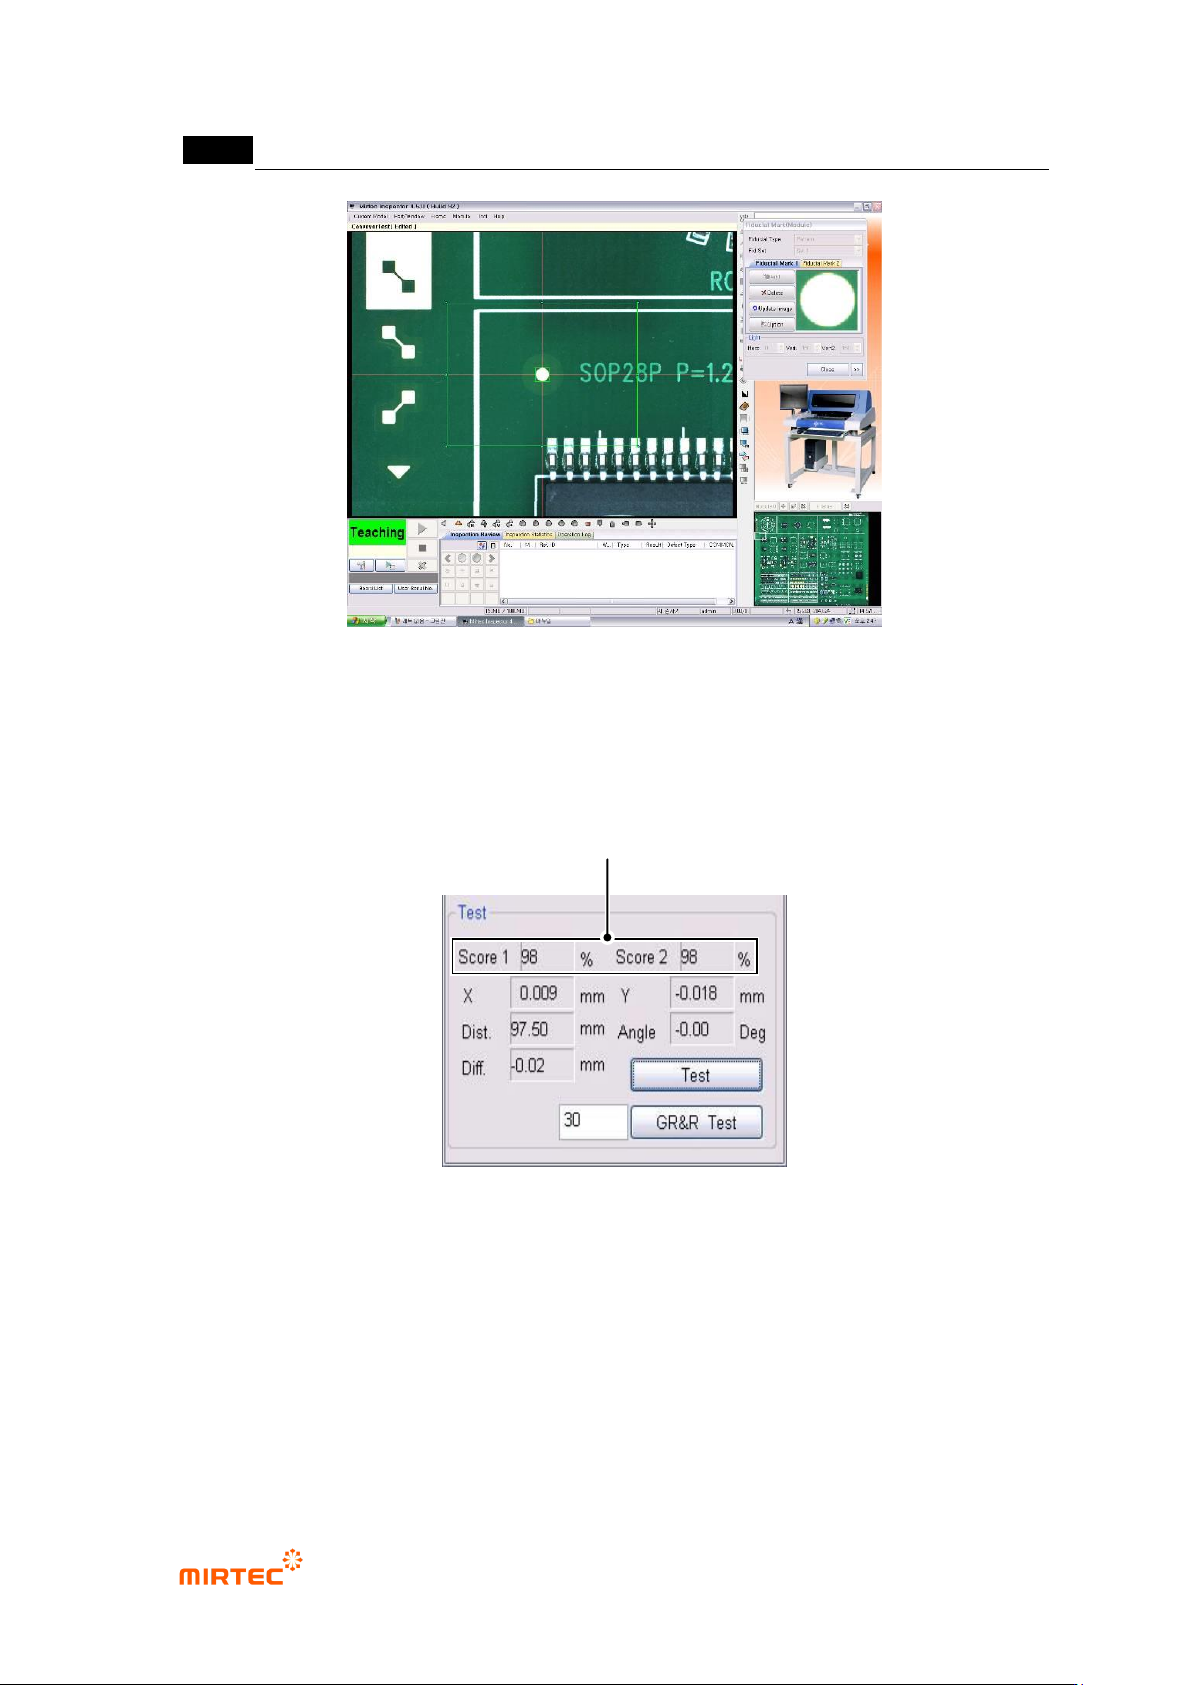
④ After registering „Fiducial mark1‟, move the robot to the second Fiducial mark position of
PCB. After that, click <Add> button in „Fiducial mark 2‟ to register it.
⑤ After registering 2 Fiducial marks, click <test> button in the figure below to confirm Fiducial
mark position. After that, click <Close> button to complete registering Fiducial mark.
[Figure 5-5 result screen by clicking test button]
Matching Rate for Registered Fiducial mark
错误!使用“开始”选项卡将 제목 2 应用于要在此处显示的文字。错误!使用“开始”选项卡将 제목 2 应用
于要在此处显示的文字。 .
5-17
3) Multiple board Fiducial mark
Use this function if there is a module in many shapes in one PCB. It can be applied for a new
module. In case of a connecting module, use Fiducial mark designated in base module of
connecting module. Conduct inspection after setting to apply Fiducial using Fiducial mark allotted
in each module and to conduct inspection.
Multiple board Fiducial mark edit
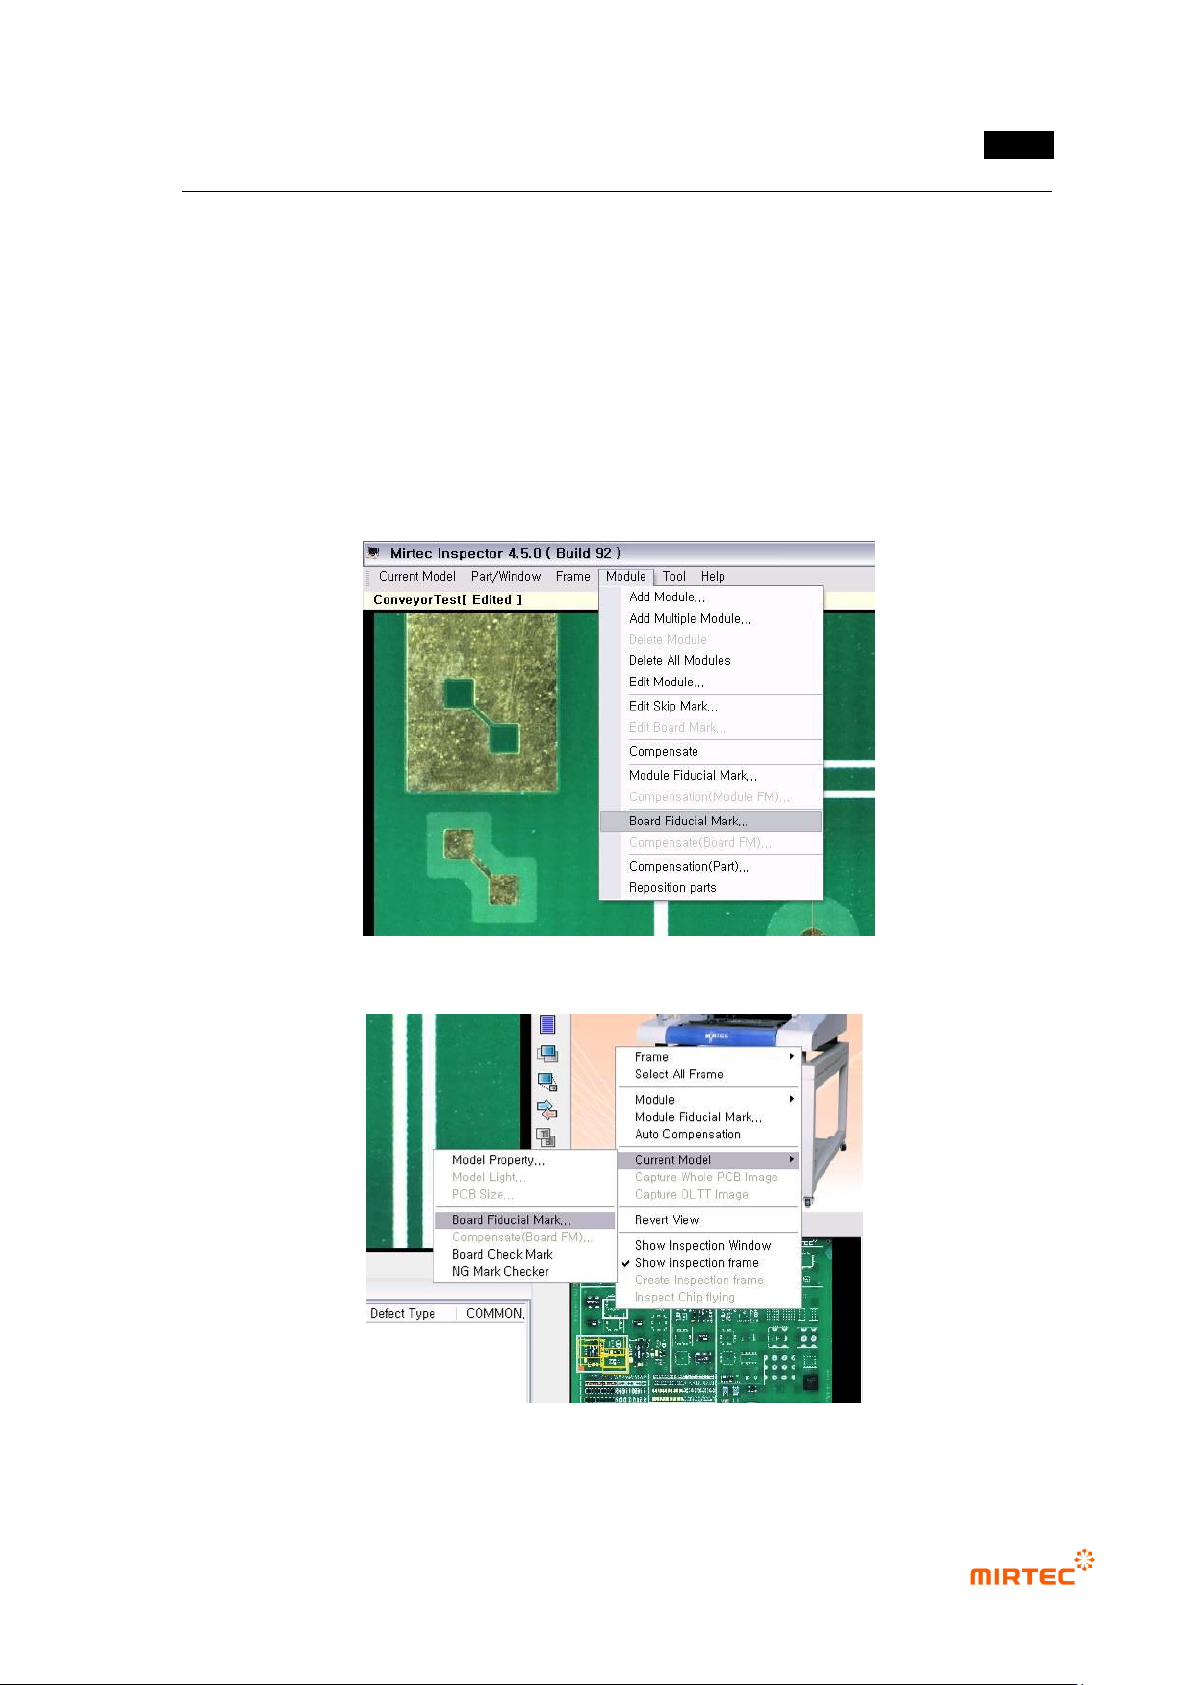
① Setting module/board Fiducial mark
Select „board Fiducial mark setting‟ in „module‟ menu or select „Set board Fiducial mark in popup
menu in whole image screen.
[Figure 5-6 Board Fiducial mark setting selection screen_module menu]
[Figure 5-7 Board Fiducial mark setting selection screen_whole image screen]
MV-9 User Manual
5-18
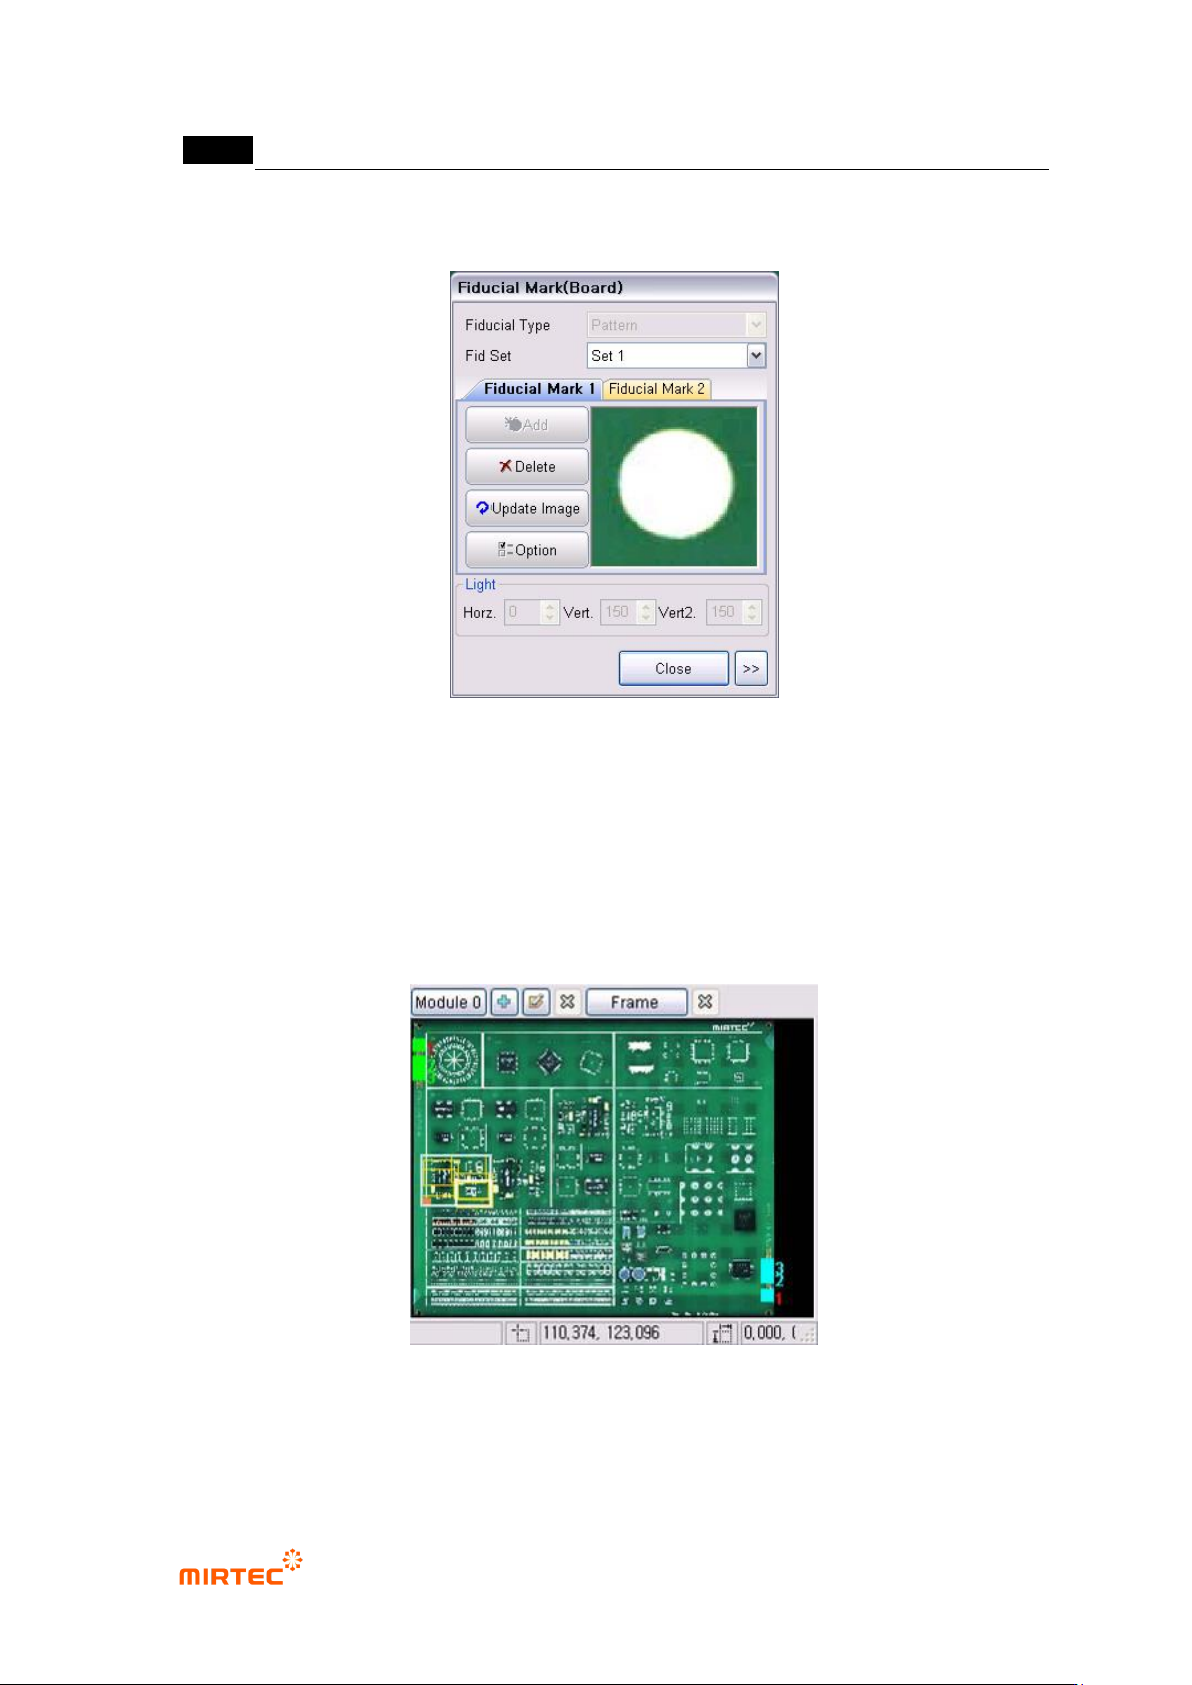
② Max 4 sets can be edited in Fiducial mark setting. Can be edited from „Set 1‟ to „Set 4‟ at a
time.
[Figure 5-8 Screen to set board Fiducial mark]
③ Whole image screen after setting Fiducial mark
[Figure 5-26] shows whole image screen after setting board Fiducial mark.
Label board Fiducial mark that is set with a number to display the position and setting value of
board Fiducial mark.
Fiducial mark that is used by the current selected module will be displayed in red number.
In [Figure 5-26], module No 2 uses board Fiducial setting No 3.
[Figure 5-9 Whole image screen after completing Fiducial mark setting]
④ Allot board Fiducial mark applied to module