Maintenance Manual.pdf - 第157页
RL1 31 MAINTENANCE MANUAL 7.6 Par t Proc ess i ng Uni t s DA8ME C-Z 1-M02- A0 7.6- 2 7.6. 2 Lead Correction U ni t Unit No. N61007431 8AA Inspection Perio d No. Item T ask Descri pt ion Clean t he edge of the lead gui …
RL131
MAINTENANCE MANUAL
7.6 Part Processing Units
DA8MEC-Z1-M02-A0
7.6-1
7.6. Part Processing Units
DA8MEC-Z1-M02-A0
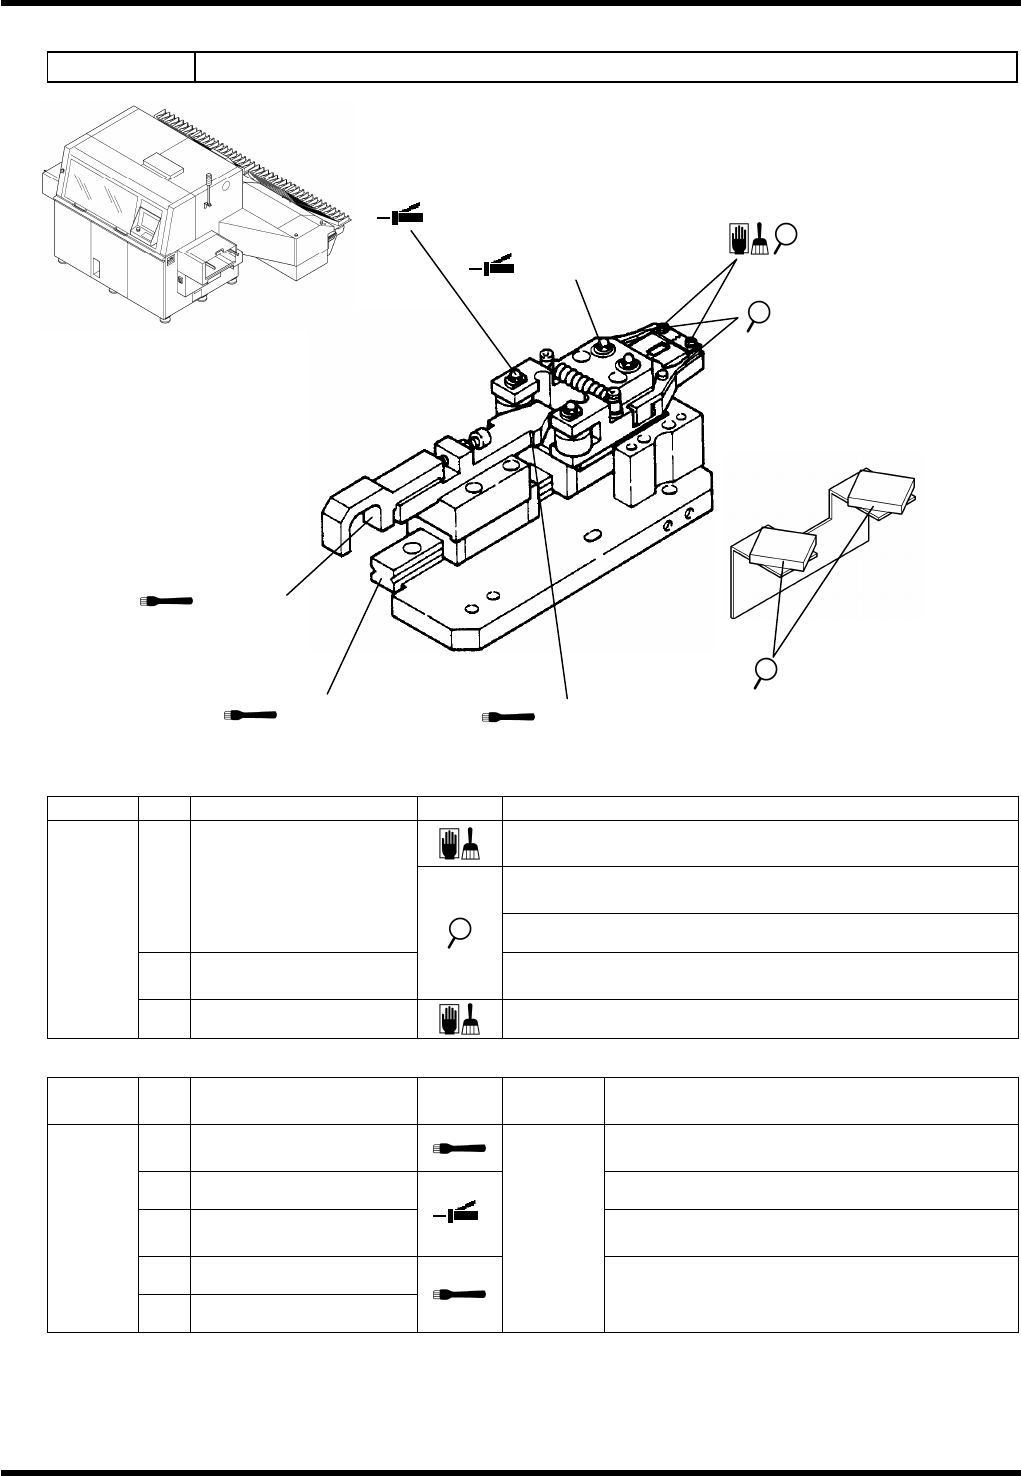
7.6.1 Part Positioning Unit
Unit No. N610071373AA
Inspection
Period
No.
Item Task Description
a.
Backup pin
Make sure that the backup pin moves up/down
smoothly.
Daily
b.
Lever support
Make sure that the lever is not worn or damaged.
Oiling
Period
No.
Item Task
Oiling
volume
Description
1.
LM guide
0.5cm
3
Remove all dirt adhering on the surface
completely and apply a thin coat of grease.
Weekly
2.
Lever support
1 to 2
drops
Apply 1 or 2 drops to the support.
1. LM guide
a. Backup pin
b / 2. Lever support
RL131
MAINTENANCE MANUAL
7.6 Part Processing Units
DA8MEC-Z1-M02-A0
7.6-2
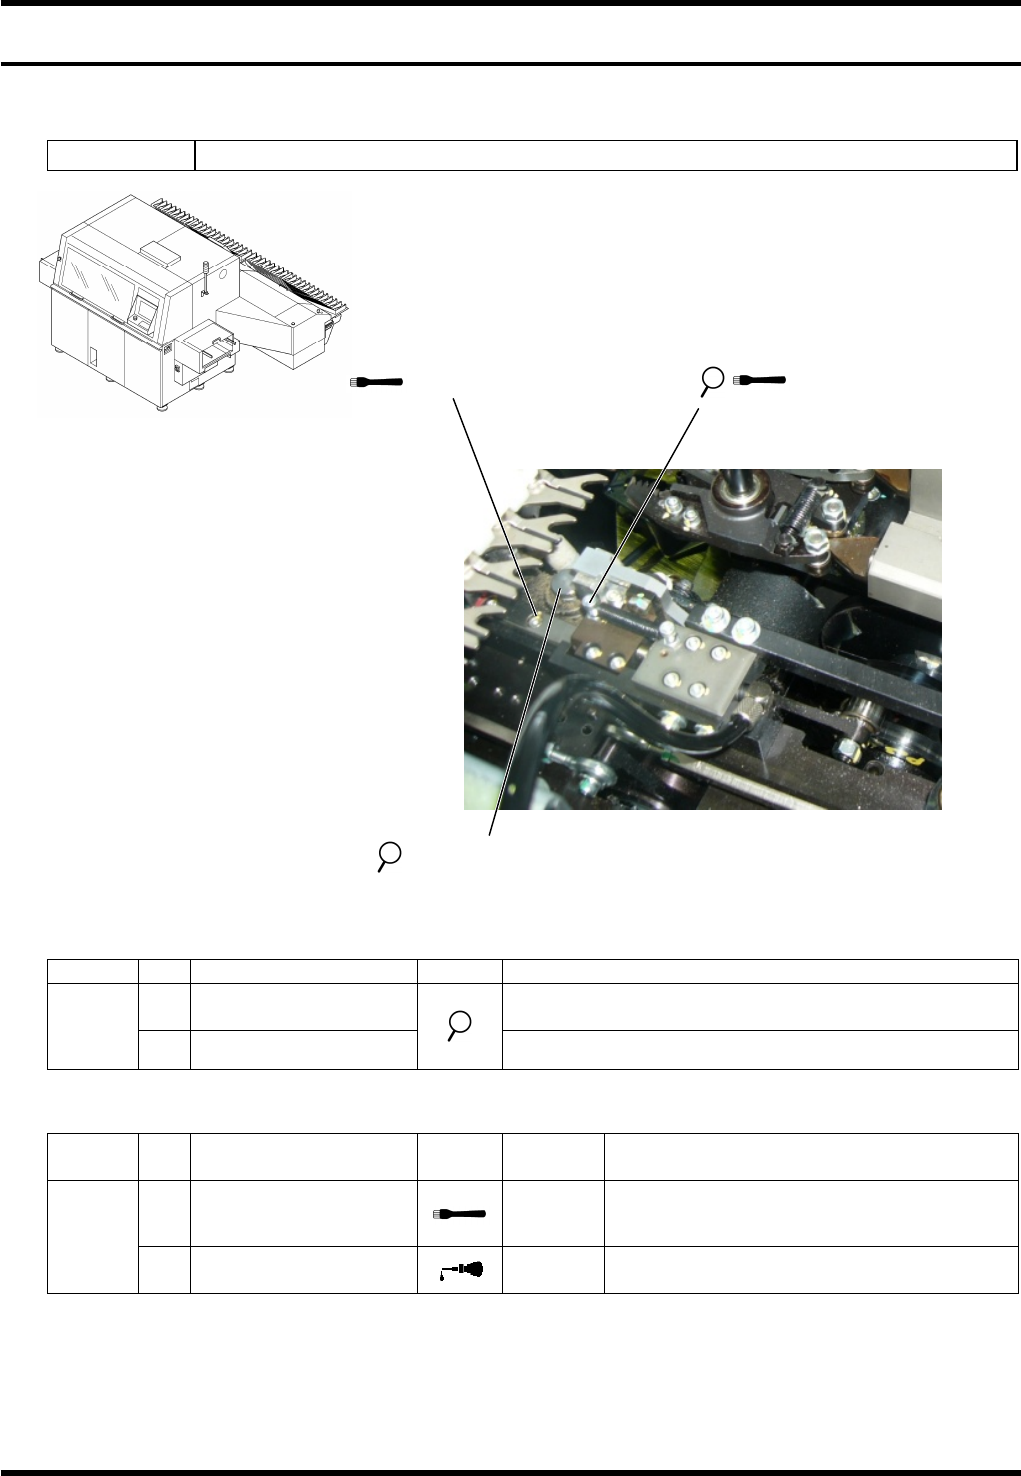
7.6.2 Lead Correction Unit
Unit No. N610074318AA
Inspection
Period No. Item Task Description
Clean the edge of the lead guide with a brush and
remove any cut wastes.
Daily a. Lead guide
Make sure that lubricant or dust is not adhering to the
lead cutter.
Oiling
Period No. Item Task
Oiling
volume
Description
1. LM guide
2. Cam follower
3. Open/close pin
4. Hook
0.5 cm
3
Remove all dirt adhering on the surface
completely and apply a thin coat of grease.
Weekly
5. Oil port
1 to 2
drops
Apply 1 or 2 drops of the machine oil to the
oil port.
1. LM guide
4. Hook
2. Cam follower
3. Open/close pin
5. Oil port (±4)
a. Lead guide
RL131
MAINTENANCE MANUAL
7.6 Part Processing Units
DA8MEC-Z1-M02-A0
7.6-3
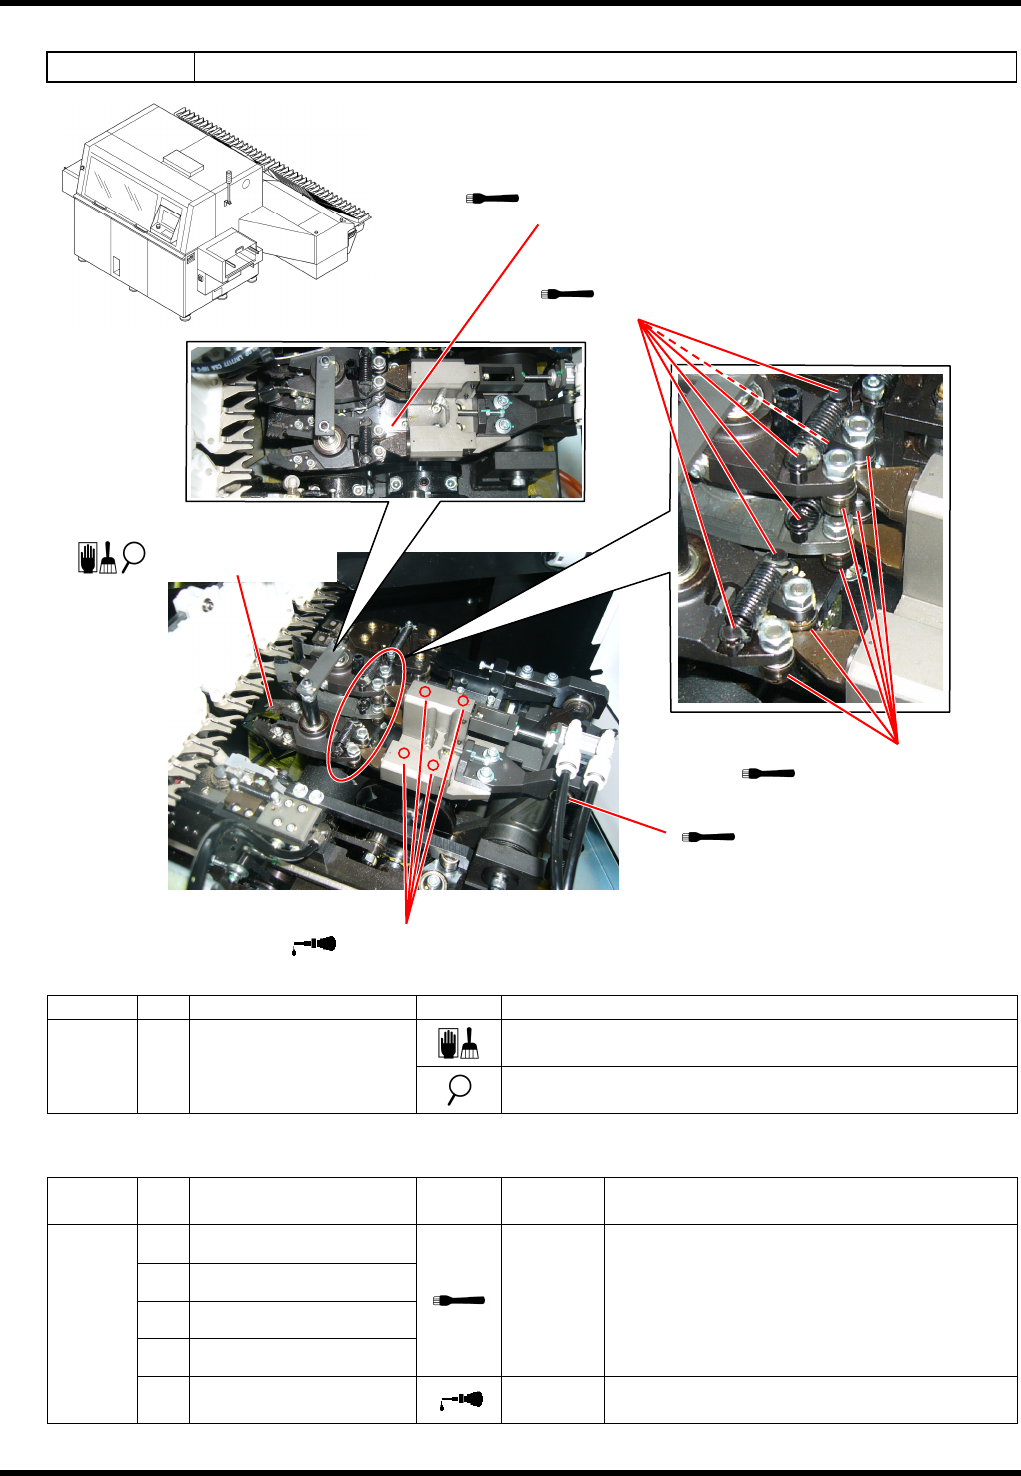
5. Hook
1. LM guide
4. Pusher cam
2. Grease nipple
a. Lead cutter
b. Lead cutter lever
3. Grease nipple
c. Sensor
7.6.3 V-cut Unit
Unit No. N610074158AA
Inspection
Period
No.
Item Task Description
Clean the edge of the lead cutter with a brush and
remove any cut waste.
Make sure that lubricant or dust is not adhering to the
lead cutter.
a.
Lead cutter
Make sure that the lead cutter is not worn or damaged.
b.
Lead cutter lever
Make sure that the lead cuter lever opens/closes
smoothly.
Daily
c.
Sensor
Wipe off any dust or dirt at the edge of the sensor.
Oiling
Period
No.
Item Task
Oiling
volume
Description
1.
LM guide
Remove all dirt adhering on the surface
completely and apply a thin coat of grease.
2.
Grease nipple Apply 1 shot of grease with a grease gun.
3.
Grease nipple
Apply 1 shot of grease with a grease gun.
(Nipple type NL)
4.
Pusher cam
Weekly
5.
Hook
0.5 cm
3
Remove all dirt adhering on the surface
completely and apply a thin coat of grease.
=REMARKS=
Keep the sensors free from oil or grease.