2500_Users_Manual - 第197页
Preventi ve Mai nten ance ProM aster 25 00 User Manua l 5-43 Enter a new number, or accept the default, and press ENTE R . The 2500 displays : Press START and the 250 0 displays: When you are finished with the test, pres…
Preventive Maintenance
5-42 ProMaster 2500 User Manual
Cycle Parts
This option inserts devices into the programming module without
programming them. It differs from the diagnostic tests because it allows
you to assess the following system operations under operating conditions
without having to program devices:
• Beam movement
• Vacuum generator functionality
• High and low air pressure
• Applying labels to devices
To select Cycle Parts, press
4
from the Diagnostic menu. The 2500
displays:
To Cycle Only
If you do not want to label devices, press
N
at the
DO YOU WANT TO
LABEL?
prompt. The 2500 displays:
Use the arrow keys to select an existing device or describe a custom
device, and press
ENTER
. Only eight selections appear on the display at
once; use
↑
and
↓
to scroll to the selections not visible on the display.
The 2500 displays:
Use the 2500’s arrow keys to move the pin 1 icon to correspond to the
location of pin 1 on the device in the input tube, and press
ENTER
. The
2500 displays:
Use the arrow keys to select the pin 1 position of the device as it goes into
the receiving tube. Press
ENTER
when you are satisfied with your
selection.
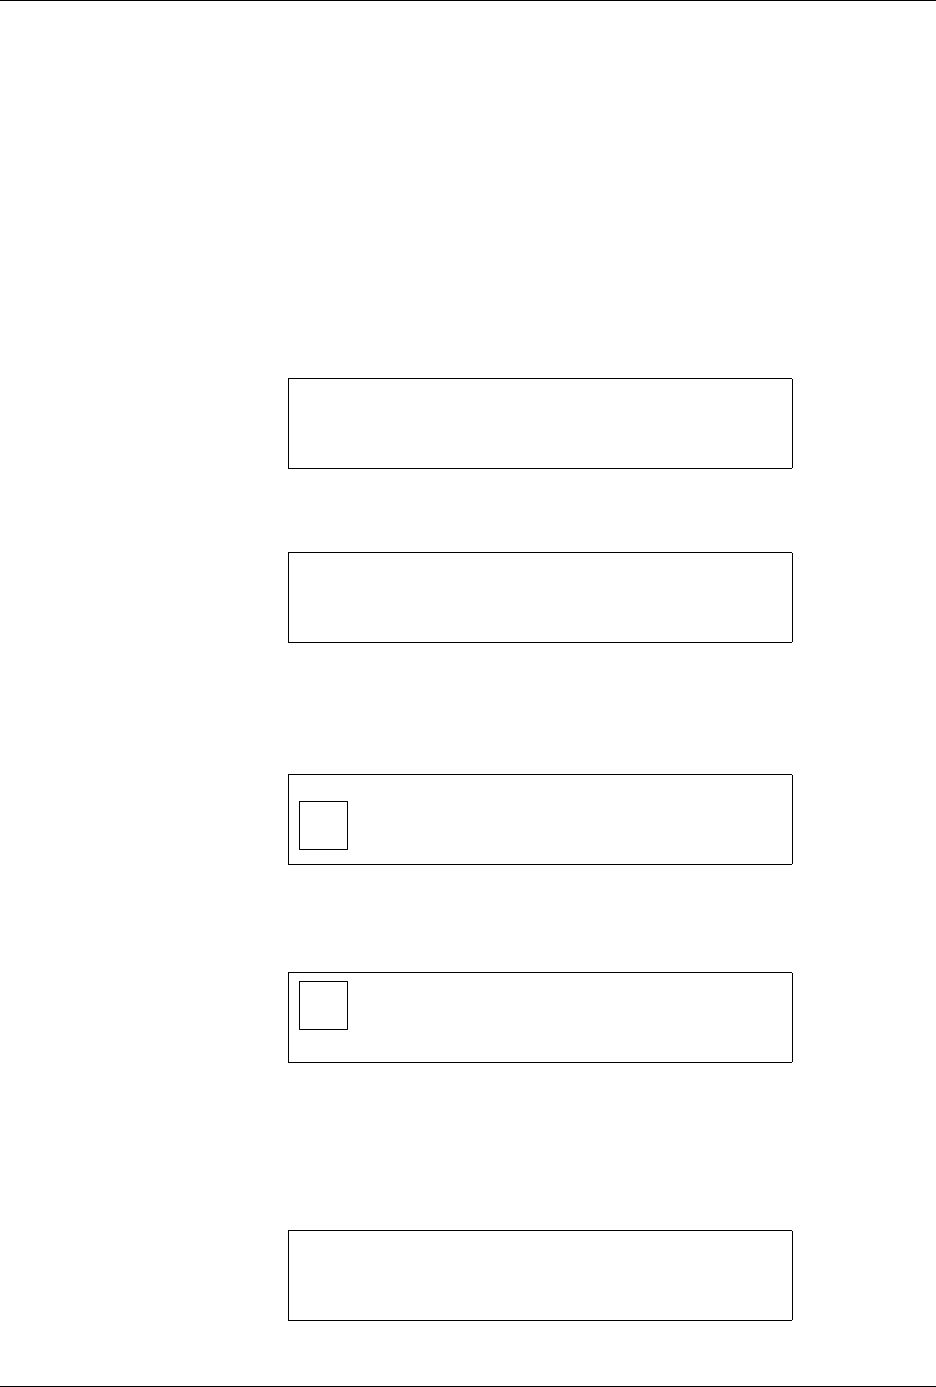
The next display prompts you to enter the number of parts per tube. The
default value appears in parentheses.
DO YOU WANT TO LABEL? (Y OR N)
CYCLE PARTS
CUSTOM PLCC 20 PLCC 28 PLCC 32
PLCC 44 PLCC 52 PLCC 68 PLCC 84
MOVE TO SELECTION THEN PRESS ENTER
1 <------- TEMPORARY FILE
SELECT POSITION OF PIN 1
AS IT COMES OUT OF THE TUBE.
USE ARROW KEYS THEN PRESS ENTER.
<------- TEMPORARY FILE
SELECT POSITION OF PIN 1
AS IT WILL GO INTO THE TUBE.
1 USE ARROW KEYS THEN PRESS ENTER.
CYCLE PARTS
ENTER NUMBER OF PARTS PER TUBE (13): _
Preventive Maintenance
ProMaster 2500 User Manual 5-43
Enter a new number, or accept the default, and press
ENTER
.
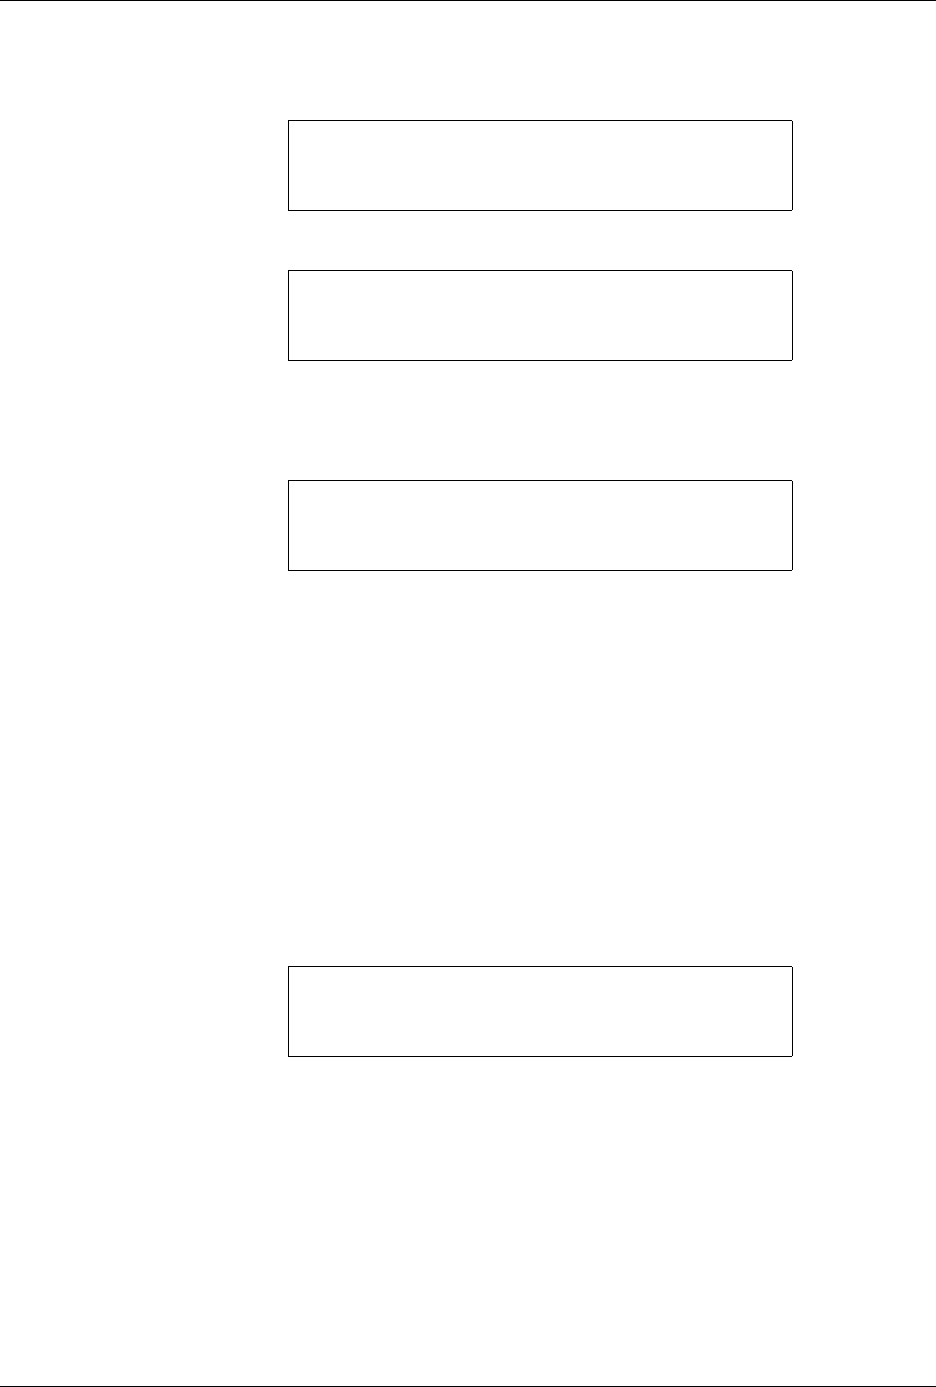
The 2500 displays:
Press
START
and the 2500 displays:
When you are finished with the test, press
RESET
.
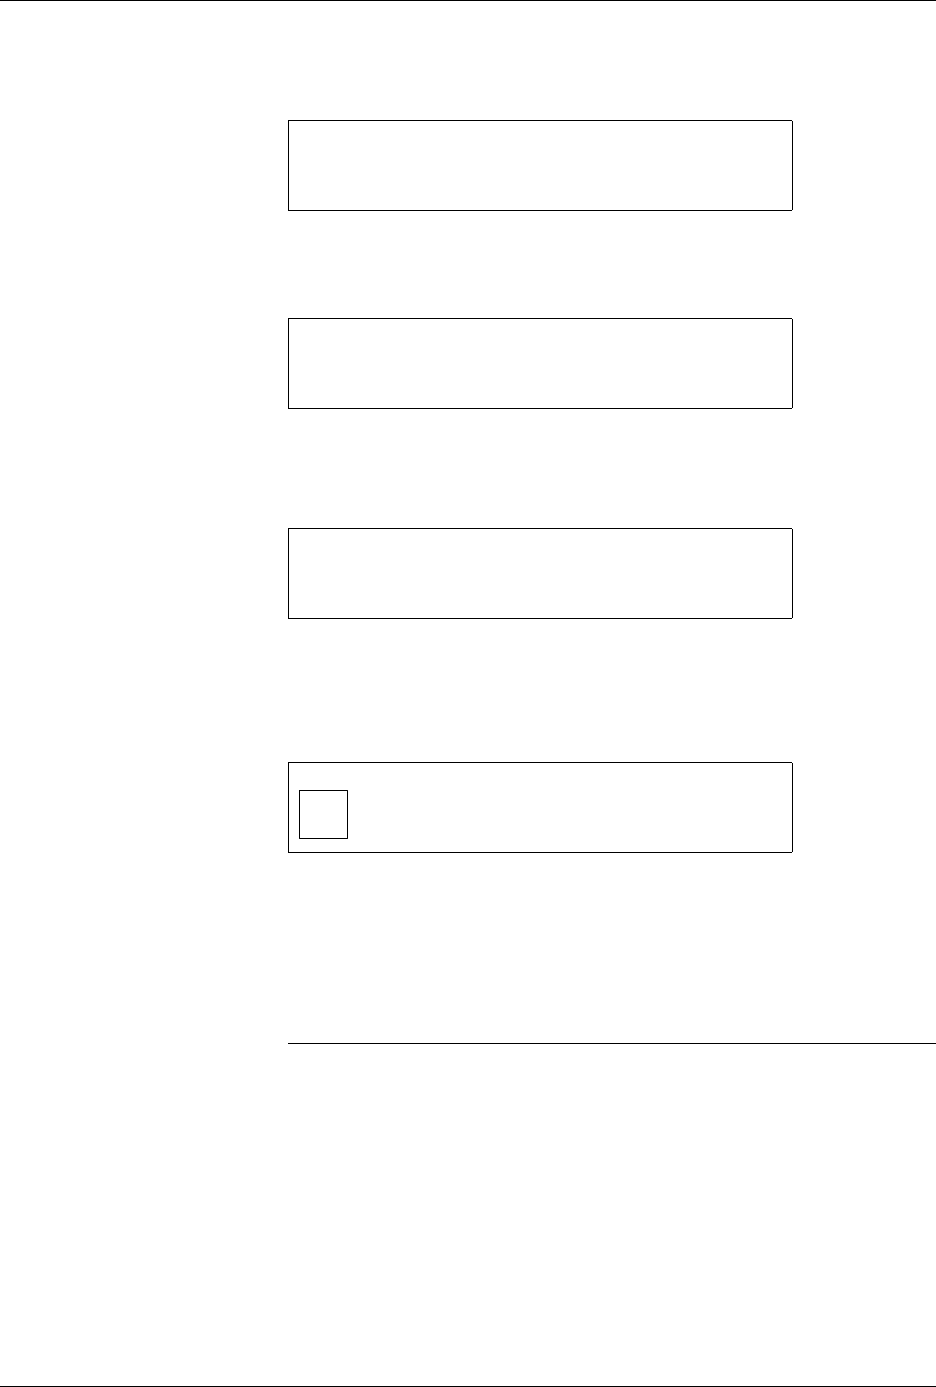
To Label Devices
If you want to label devices, press
Y
at the
DO YOU WANT TO LABEL?
display. The 2500 displays:
Select the file you want to use, or edit the Temporary file as described
below.
Editing the Temporary File
To create a test label file to be used once (for example, a test file), edit the
Temporary file, which is the first file in the directory. The content of this
file is lost when the 2500 is turned off.
Editing the Temporary file includes selecting the following:
1.
Device package
(either existing or custom)
2.
Type size
3.
Device orientation in input tube
4.
Position of the label
on the device
5.
Device orientation in output tube
6.
Text
Device Package
The 2500 displays:
To select an existing device package, use the arrow keys to move the
display cursor to the type you want and press
ENTER
. Only eight
selections appear on the display at once; use
↑
and
↓
to scroll to the
selections not visible on the display.
CYCLE PARTS
PART TYPE: PLCC 20
PART LENGTH: .390
PRESS START TO BEGIN
CYCLE PARTS
COMM: NO INTERFACE PART TYPE: PLCC 20
PARTS PER TUBE: 5 PART LENGTH: .390
PART TOTAL = 0 PROGRAM TARGET: INF
CYCLE & LABEL
TEMPORARY FILE2 FILE3 FILE4
FILE5 FILE6 FILE7 FILE8
ENTER FILE NAME:
PROGRAM/TEST LABEL TEMPORARY FILE
CUSTOM PLCC 20 PLCC 28 PLCC 32
PLCC 44 PLCC 52 PLCC 68 PLCC 84
MOVE TO SELECTION THEN PRESS ENTER
Preventive Maintenance
5-44 ProMaster 2500 User Manual
To select a custom device for which you determine the length, move the
cursor to CUSTOM, and press
ENTER
. The 2500 displays:
Type the length of your device in inches, up to three decimal places and
under 2.250 inches. Press
ENTER
. If you type an invalid number, the
2500 displays:
Type a valid number and press
ENTER
.
Type Size
After you have selected an existing device or entered a valid length for
your custom device, the 2500 displays:
“S” indicates a short font, which allows more lines to be printed on the
labels. Select the font you want and press
ENTER
.
Device Orientation in
Input Tube
The 2500 displays:
Move the pin 1 icon (using the arrow keys) to match the position of pin 1
on the device in the input tube. We recommend the following settings:
• For square PLCC devices, orient pin 1 toward the back of the 2500.
• For 32-pin PLCC, all DIP, and all SOIC devices, orient pin 1 toward
the right (when standing in front of the 2500).
CAUTION: Be sure the device orientation in the display is the same as in
the input track. If it is not, during operation the device may
be inserted incorrectly into the programming module,
possibly damaging the device or module.
Press
ENTER
after you have made your selection.
PROGRAM/TEST LABEL TEMPORARY FILE
ENTER PART LENGTH: _
EXAMPLE: 1.234 OR .28 OR 1
PROGRAM/TEST LABEL TEMPORARY FILE
ENTER PART LENGTH: _
LENGTH CAN NOT EXCEED 2.250
PRINT LABEL TEMPORARY FILE
AUTO-SEL 26 CPI 26 CPI S 20 CPI
18 CPI 16 CPI T 12 CPI T
MOVE TO SELECTION THEN PRESS ENTER
1 <------- TEMPORARY FILE
SELECT POSITION OF PIN 1
AS IT COMES OUT OF THE TUBE.
USE ARROW KEYS THEN PRESS ENTER.