2500_Users_Manual - 第414页
Local Mo de F-2 Pro Mast er 25 00 Use r Man ual 3. Pr ess 2 to select the t hermal printer. Th is reconfig ures the 2500 so that it operates with a thermal printer installed. The Mai n Menu Comma nds The 2500 will di spl…
ProMaster 2500 User Manual F-1
F
Local Mode
Local mode is an operating mode for the ProMaster 2500 where the
operator is communicating using the 2500’s keyboard and display. This
mode can be used for initial system setup, running diagnostic tests or
cycling devices. This chapter describes the parameters that can be
changed using the 2500’s keyboard.
Switching Between Local and Remote Modes
The 2500 normally operates with TaskLink in Remote mode. To switch to
Local mode, press
LOWER CASE
+
L
(for
Local
) on the 2500’s keyboard.
The 2500 powers up in the mode it was in when last turned off.
Return to Remote mode by pressing
LOWER CASE
+
R
(for
Remote
) on
the 2500’s keyboard.
System Configuration
The ProMaster 2500 can be configured to operate with either a dot matrix
or a thermal printer. The handler was configured correctly at the factory
for the type of printer that was installed during assembly. If a handler
with a thermal printer begins operating as though it were configured for
the dot matrix printer option, complete the following steps to reconfigure
it for the thermal printer.
1. Press
LOWER CASE
+
L
to put the 2500 in local mode.
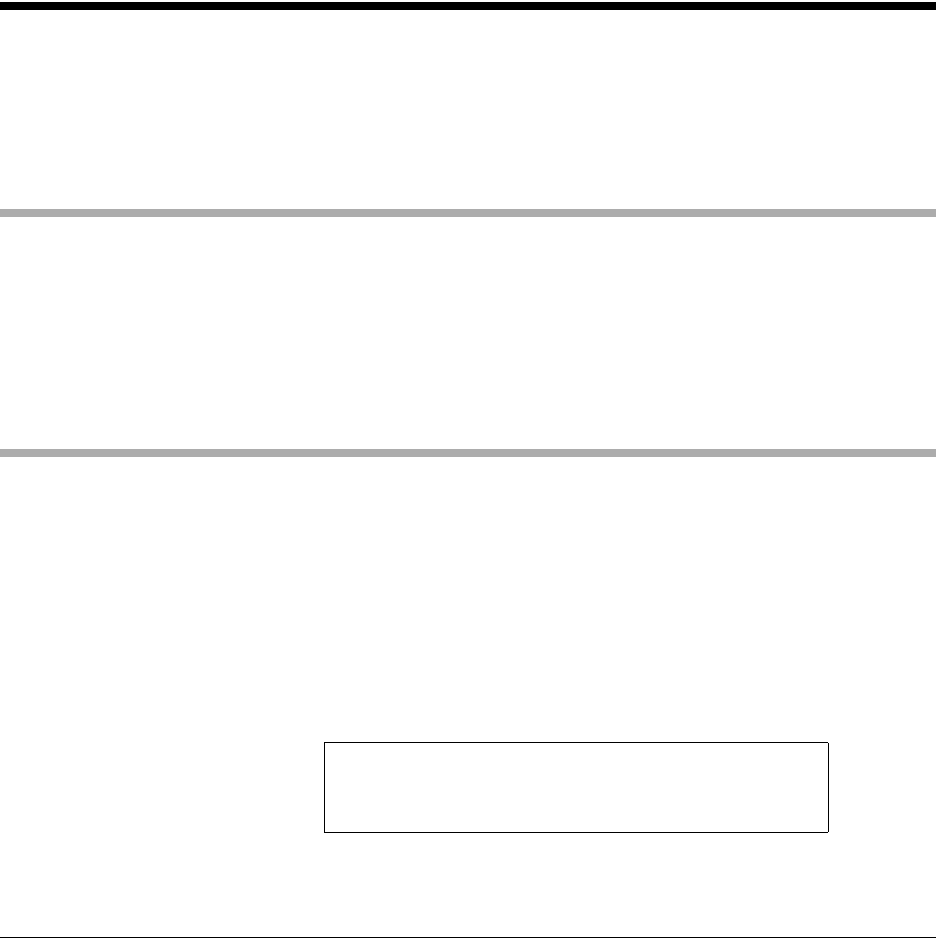
2. From the Main Menu, press
LOWER CASE
+
W
.
1-DOT MATRIX, 2-THERMAL
ENTER TYPE OF MARKER (2): _

Local Mode
F-2 ProMaster 2500 User Manual
3. Press
2
to select the thermal printer. This reconfigures the 2500 so that
it operates with a thermal printer installed.
The Main Menu Commands
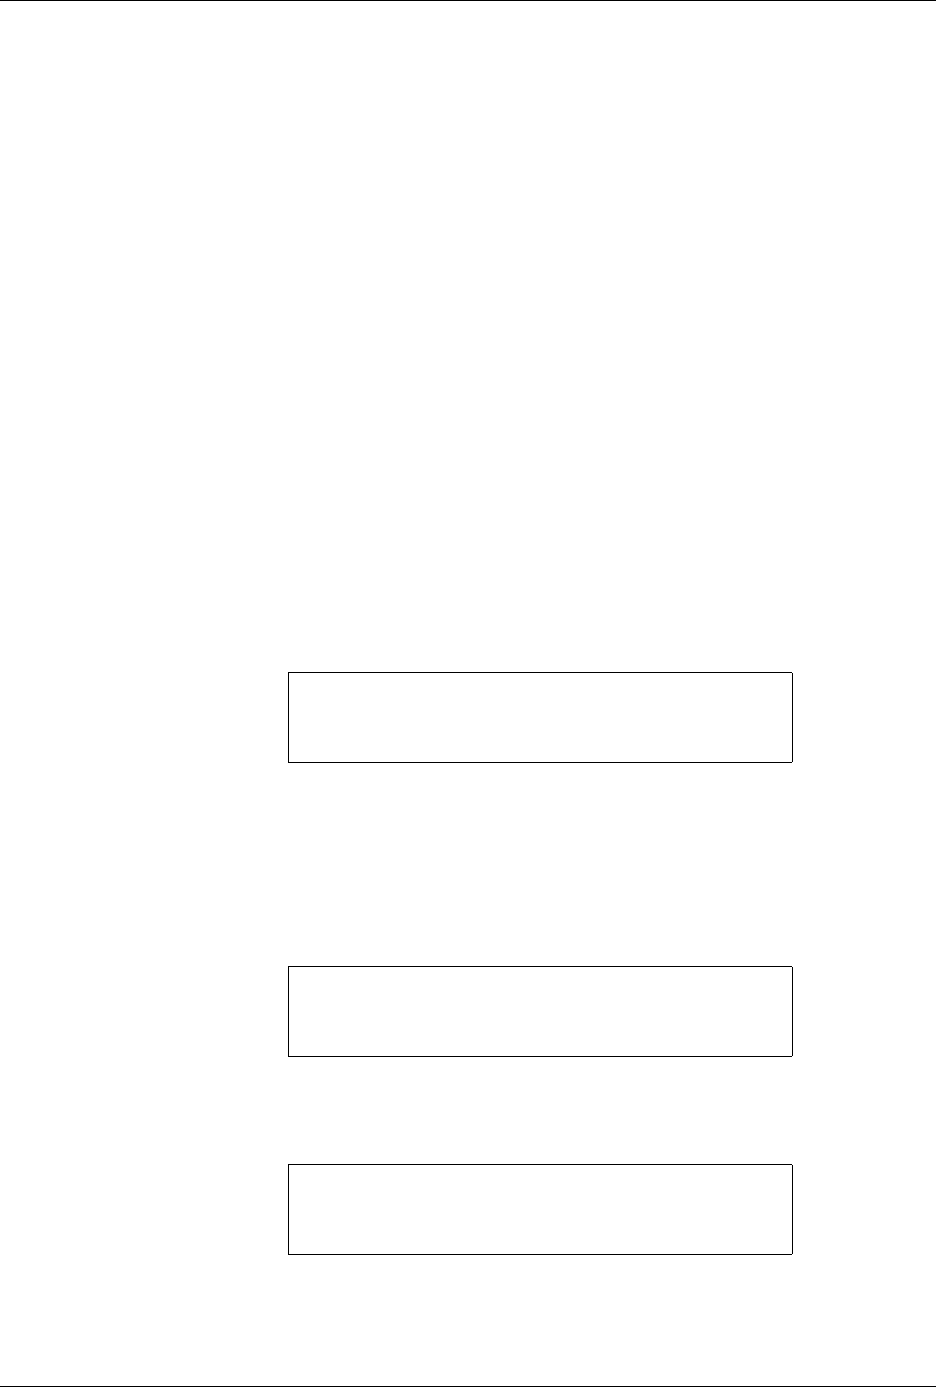
The 2500 will display the following Main Menu:
Press the number key corresponding to the optional menu you wish to
access and the 2500 will display the new menu. This manual will describe
these menus in the order that these appear on the display from top to
bottom.
Operations Menu
This menu lists operations that instruct the 2500 to perform an operation.
From the Main Menu, press one of the numbers to select the option you
need to access.
The Device Programming
Operations
These commands are not to be used during normal operation. They are
available to the service technician to perform tests to assist in assessing
programming related problems. The service commands on this menu are:
•Program/Test & Label
•Load Master
• Program/Test Only
Label Only
This command is useful when you want to print and apply labels to
devices. When this is selected, the programming station is bypassed. All
devices are labeled and directed to the nearest receiving tube. Category
assignments are inactive in this mode.
1. From the Main Menu, press
1
to select OPERATIONS. The 2500
displays:
2. From the Operations Menu, press
4
to select LABEL ONLY. The 2500
displays:
* * PROMASTER 2500 MAIN MENU * *
ENTER THE NUMBER OF THE DESIRED FUNCTION
1 - OPERATIONS 3 - SYSTEM SETUP
2 - FILE UTILITIES 4 - DIAGNOSTICS
* * * OPERATIONS MENU * * *
1 - PROGRAM/TEST & LABEL 4 - LABEL ONLY
2 - LOAD MASTER 5 - PRINT ONLY
3 - PROGRAM/TEST ONLY 6 - PURGE
LABEL ONLY
TEMPORARY FILE1 FILE2 FILE3
FILE4 FILE5 FILE6 FILE7
ENTER FILE NAME:
Local Mode
ProMaster 2500 User Manual F-3
3. Select the file you want to use for this operation. Use the arrow keys
to scroll through the filenames. Press
↓
to scroll down the list of
filenames and press
↑
to back up. Use
←
and
→
to move the cursor
across the columns to the file you want to use and press
ENTER
.
In most cases you will be running in this mode to perform some test on
the 2500’s operation. If you want to create a test label file and do not want
to save the file for later use, select TEMPORARY as your file. The contents
of this file are deleted when the 2500 is turned off.
Selecting an existing file shortens the process because it bypasses the text
file creating steps If you select an existing file, proceed to the section
called “Labeling a Device” on page F-5.
Creating a Temporary File
The process of creating a Temporary file includes selecting the following:
1. Device package (either existing or custom)
2. Type size
3. Orientation of device pin 1 in input tube
4. Position of the label on the device
5. Device orientation in output tube
6. Text
Scroll to the Temporary file using the arrow keys and select it by pressing
ENTER
.
Selecting a Device
Package
The 2500 displays:
Select either an existing device or a custom device as described below.
To select an existing device package, use the arrow keys to move to the
type you want and press
ENTER
. Only eight selections appear on the
display at one time; press
↓
to scroll to the ones not visible on the display.
To select a custom device for which you determine the length, move the
cursor to CUSTOM, and press
ENTER
. The 2500 displays:
Type the length of your device in inches, up to three decimal places and
under 2.250 inches. Press
ENTER
. If you type an invalid number, the
2500 displays:
Type a valid number and press
ENTER
.
PROGRAM/TEST LABEL TEMPORARY FILE
CUSTOM PLCC 20 PLCC 28 PLCC 32
PLCC 44 PLCC 52 PLCC 68 PLCC 84
MOVE TO SELECTION THEN PRESS ENTER
PROGRAM/TEST LABEL TEMPORARY FILE
ENTER PART LENGTH: _
EXAMPLE: 1.234 OR .28 OR 1
PROGRAM/TEST LABEL TEMPORARY FILE
ENTER PART LENGTH: _
LENGTH CAN NOT EXCEED 2.250