Utah-94-721002-System-Manual.pdf - 第103页
System Manual lñÑçêÇ=fåëíêìãÉåíë=mä~ëã~=qÉ ÅÜåçäçÖó== mä~ëã~ä~Ä póëíÉãNMM 2) Click on the process chamber wafer indicator. The wafer is tra nsferred to the process chamber. To transfer a wafer from a process chamber to t…
mä~ëã~ä~ÄpóëíÉãNMM lñÑçêÇ=fåëíêìãÉåíë=mä~ëã~=qÉÅÜåçäçÖó== System Manual
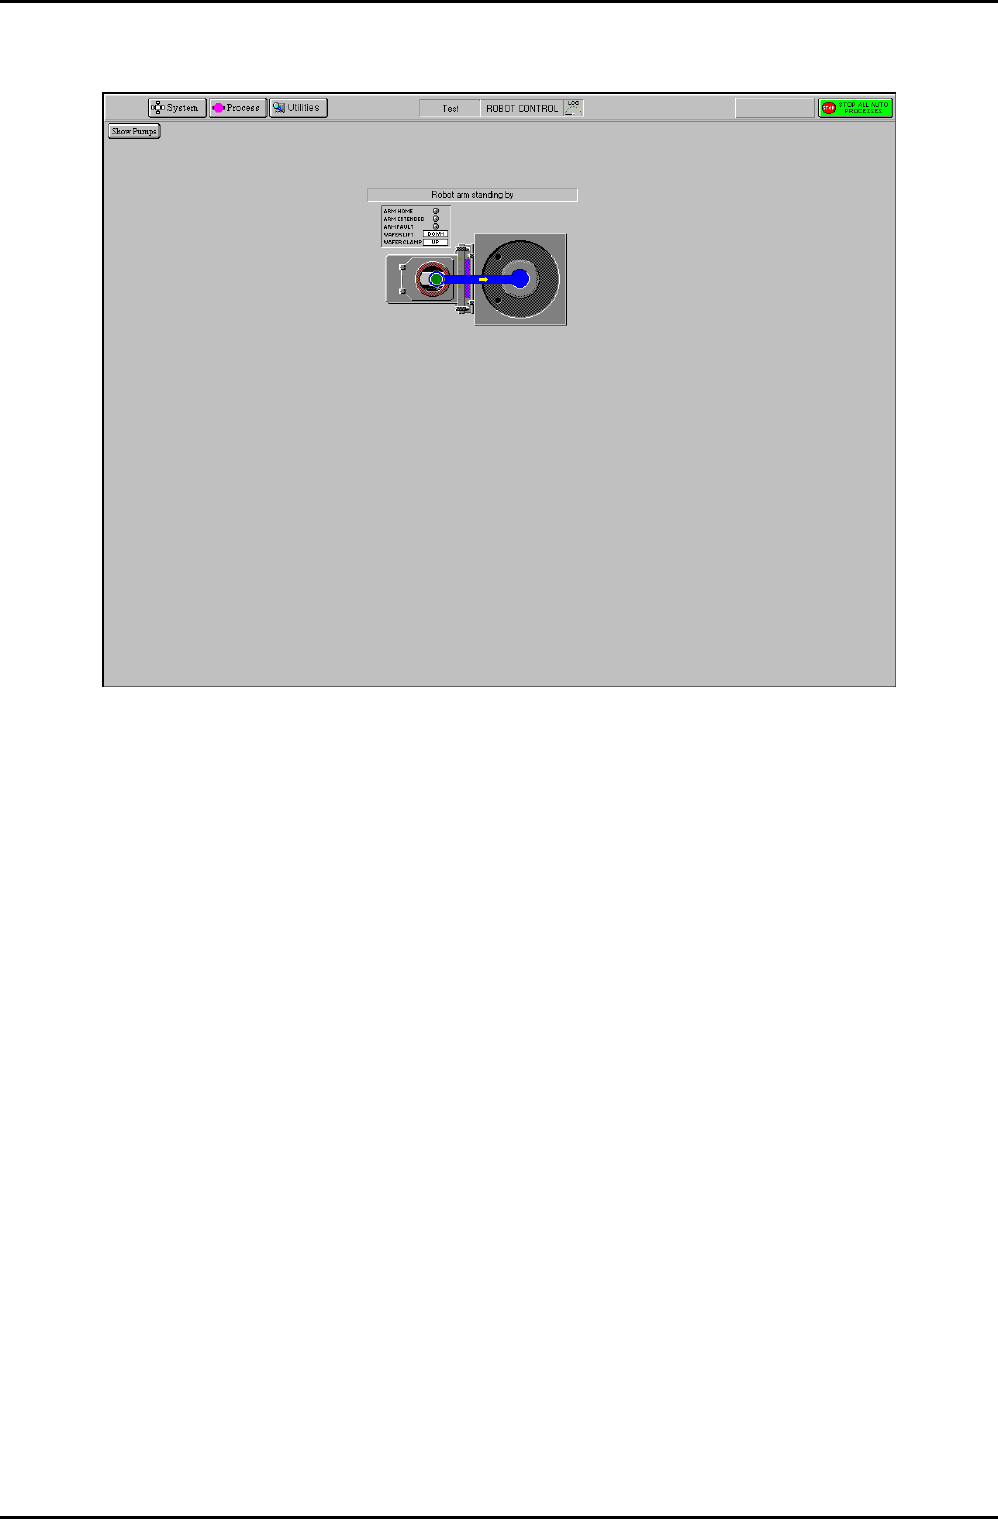
RKUKO= oçÄçí=Åçåíêçä=é~ÖÉ=
Fig 5.13: Robot control page
The Robot Control page is used to manually transfer a wafer between chambers (when
operating in automatic mode, i.e. running a recipe, wafers are transferred automatically). The
location of the wafer is indicated by a green wafer indicator. The arrowed path shows the
currently available wafer destination.
The page provides the following features:
Show Pumps
button
Displays the Pump Control page
Transfer arm
and Wafer lift
status panel
Displays indicators for ARM HOME, ARM EXTENDED and ARM FAULT
(illuminated when active). Also displays WAFER LIFT and WAFER CLAMP
status (up or down).
Transfer
status
message field
Displays context-related message about the wafer transfer progress.
Process
chamber and
Automatic load
lock mimic
Displays the wafer location and possible wafer destination.
To transfer a wafer from the Automatic load lock to the process chamber to carry out a
manual process, use the following steps:
1) Click on the Automatic load lock wafer mimic. The blue arrowed path is displayed
showing the available destination.
Operating Instructions
UC Davis 94-721001 Issue 1: March 06 Page 5-36 of 52 Printed: 22-Mar-06, 10:42

System Manual lñÑçêÇ=fåëíêìãÉåíë=mä~ëã~=qÉÅÜåçäçÖó== mä~ëã~ä~ÄpóëíÉãNMM
2) Click on the process chamber wafer indicator. The wafer is transferred to the process
chamber.
To transfer a wafer from a process chamber to the Automatic load lock on completion of a
manual process, use the following steps:
1) Click on the process chamber’s green wafer indicator. The blue arrowed path is
displayed showing the available destination.
2) On the Automatic load lock mimic, click on the wafer indicator. The wafer is
transferred to the Automatic load lock.
RKUKP= oÉÅáéÉ=é~ÖÉ=
Fig 5.14: Recipe page
The recipe page is used to create, edit and run recipes. See sub-section 5.4.5 (Automatic
process run, page 5-16) and sub-section 5.5 (Creating and editing recipes, page 5-21).
The facilities on this page are:
Automatic
button
Select to carry out an automatic process run using a recipe. The button’s
indicator is coloured yellow when selected.
The recipe will be performed on a substrate. The substrate will start at
the normal wafer entry point and will be automatically transferred to
each chamber, as the recipe requires. At the end of processing, the
wafer will be returned to its starting point.
Operating Instructions
Printed: 22-Mar-06, 10:42 Page 5-37 of 52 UC Davis 94-721001 Issue 1: March 06

mä~ëã~ä~ÄpóëíÉãNMM lñÑçêÇ=fåëíêìãÉåíë=mä~ëã~=qÉÅÜåçäçÖó== System Manual
Manual
button
Select to carry out a manual process run. The button’s indicator is
coloured yellow when selected.
The recipe is associated with a chamber. If selected, further options
‘wafer’ and ‘no wafer’ are given. No automatic wafer transfers are
performed; therefore a wafer must be loaded using the Robot Control
page if required.
Recipe Name
field
The name of the currently loaded recipe.
Data Log
Interval field
Displays the data log interval, i.e. the time interval between the logging
of system parameters.
Created field
The date and time of recipe creation.
Recipe
length field
The length of time taken to run the recipe. This is the sum of all the
process times, excluding wafer transfer time, process stabilisation and
pumping times.
Recipe step list
A scrollable sequential list of steps contained in the recipe.
New button
Select to create a new recipe.
Load button
Select to load an existing recipe.
Save button
Select to save the current recipe.
Run button Select to run the current recipe. Be aware that selecting this button
will cause the robotic arm, slit valve, etc to operate!
Step Library Panel
Edit button
Select to edit the selected (highlighted) recipe step.
New button
Select to create a new recipe step.
Copy button
Select to copy the selected recipe (you are prompted for a new step
name).
Delete button
Select to delete the selected (highlighted) recipe.
Step Library
list
Displays the recipe steps available in a scrollable list.
Operating Instructions
UC Davis 94-721001 Issue 1: March 06 Page 5-38 of 52 Printed: 22-Mar-06, 10:42