00190802-02.pdf - 第29页
User’s Manual Line Computer UNIX 1 Hardware / Software Install ation Software Version 402.xx Edition 06/96 1.2 Hardware Installation 1 - 15 Correcting distorti ons ● Select a bbreviation GC (G eometr y C orrection). ● Pr…
1 Hardware / Software Installation User’s Manual Line Computer UNIX
1.2 Hardware Installation Software Version 402.xx Edition 06/96
1 - 14
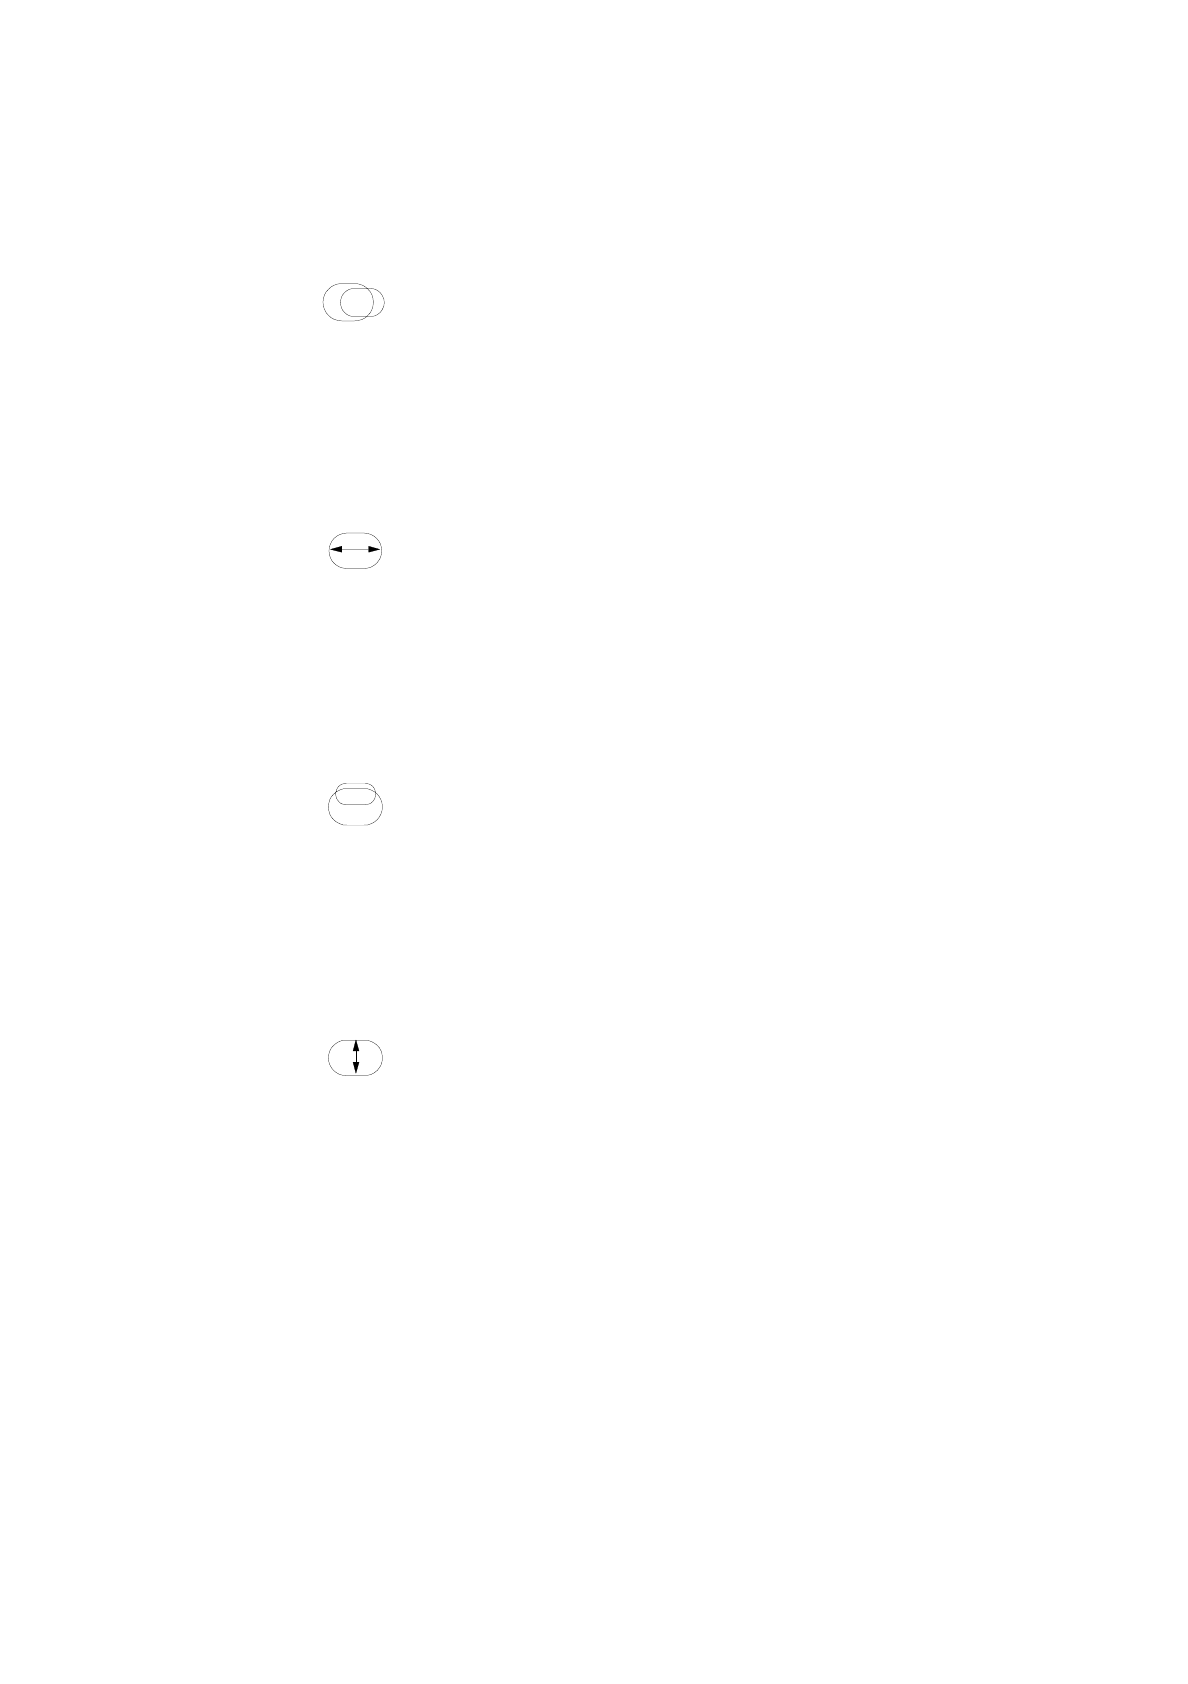
Setting display size and position
Adjusting the horizontal position
●
Select symbol .
●
Press the CONFIRM button.
●
Using the PLUS oder MINUS button shift the picture to the left or right.
●
Press the CONFIRM button.
Adjusting the horizontal size
●
Select symbol .
●
Press the CONFIRM button.
●
Using the PLUS oder MINUS button increase or decrease the size of the picture.
●
Press the CONFIRM button.
Adjusting the vertical position
●
Select symbol .
●
Press the CONFIRM button.
●
Using the PLUS oder MINUS button shift the picture up or down.
●
Press the CONFIRM button.
Adjusting the vertical size
●
Select symbol .
●
Press the CONFIRM button.
●
Using the PLUS oder MINUS button increase or decrease the size of the picture.
●
Press the CONFIRM button.
User’s Manual Line Computer UNIX 1 Hardware / Software Installation
Software Version 402.xx Edition 06/96 1.2 Hardware Installation
1 - 15
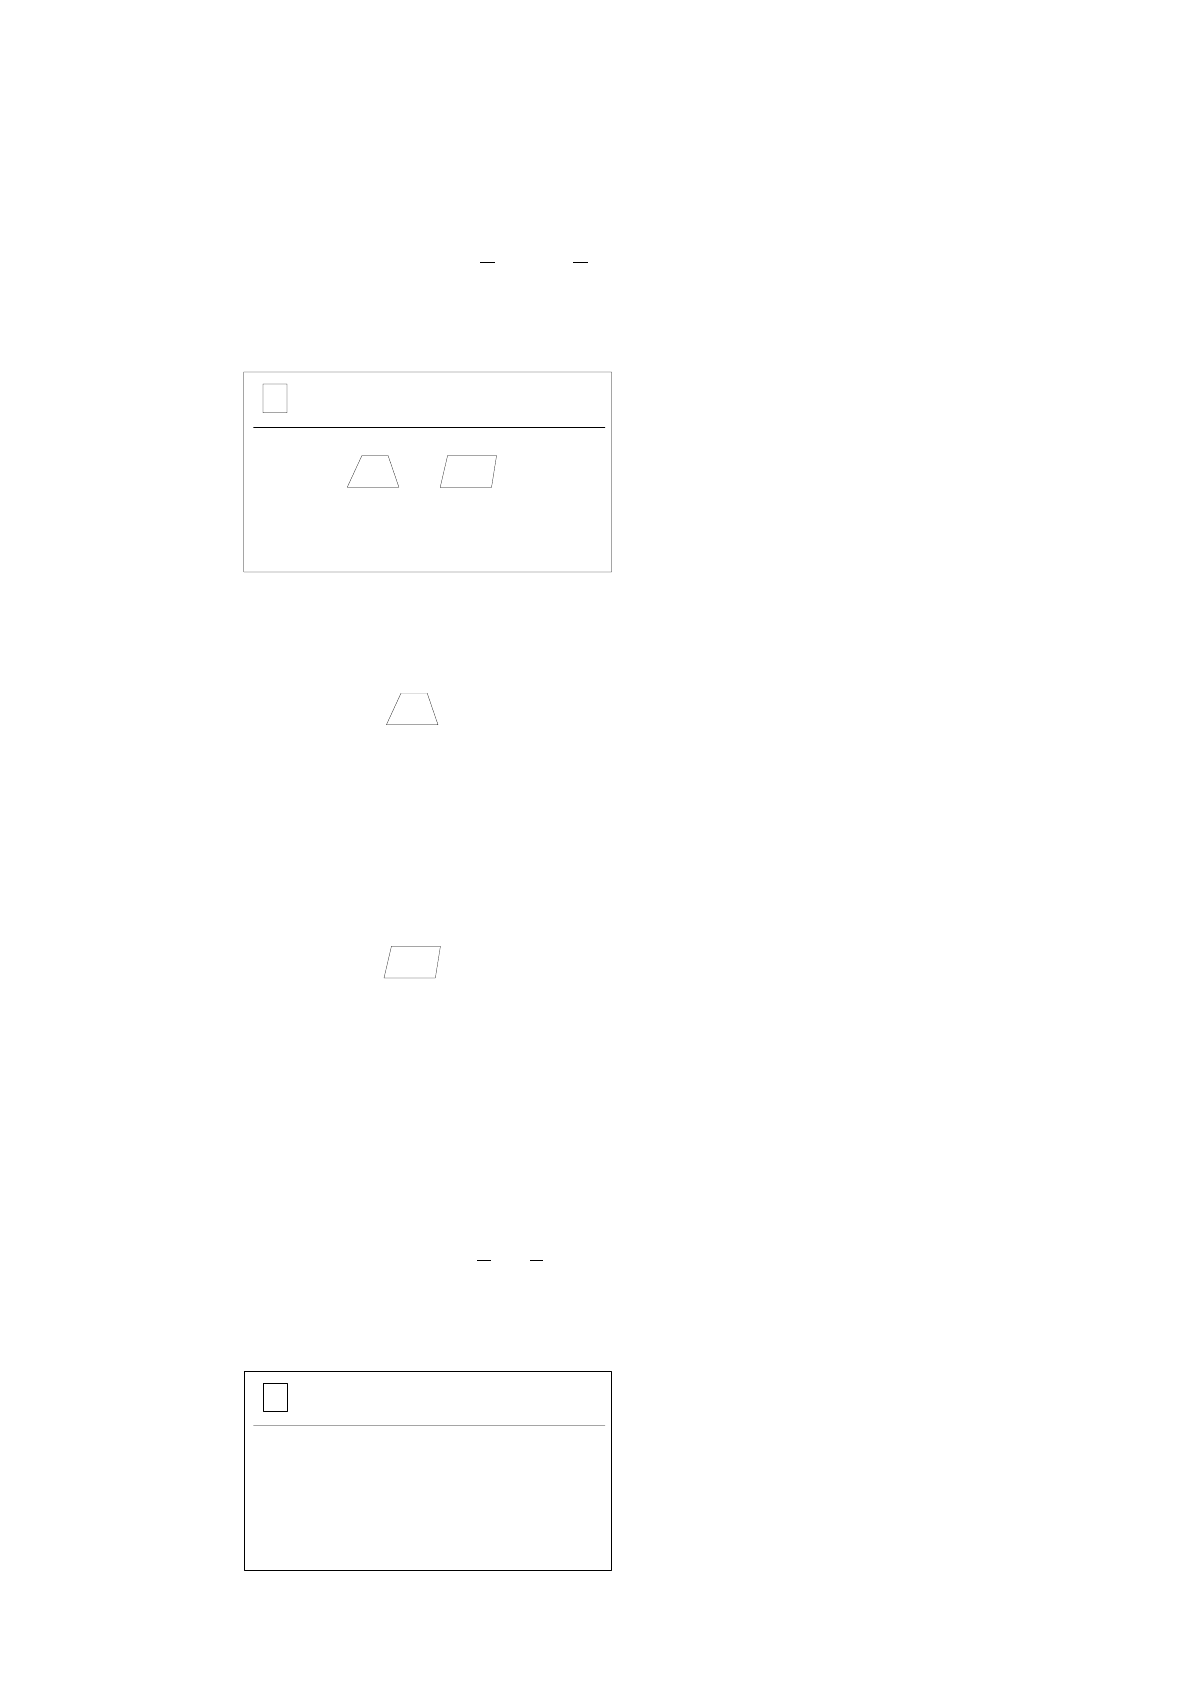
Correcting distortions
●
Select abbreviation
GC
(Geometry Correction).
●
Press the CONFIRM button.
The second level of the OSD menu will be displayed.
Correcting trapezium distortion
●
Select symbol .
●
Press the CONFIRM button.
●
Using the PLUS or MINUS button correct the image.
●
Press the CONFIRM button.
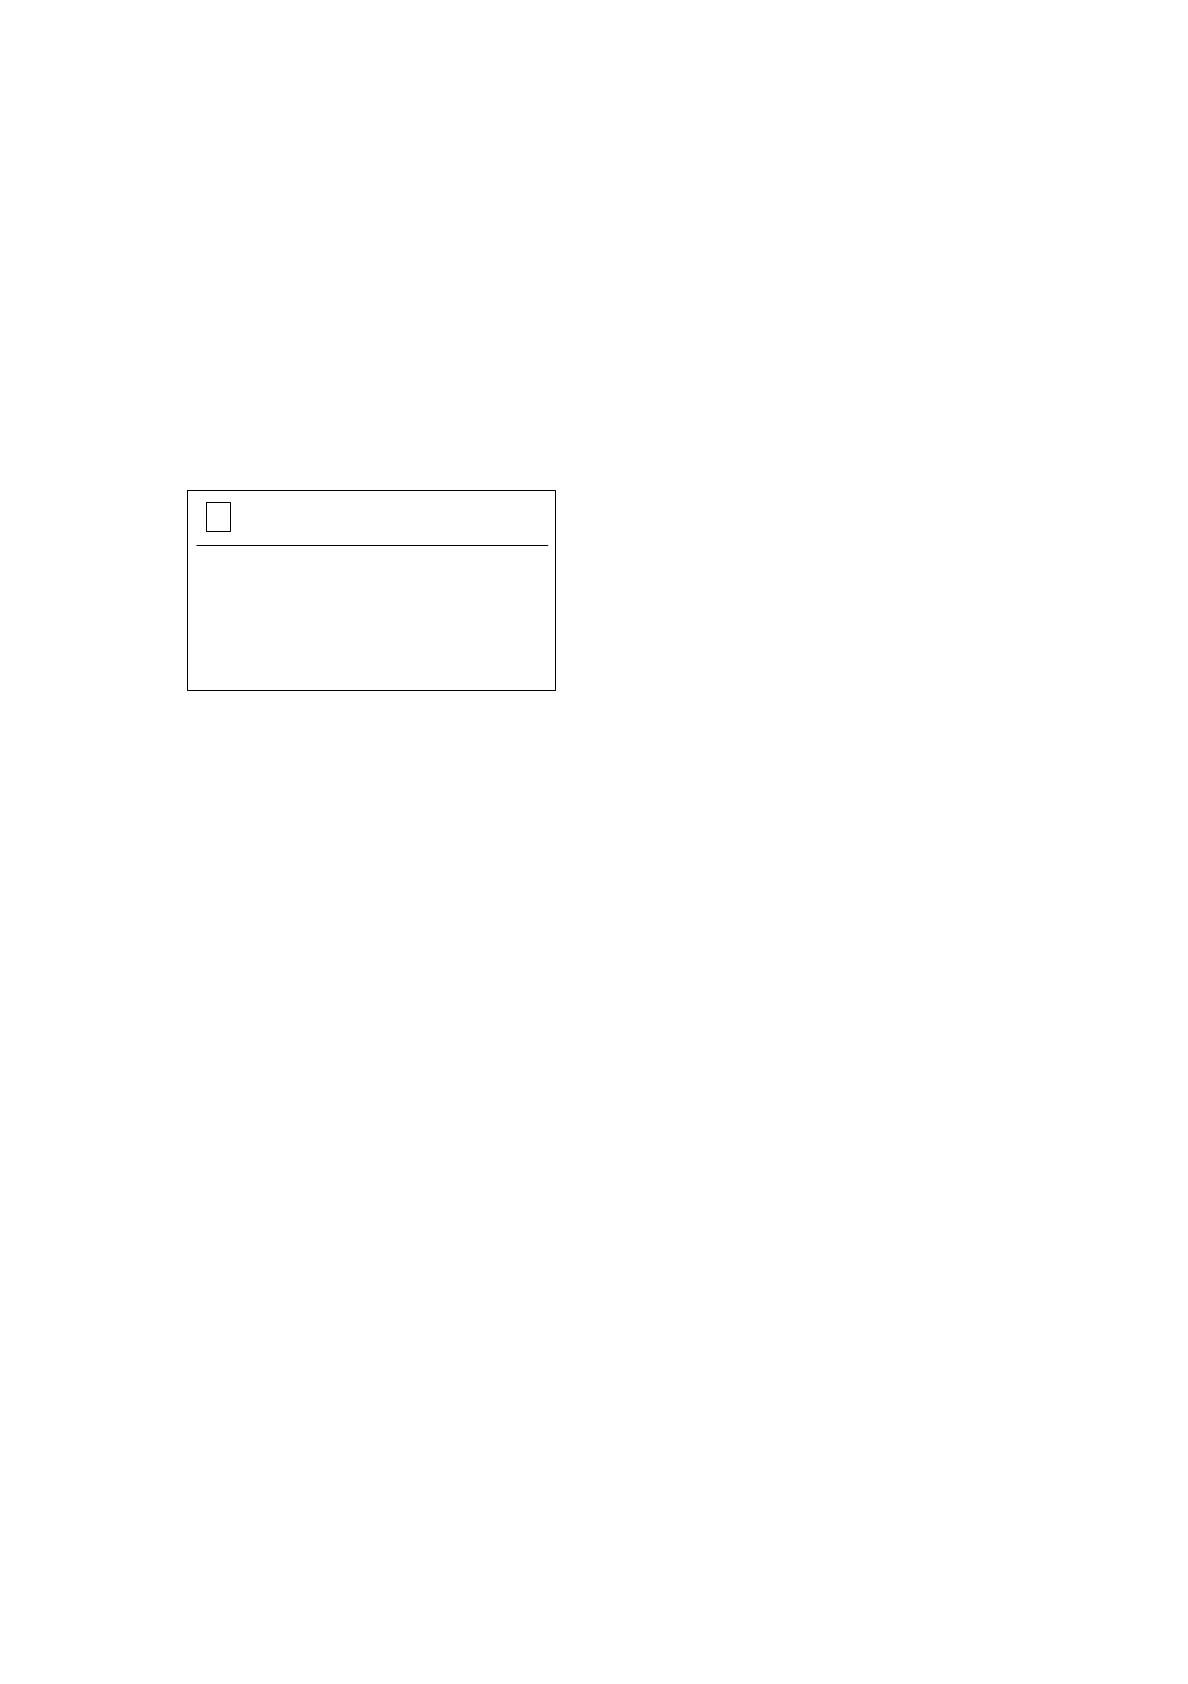
Correcting skew distortion
●
Select symbol .
●
Press the CONFIRM button.
●
Using the PLUS or MINUS button correct the image.
●
Press the CONFIRM button.
Adjusting colors
●
Select abbreviation
CA
(Color Adjustment).
●
Press the CONFIRM button.
The second level of the OSD menu will be displayed.
2
GC
2
CA
➩➪
93 65
U1 U2
1 Hardware / Software Installation User’s Manual Line Computer UNIX
1.2 Hardware Installation Software Version 402.xx Edition 06/96
1 - 16
Setting color temperature
●
Select color temperature
93
(9300K) or
65
(6500K).
●
Press the CONFIRM button.
Setting user-defined colors
●
Select
U1
(User Mode 1) or
U2
(User Mode 2).
●
Press the CONFIRM button.
The third level of the OSD menu will be displayed.
●
Select
R
(red),
G
(green) or
B
(blue).
●
Press the CONFIRM button.
●
Using the PLUS or MINUS button set the color.
●
Press the CONFIRM button.
●
Repeat the procedure for the other colors.
Recalling color presettings
●
In submenu
CA
select symbol
➩➪
(Recall Color).
●
Press the CONFIRM button.
All color adjustments will be restored to the factory settings.
Degaussing the screen
●
Select
DG
on the first level of the OSD menu.
●
Press the CONFIRM button.
The message "DEGAUSSING NOW" will then appear on the screen.
3
U1
R
I I I I I
G
I I I I I
B
I I I I I