00190802-02.pdf - 第31页
User’s Manual Line Computer UNIX 1 Hardware / Software Install ation Software Version 402.xx Edition 06/96 1.2 Hardware Installation 1 - 17 Setting synchronisation By defa ult, th e monitor is set to sep arate ho rizonta…
1 Hardware / Software Installation User’s Manual Line Computer UNIX
1.2 Hardware Installation Software Version 402.xx Edition 06/96
1 - 16
Setting color temperature
●
Select color temperature
93
(9300K) or
65
(6500K).
●
Press the CONFIRM button.
Setting user-defined colors
●
Select
U1
(User Mode 1) or
U2
(User Mode 2).
●
Press the CONFIRM button.
The third level of the OSD menu will be displayed.
●
Select
R
(red),
G
(green) or
B
(blue).
●
Press the CONFIRM button.
●
Using the PLUS or MINUS button set the color.
●
Press the CONFIRM button.
●
Repeat the procedure for the other colors.
Recalling color presettings
●
In submenu
CA
select symbol
➩➪
(Recall Color).
●
Press the CONFIRM button.
All color adjustments will be restored to the factory settings.
Degaussing the screen
●
Select
DG
on the first level of the OSD menu.
●
Press the CONFIRM button.
The message "DEGAUSSING NOW" will then appear on the screen.
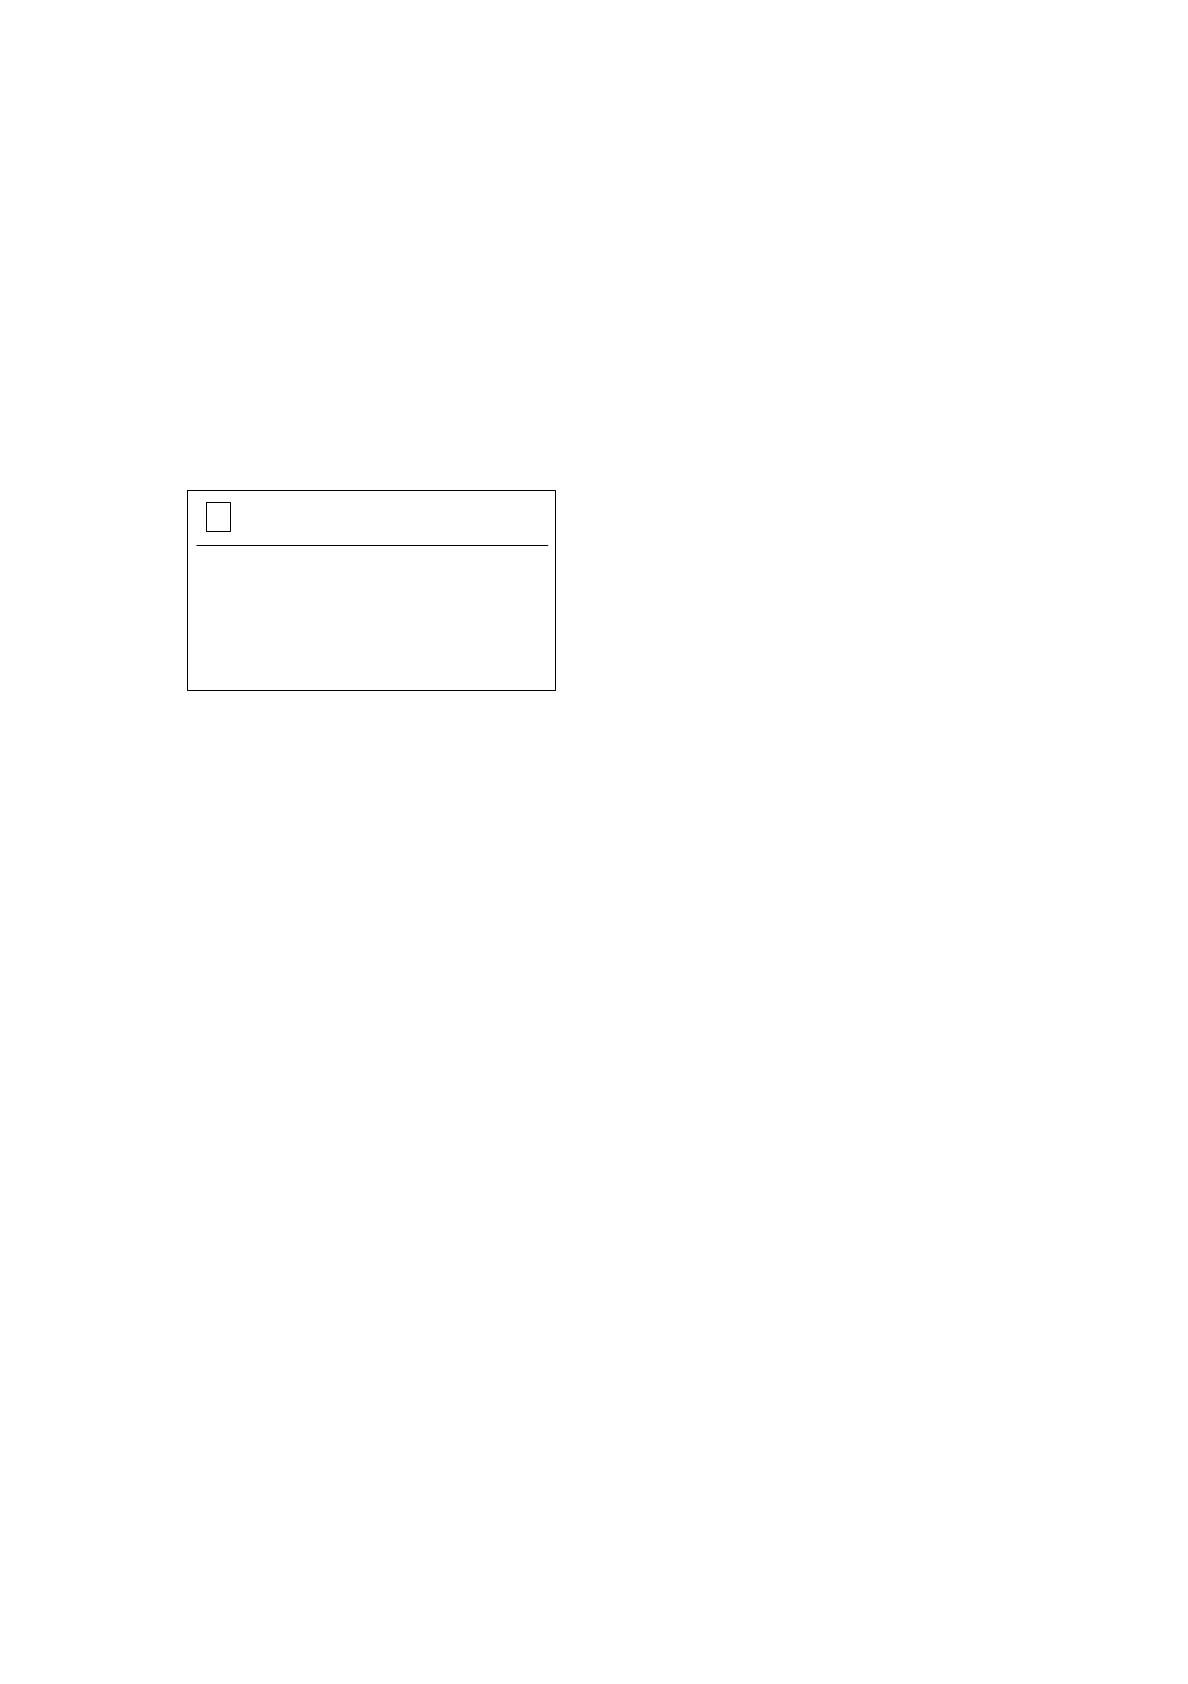
3
U1
R
I I I I I
G
I I I I I
B
I I I I I
User’s Manual Line Computer UNIX 1 Hardware / Software Installation
Software Version 402.xx Edition 06/96 1.2 Hardware Installation
1 - 17
Setting synchronisation
By default, the monitor is set to separate horizontal and vertical synchronisation (Separate/Composite
sync.).
If the monitor is connected to a computer which is not compatible with the industry standard, the
synchronization type may have to be changed.
●
On the first level of the OSD menu select
IS
.
●
Press the CONFIRM button.
The second level of the OSD menu will be displayed.
●
Select
HV
(Seperate/Composite sync.) or
SO
(Sync. On Green).
●
Press the CONFIRM button.
Activating/deactivating Power Management
The monitor’s Power Management can be deactivated.
However, it should as a rule remain active so that you can utilize the monitor’s power-saving mode.
●
Select
IS
(Input Selection).
●
Press the CONFIRM button.
The second level of the OSD menu will be displayed.
●
Select
PS
(Power Saving) or
NO
(No Power Saving).
●
Press the CONFIRM button.
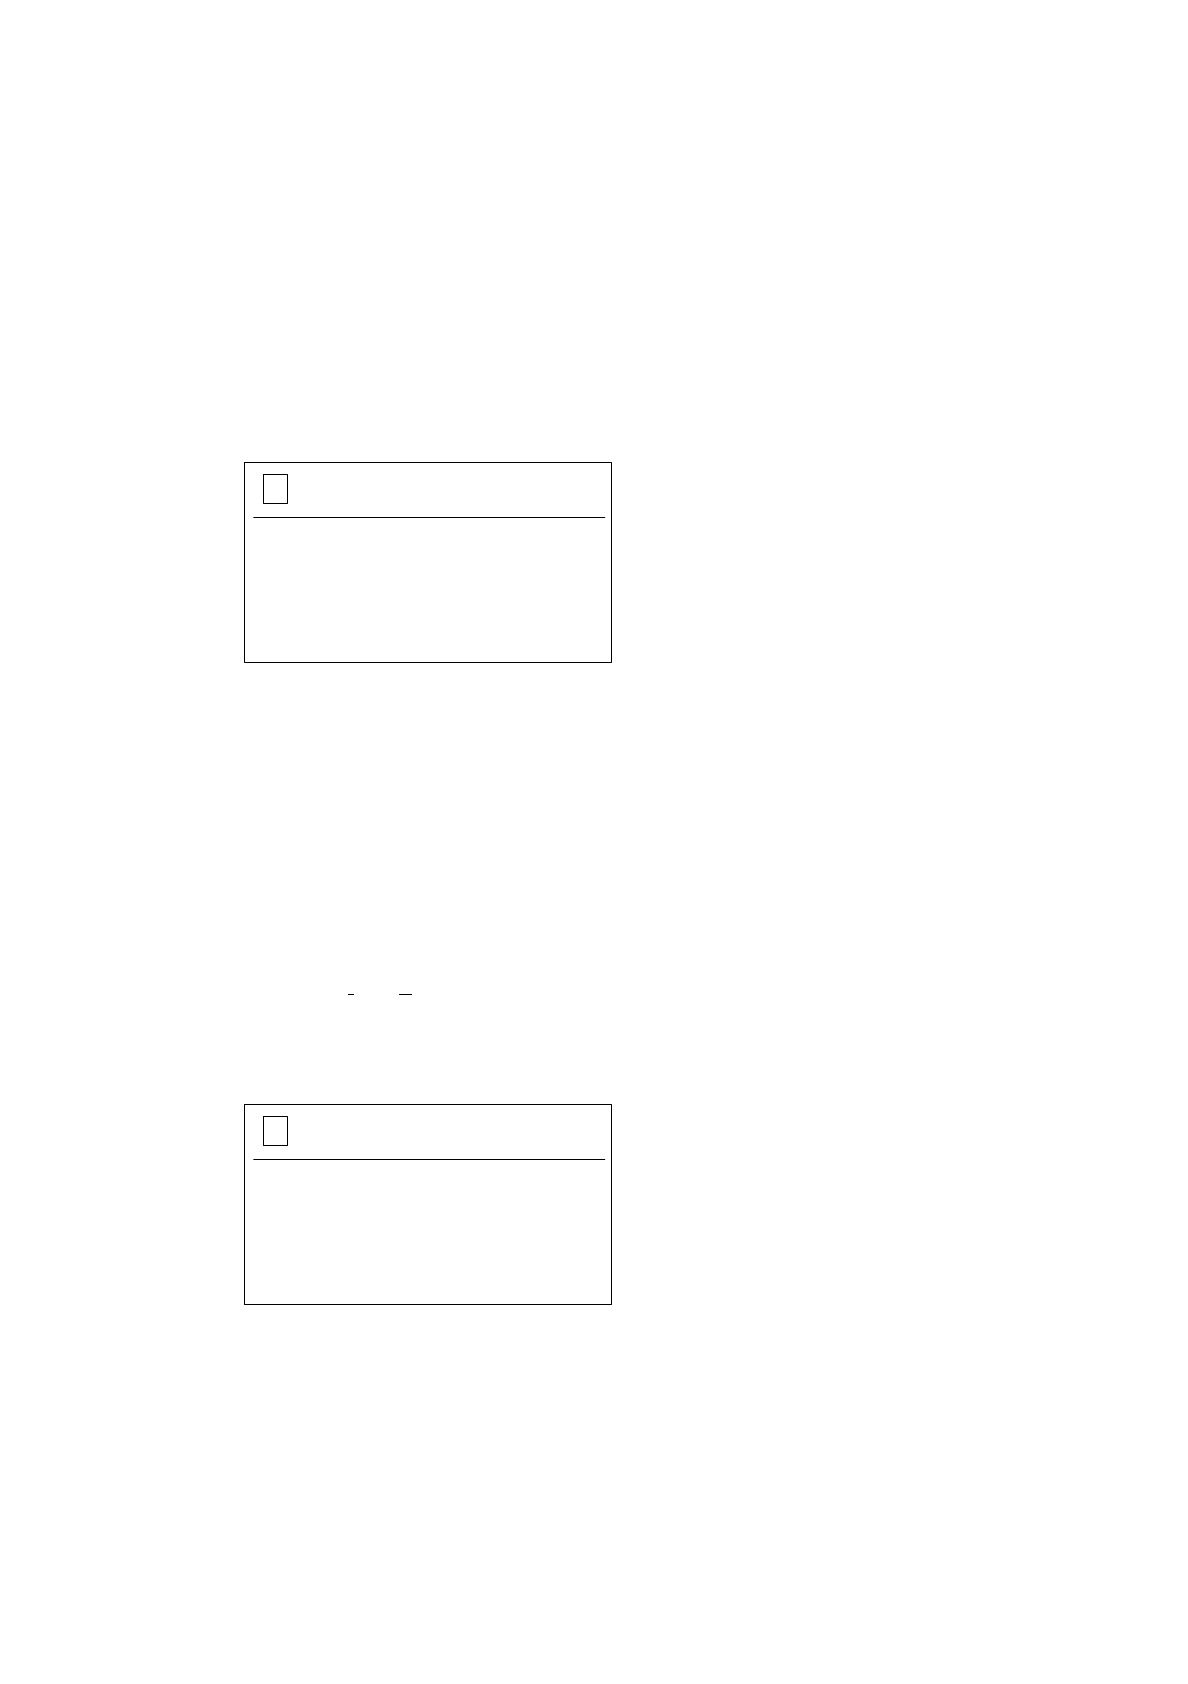
2
IS
HV / SO---------HV
PS / NO---------PS
2
IS
HV / SO---------HV
PS / NO---------PS

1 Hardware / Software Installation User’s Manual Line Computer UNIX
1.2 Hardware Installation Software Version 402.xx Edition 06/96
1 - 18
Activating the factory settings
The factory settings for image size, position, edges, synchronization and Power Management can be
recalled.
●
On the first level of the OSD menu select the symbol
➩➪
(Recall).
●
Press the CONFIRM button.
All aforementioned settings are restored to their preset values.
☞
NOTE
The colors can be restored to their preset values in the
CA
submenu using the symbol
➩➪
(Recall
Color) .
☞
NOTE
If you use a different monitor type than the one described in sections 1.2.3, 1.2.4 and 1.2.5, please refer to
the manual supplied with your monitor for details on connections and setting possibilities.