00190802-02.pdf - 第544页
17.3 Set-Up Optimization User’ s Manual SIPLACE Line Computer UNIX 17.3.2 A uto matic Set-Up Generat ion Software V ersion 402.xx Edition 06/ 96 17 - 44 17.3.2 A ut omatic Set-Up Generation Startin g Optimiza tion for lo…
User’s Manual SIPLACE Line Computer UNIX 17.3 Set-Up Optimization
Software Version 402.xx Edition 06/96 17.3.1 Lot Handling
17 - 43
To open the optimization dialog, proceed as follows:
1. Click on the Optimization dialog icon .
The optimization dialog is opened.
To create a lot file, proceed as follows:
2. Click on the Create icon .
A window is opened.
3. Click on the editing field and enter a name for the lot file
,
here:
Examples.lose
.
4. Click on the
OK
button.
Job Control is opened.
To edit a lot file, proceed as follows:
5. In Job Control click on the Insert icon , then click on the Edit support
icon .
The Edit support Lot Data is opened.
6. Select the PCB you wish to edit by double-clicking, here:
Example_1.la
.
The PCB is transferred to the
Selection:
field.
7. Click on the
Abort
button, the other data are not used at this point.
Edit support is closed. The selected PCB is transferred to the editing area.
8. In the editing area click on the
Lot name
field and enter the lot name, here:
ex1
.
9. In the editing area click on the
Lot size
field and enter the lot size, here:
10
.
10. In the editing area click on the
Lot type
field and enter the lot type, here:
F
.
11. Click on the
OK
button.
The job is transferred to the lot file. In the case of faulty entries, the respective field is surrounded by a red
frame and an error message is displayed above the list. Correct the entry.
12. Insert the remaining PCBs analogously, here:
Example_2.la
and
Example_3.la
, see chart.
To create the basic optimization data, proceed as follows:
13. Click on the
Basic Optimization Data...
command on the
SERVICES
menu.
The Basic optimization data window is opened.
14. Activate the Insert icon and click on the Edit support icon .
The Edit support Basic Optimization Data is opened.
15. Select the line,
here:
SMT.AK,
and the subline
,
here:
Linie.VA,
by double-clicking.
16. Click on the
Abort
button, no fixed or initial set-ups are used here. The edit support is closed.
The selected data are transferred to the editing area.
17. Click on the
OK
button.
The data are transferred to the list.
18. Click on the
Quit
command on the
FILE
Menu.
A dialogbox containing a request for saving data is opened
19. Click on the
Yes
button.
The Basic optimization data window is closed, the data are saved.
To save the lot file, proceed as follows:
20. Click on the
Save
command on the
FILE
menu.
The lot file is saved in the Job Data under the entered name.
21. Click on the
Quit
command on the
FILE
menu.
Job Control is closed. The Optimization Dialog is opened.
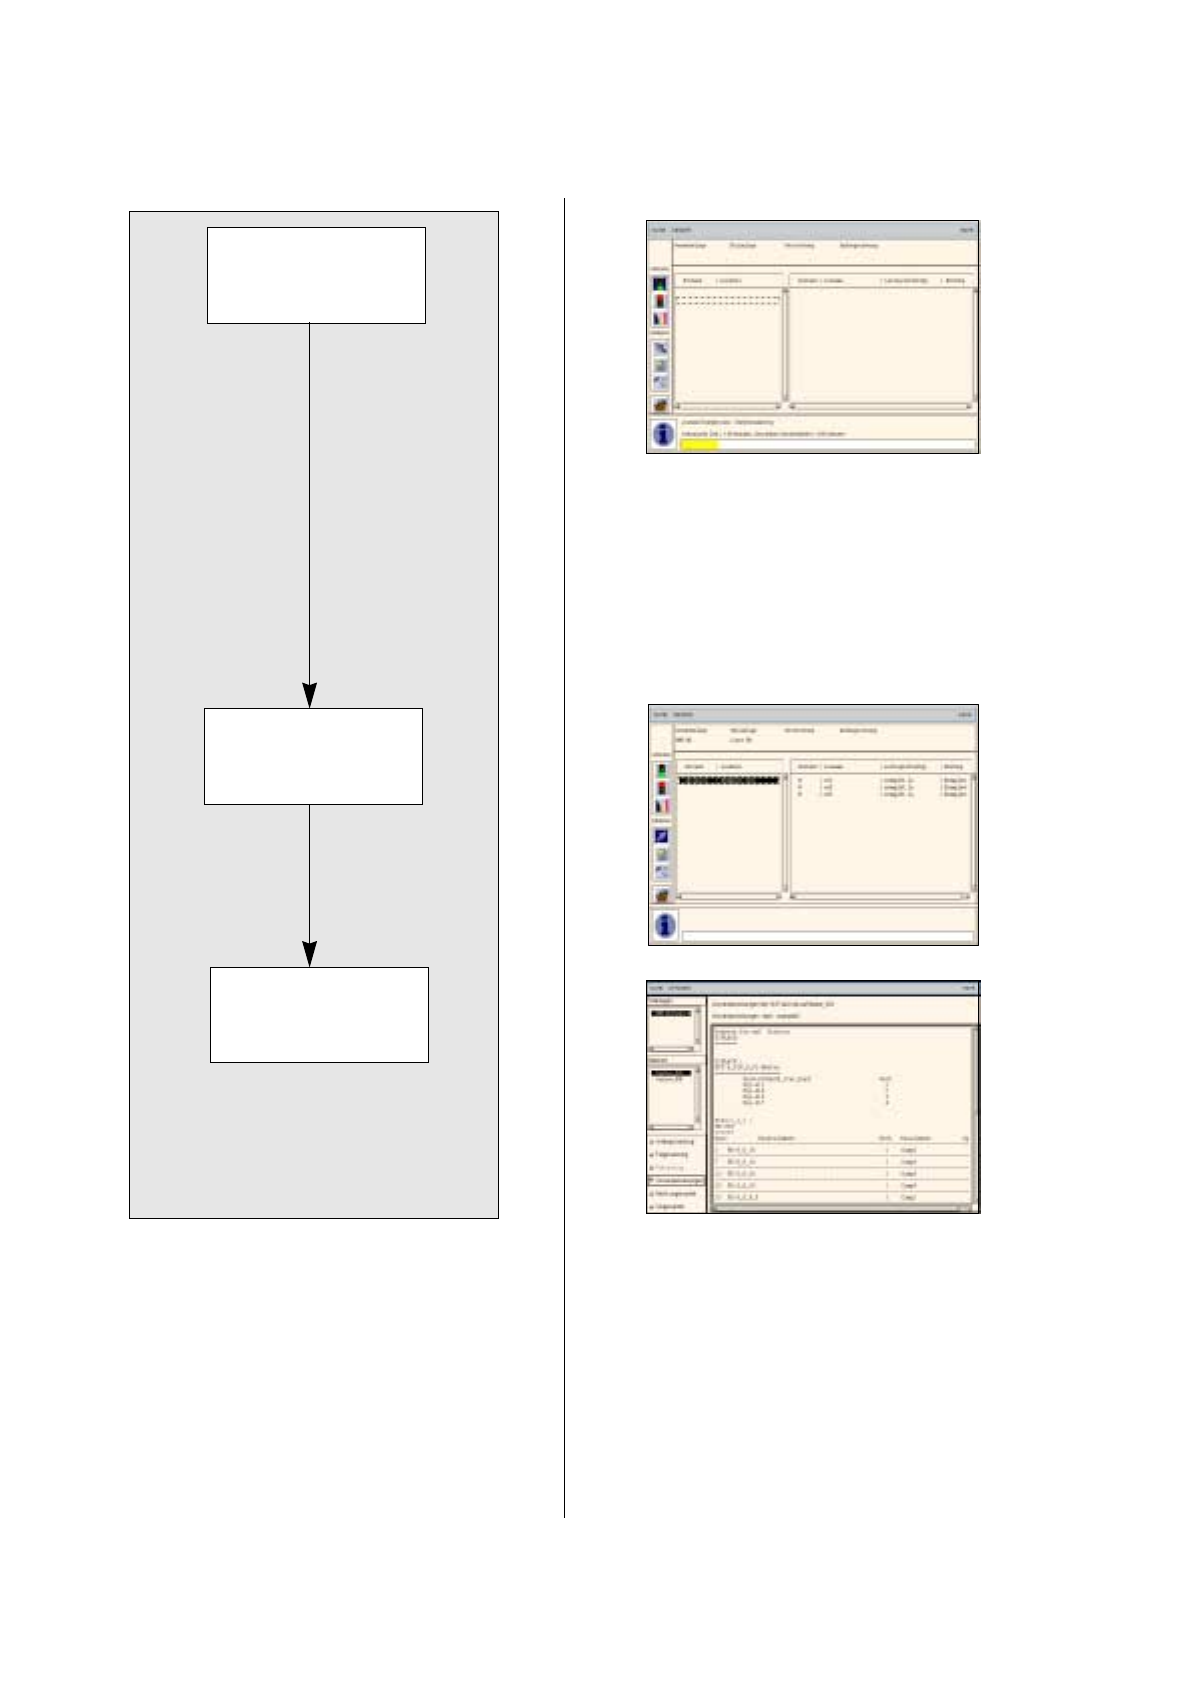
PCB Lot name Lot size
Lot
type
Example_1.la ex1 10 F
Example_2.la ex2 13 F
Example_2.la ex3 16 F
17.3 Set-Up Optimization User’s Manual SIPLACE Line Computer UNIX
17.3.2 Automatic Set-Up Generation Software Version 402.xx Edition 06/96
17 - 44
17.3.2 Automatic Set-Up Generation
Starting Optimization
for lot file
Starting Producibility
check for lot file
Printing optimized
set-up
User’s Manual SIPLACE Line Computer UNIX 17.3 Set-Up Optimization
Software Version 402.xx Edition 06/96 17.3.2 Automatic Set-Up Generation
17 - 45
To start Optimization for a lot file, proceed as follows:
1. In the Optimization Dialog activate the
Read in directory
icon .
The new lot file is listed.
2. Activate the Start icon .
3. Click on the
Examples.lose
lot file.
Optimization of the lot file is started. The Info Box indicates the progress and the phases of the process.
Upon the successful optimization, the status of the lot file is indicated as
optimized
. The set-up name
here:
Examples01.ar
is automatically assigned to the optimized set-up.
If errors are encountered during Optimization, the optimization run is aborted and the status of the lot file
is indicated as
faulty
. In the case of an error, proceed as follows:
— Activate the Select icon .
— Click on the faulty job.
— Click on the
View error file
option on the
SERVICES
menu.
The File display containing the error file is opened.
— Correct the errors displayed.
— Click on the
Quit
option on the
FILE
menu.
File display is closed.
— Optimization is re-started.
To check the producibility of a lot file:
4. Activate the Select icon .
5. Click on the
Examples.lose
lot file.
6. Click on the
Producibility check
option on the
SERVICES
menu.
The producibility check is started. Upon the successful check, the status of the lot file is indicated as
optimized
.
To obtain a printout of the optimized set-up, proceed as follows:
7. Click on the
Examples.lose
lot file.
8. Click on one of the jobs of this lot file.
9. Click on the
Display set-up
option on the
SERVICES
menu.
The Set-Up Modification Generator is opened.
10. On the
FILE
menu click on the
Print
command, then
Print Line
.
A dialog box containing the printer selection is opened.
11. Click on a printer and the
OK
button.
The dialog box is closed.
12. On the
FILE
menu click on the
Print
command, then
Print Line
.
The set-up is printed out for all stations.
13. Click on the
Quit
option on the
FILE
menu.
The Set-Up Modification Generator is closed.
14. After optimization has been successfully completed, click on the
Quit
option on the
FILE
menu.
The Optimization Dialog is closed.