OperationInstruction_Vsision XP - 第109页
V ISION XP+ V AC Page 101 5 Software 5.4 The Data Menu Operating Instructions V ersion 1.5 5.4.3 D ata Management Fig. 5-3 7 Th e “Program Managem ent” Men u Funct ion Programs and products (optio nal) which have been sa…
Page 100 VISION XP+ VAC
5 Software
5.4 The Data Menu
Operating Instructions
Version 1.5
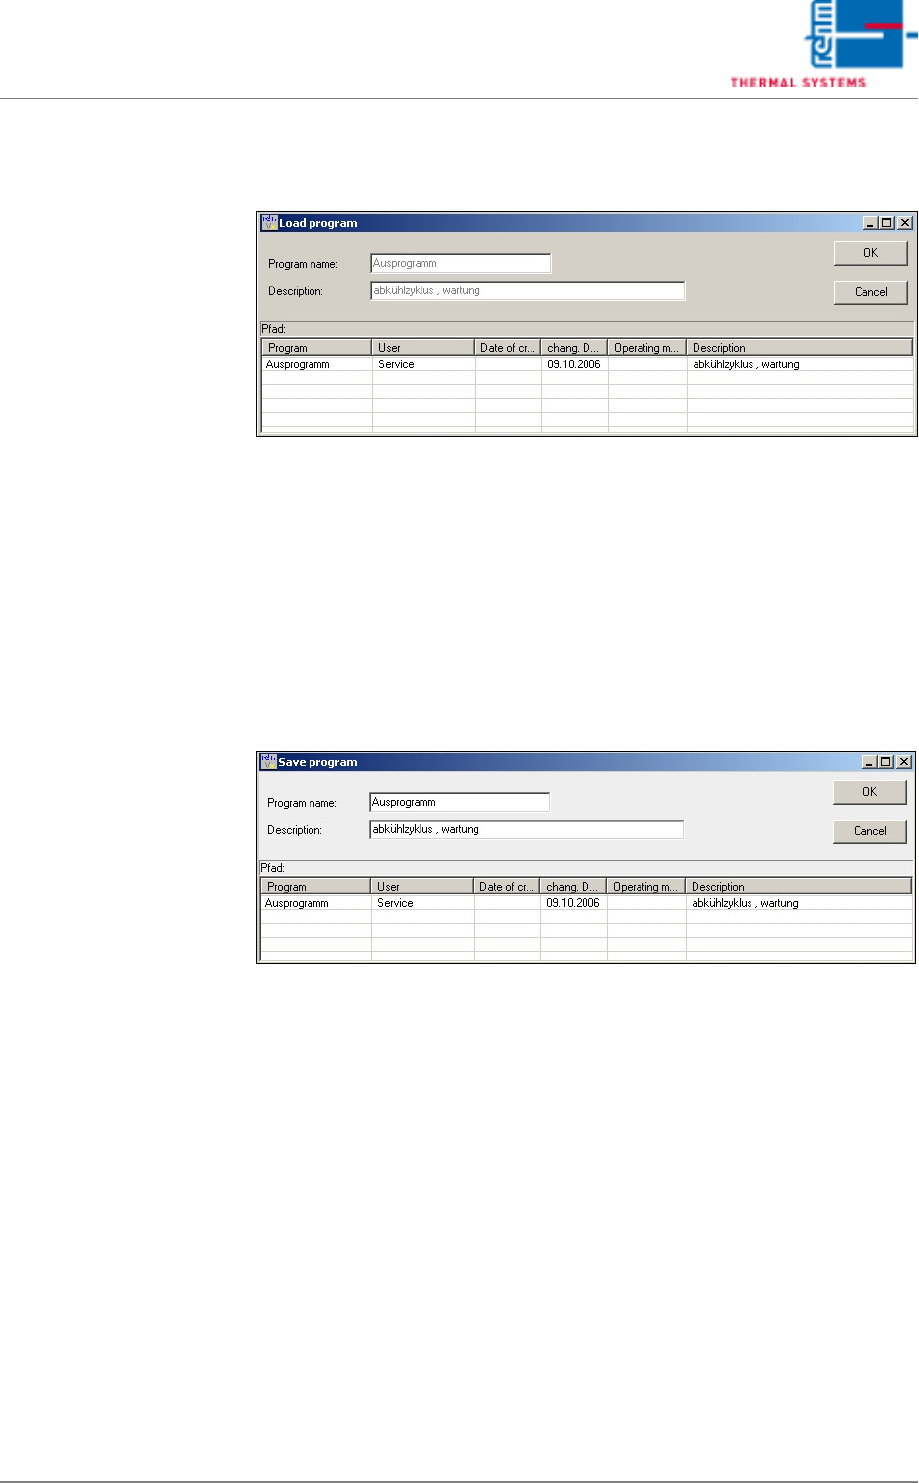
5.4.1 Load Program
Fig. 5-35 Load Program
In order to load a program, the program name must either be entered to the
Program Name field, or the desired program must be selected from the file
list at the bottom.
The selection is then acknowledged with OK, and the program is loaded.
The data points are written.
5.4.2 Saving the Program
Fig. 5-36 The “Save Program” Menu Function
In order to save a new or an edited program, a name must be entered to the
Program Name field. The program name may have a length of up to 40
characters, and should not include any special characters or spaces.
Additional information can be entered to the description field, which may
also include special characters such as /., -!:. The description should not
exceed a length of approximately 100 characters.
VISION XP+ VAC Page 101
5 Software
5.4 The Data Menu
Operating Instructions
Version 1.5
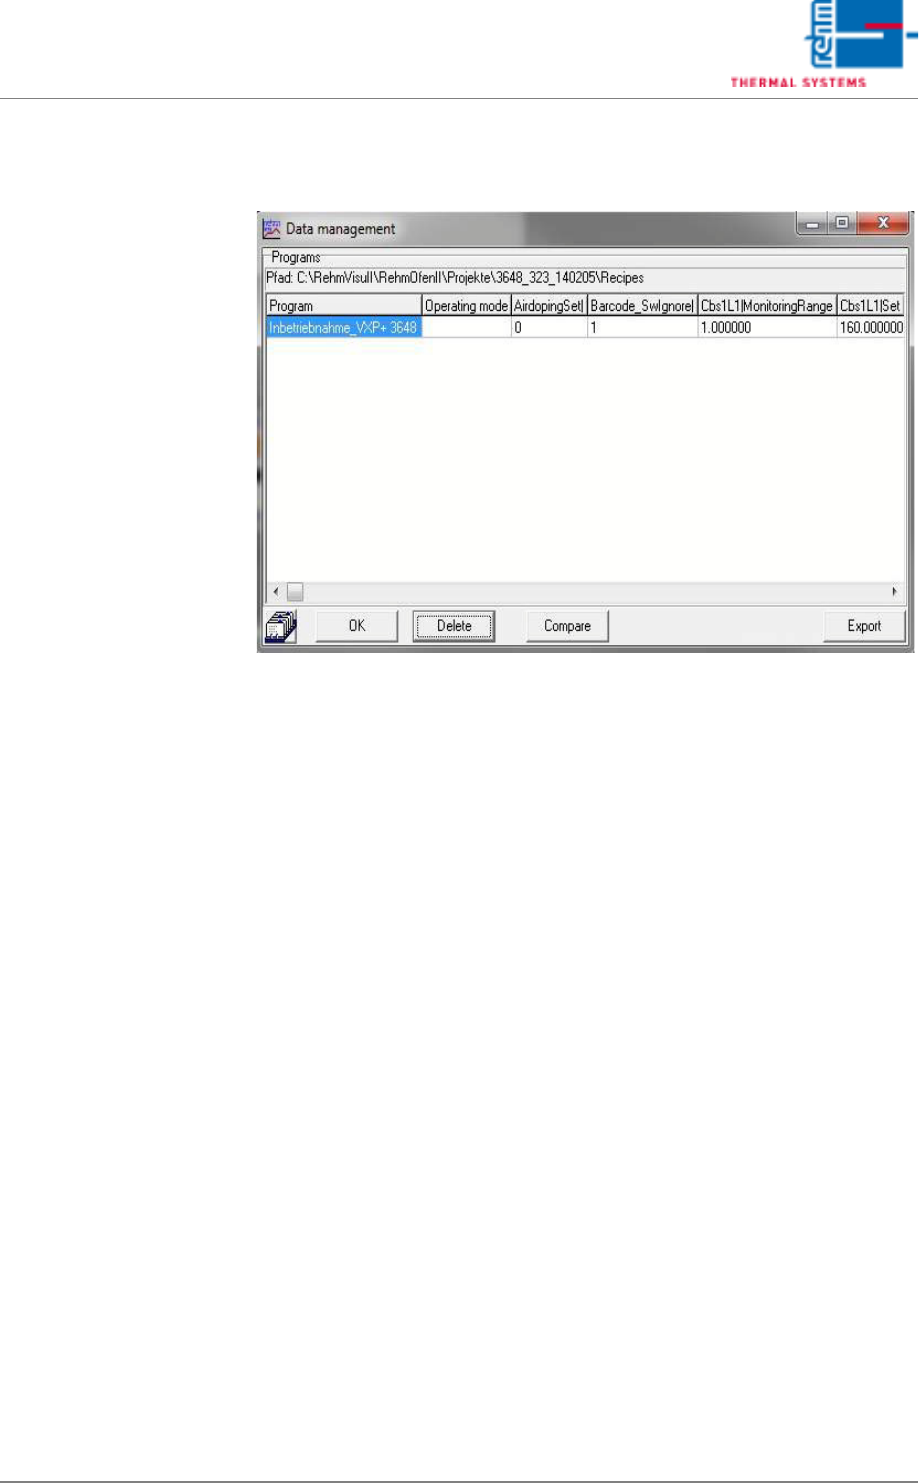
5.4.3 Data Management
Fig. 5-37 The “Program Management” Menu Function
Programs and products (optional) which have been saved to memory are
displayed in this window.
Each product is linked to a program, which is displayed in the program
column. In order to link the product to another program, double click the
program and select another program from the list which then appears.
Products and programs can be deleted as well.
Export:
The “Export” button is used to create a CSV file “programs.csv” in the pro-
gram directory. The file contains the parameters for all programs and may
be imported into Excel directly.
Attention: Products and programs will be permanently deleted!
Page 102 VISION XP+ VAC
5 Software
5.4 The Data Menu
Operating Instructions
Version 1.5
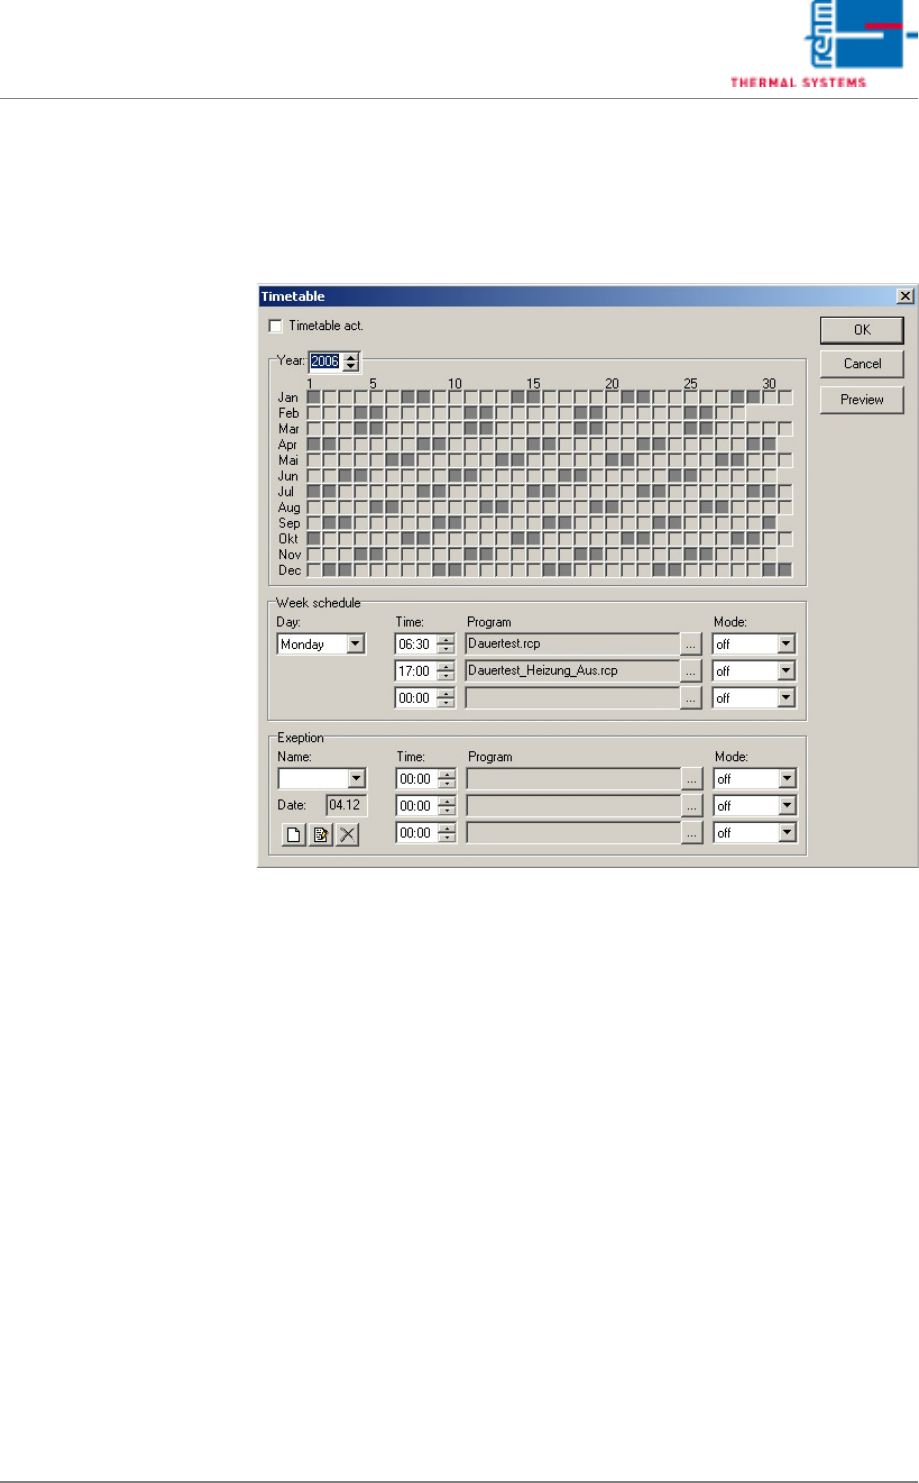
5.4.4 The Scheduler (optional)
Programs can be loaded and started on specified days at specified times
with the scheduler.
Fig. 5-38 The Scheduler
Proceed as follows in order to create a schedule for a program:
1. Select a day.
2. Set a time.
Up to three actions can be executed per day.
3. Select the program to be used.
4. Select a mode.
Continuous: each selected day throughout the year (e.g. every
Monday).
Off: The selected program is not active.
One-time only: on the next selected day (e.g. next Tuesday).
5. These entries must be repeated for each day of the week in order to fill
out the schedule.
6. The Exceptions function accommodates additional scheduling tasks,
e.g. for holidays or high priority jobs.