TR7600 SIII_Series_Maintenance_en_v_2_0_3 - 第49页
Test Research, Inc. TR7600 SII I Series User G uide – Maintenance 39 Step 2 1) P ut the grea se into th e container. 2) P ull the m etal chain. 3) C onnect th e container and t he pump. Figure 65 : Tools Assembly/Step2 S…
Test Research, Inc.
38 TR7600 SIII Series User Guide – Maintenance
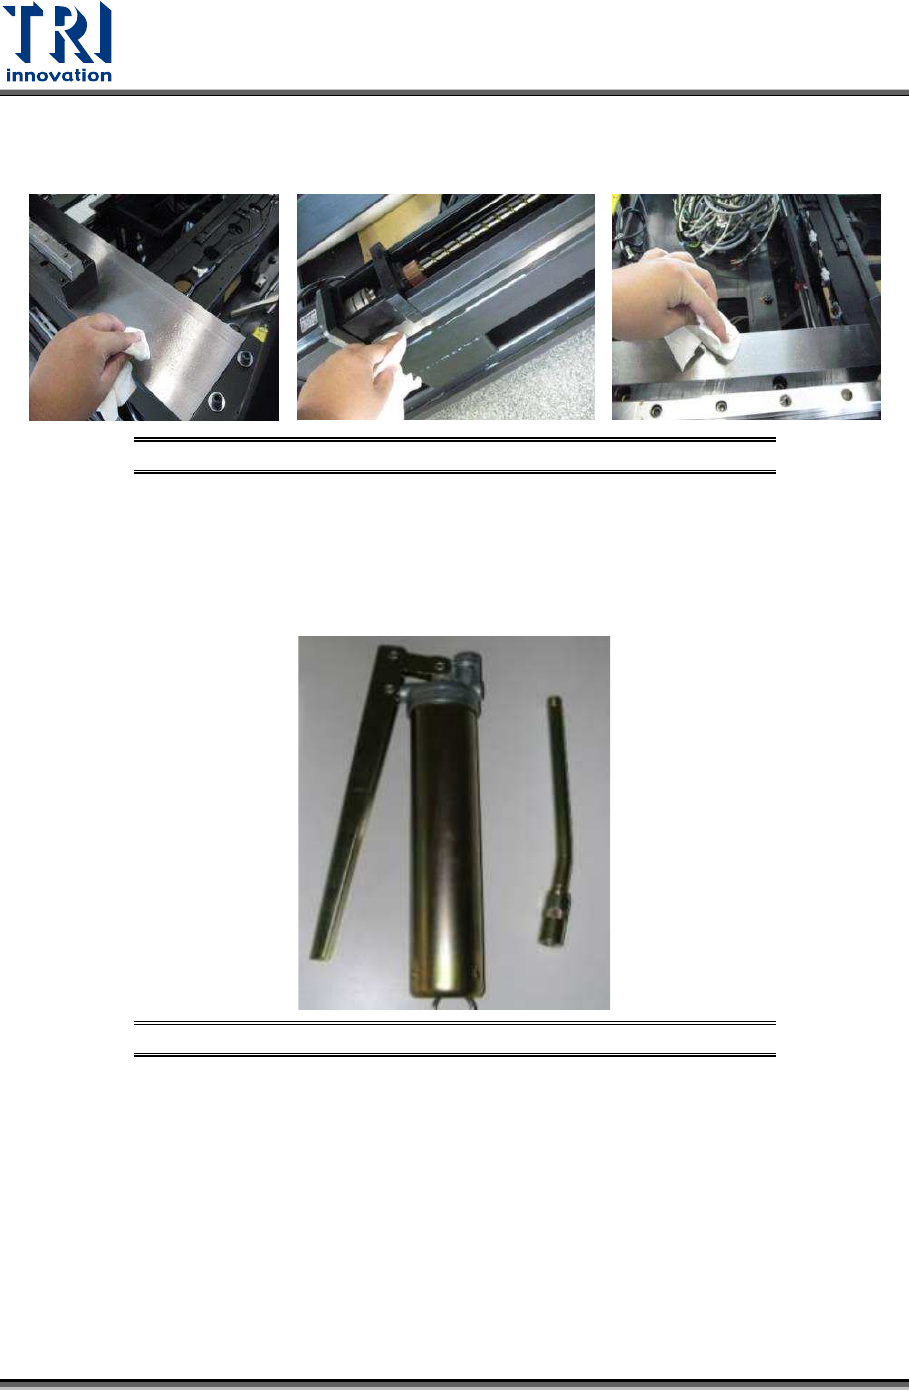
Ground Surface Maintenance 7.1.3
Apply a thin layer of grease to a soft cloth and then wipe the ground surface.
Figure 63: Ground Surface Maintenance
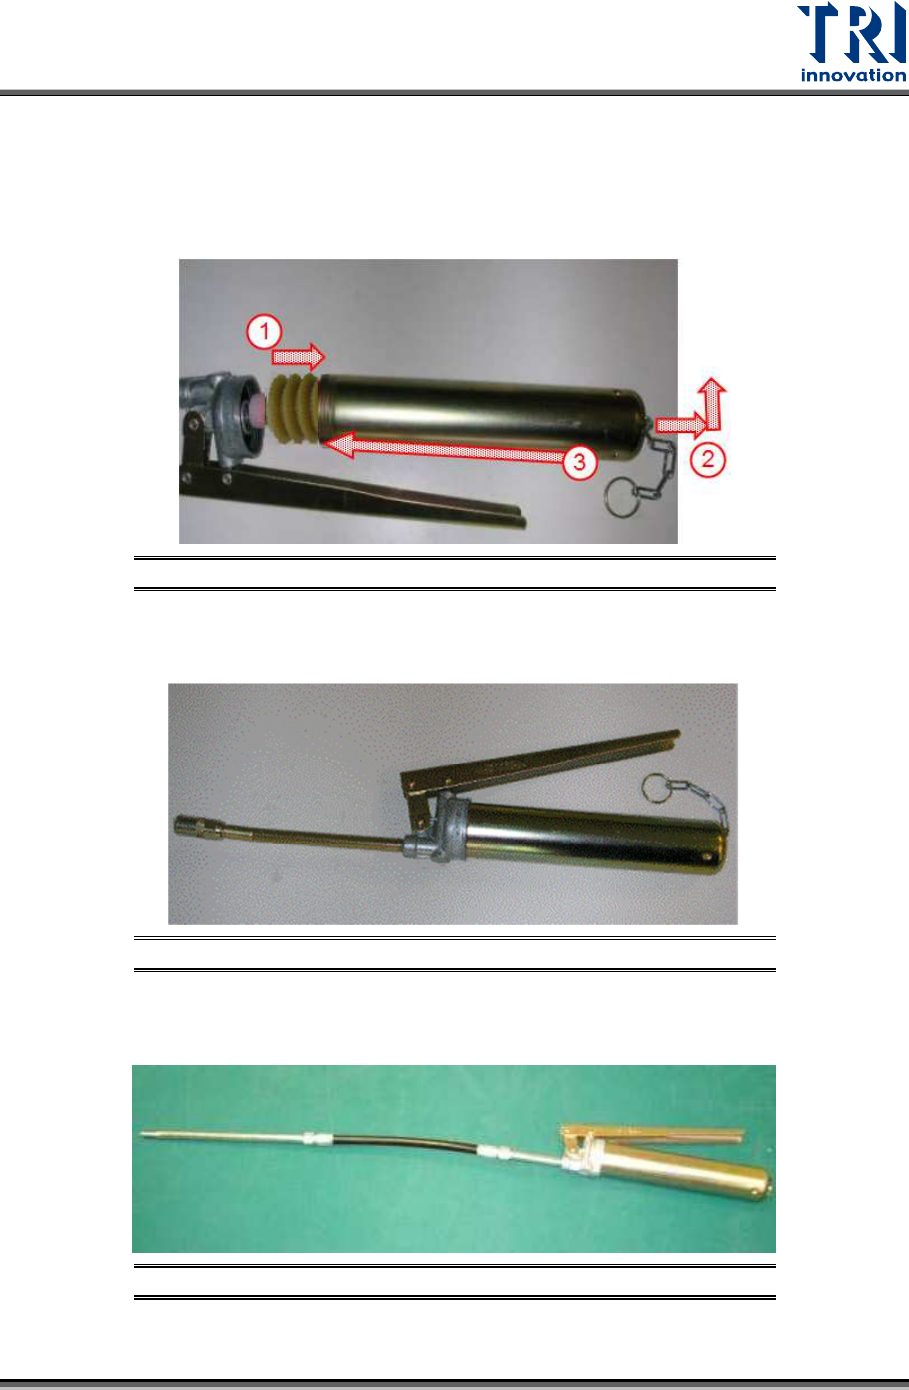
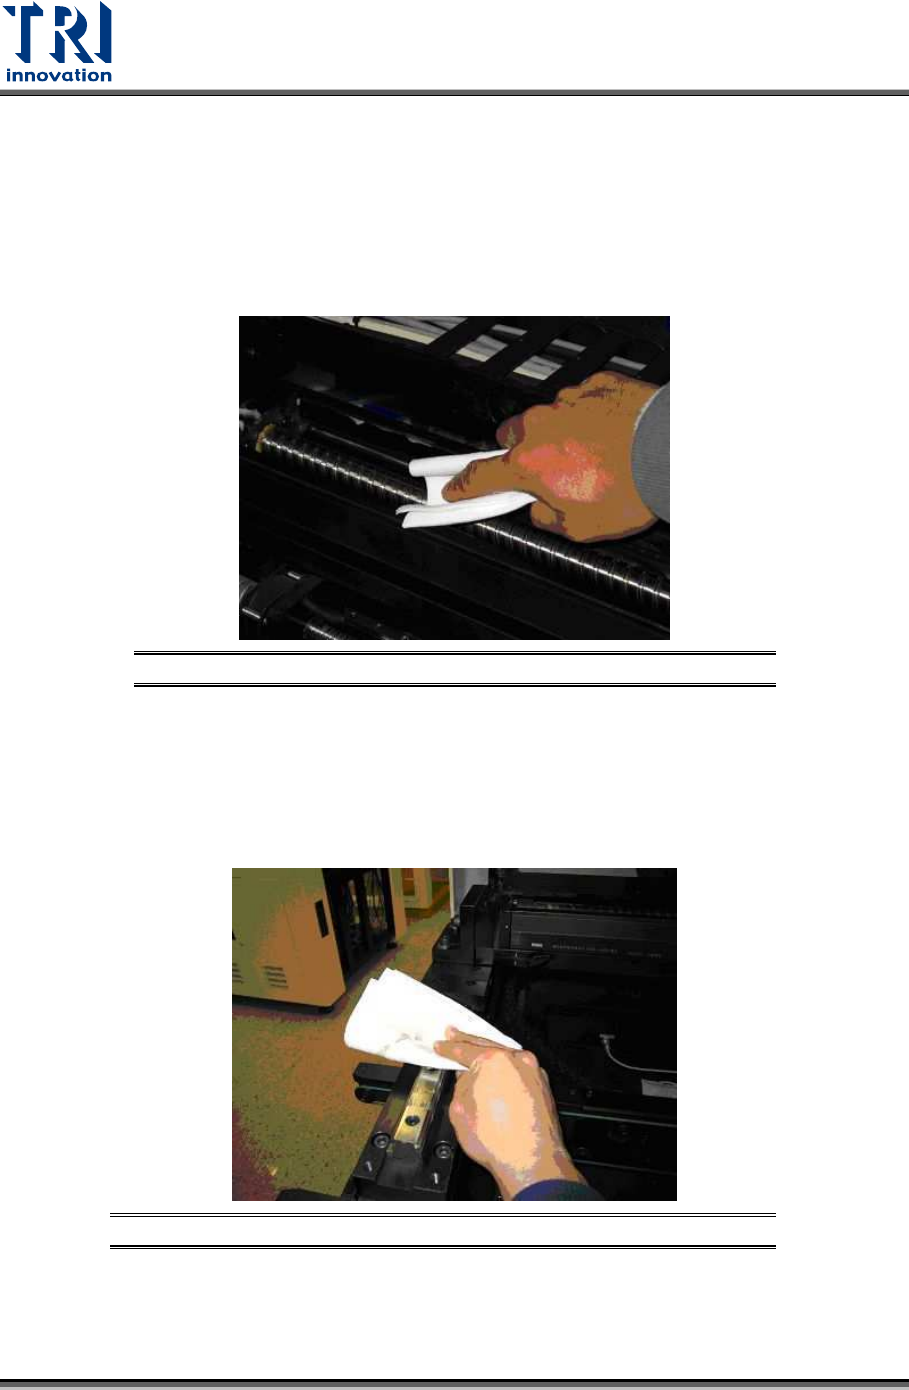
Tools Assembly 7.1.4
Step 1
Locate pump, nozzles and grease.
Figure 64: Tools Assembly/Step1
Test Research, Inc.
TR7600 SIII Series User Guide – Maintenance 39
Step 2
1) Put the grease into the container.
2) Pull the metal chain.
3) Connect the container and the pump.
Figure 65: Tools Assembly/Step2
Step 3
Finish the assembly.
Figure 66: Tools Assembly/Step3
Step 4
Connect the soft grease pipe.
Figure 67: Tools Assembly/Step4
Test Research, Inc.
40 TR7600 SIII Series User Guide – Maintenance
Clean And Lubrication Process for Each Axis 7.1.5
Step 1
Push the X-Ray source to the end of the X-axis (Right) and Y-axis (Rear).
Step 2
Use a clean cloth to remove existing grease on every ball screw and every axis.
Figure 68: Clean & Lubrication Process/Remove Existing Grease
Clean And Lubrication Process for Each Supportive Axes 7.1.6
Step 1
Use a clean fabric to remove existing grease on every track.
Figure 69: Clean & Lubrication Process/Remove Existing Grease
Step 2
Use grease pump to feed grease to grease nipple (position is marked in Section 7.1.2.).