2500_Users_Manual-.pdf - 第62页
Contact with programme r established Attempting to contact programmer . . . Contact with handler e stablished. Attempting to contact handler . . . Installation and Setup Checking System Communication Note: The 2500 &apos…
Installation
and
Setup
Starting
TaskLink
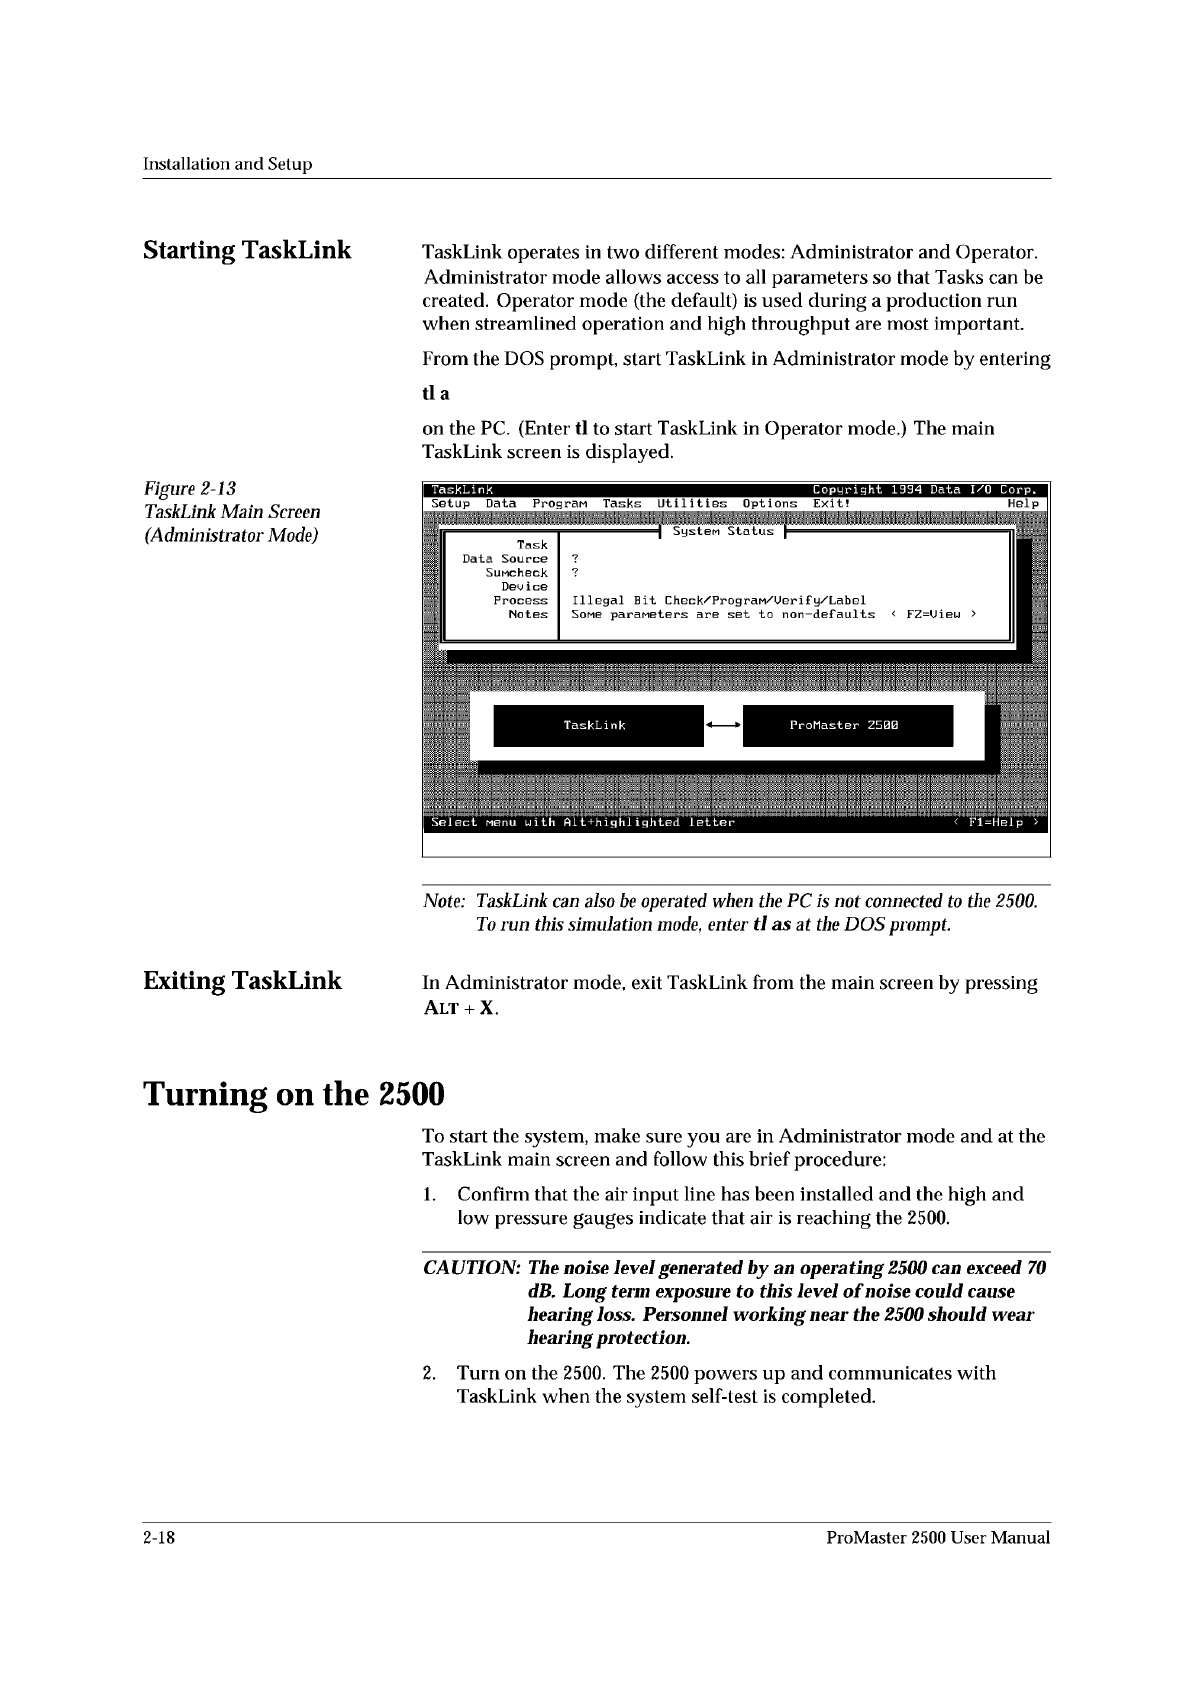
Figure
2-13
TaskLink
Main
Screen
(Administrator
Mode)
Exiting
TaskLink
TaskLink
operates
in
two
different
modes:
Administrator
and
Operator.
Administrator
mode
allows
access
to
all
parameters
so
that
Tasks
can
be
created.
Operator
mode
(the
default)
is
used
during
a
production
run
when
streamlined
operation
and
high
throughput
are
most
important.
From
the
DOS
prompt,
start
TaskLink
in
Administrator
mode
by
entering
tla
on
the
PC.
(Enter
tl
to
start
TaskLink
in
Operator
mode.)
The
main
TaskLink
screen
is
displayed.
Note:
TaskLink
can
also
be
operated
when
the
PC
is
not
connected
to
the
2500.
To
run
this
simulation
mode,
enter
tl
as
at
the
DOS
prompt.
In
Administrator
mode,
exit
TaskLink
from
the
main
screen
by
pressing
Alt
+
X.
Turning
on
the
2500
To
start
the
system,
make
sure
you
are
in
Administrator
mode
and
at
the
TaskLink
main
screen
and
follow
this
brief
procedure:
1.
Confirm
that
the
air
input
line
has
been
installed
and
the
high
and
low
pressure
gauges
indicate
that
air
is
reaching
the
2500.
CA
UTION:
The
noise
level
generated
by
an
operating
2500
can
exceed
70
dB.
Long
term
exposure
to
this
level
of
noise
could
cause
hearing
loss.
Personnel
working
near
the
2500
should
wear
hearing
protection.
2.
Turn
on
the
2500.
The
2500
powers
up
and
communicates
with
TaskLink
when
the
system
self-test
is
completed.
2-18
ProMaster
2500
User
Manual
Contact with programmer established
Attempting to contact programmer...
Contact with handler established.
Attempting to contact handler ...
Installation
and
Setup
Checking
System
Communication
Note:
The
2500
's
power-up
self-
test
takes
approximately
two
minutes
to
complete.
3.
Confirm
that
the
high
air
pressure
gauge
on
the
2500
is
reading
75
PSI
(see
page
2-7).
When
the
adjustment
is
correct,
push
the
adjustment
knob
in
toward
the
back
of
the
handler
to
lock
its
position.
4.
Confirm
that
the
low
air
pressure
gauge
is
reading
25
PSI.
When
the
adjustment
is
correct,
push
the
adjustment
knob
in
toward
the
back
of
the
handler
to
lock
it
in
position.
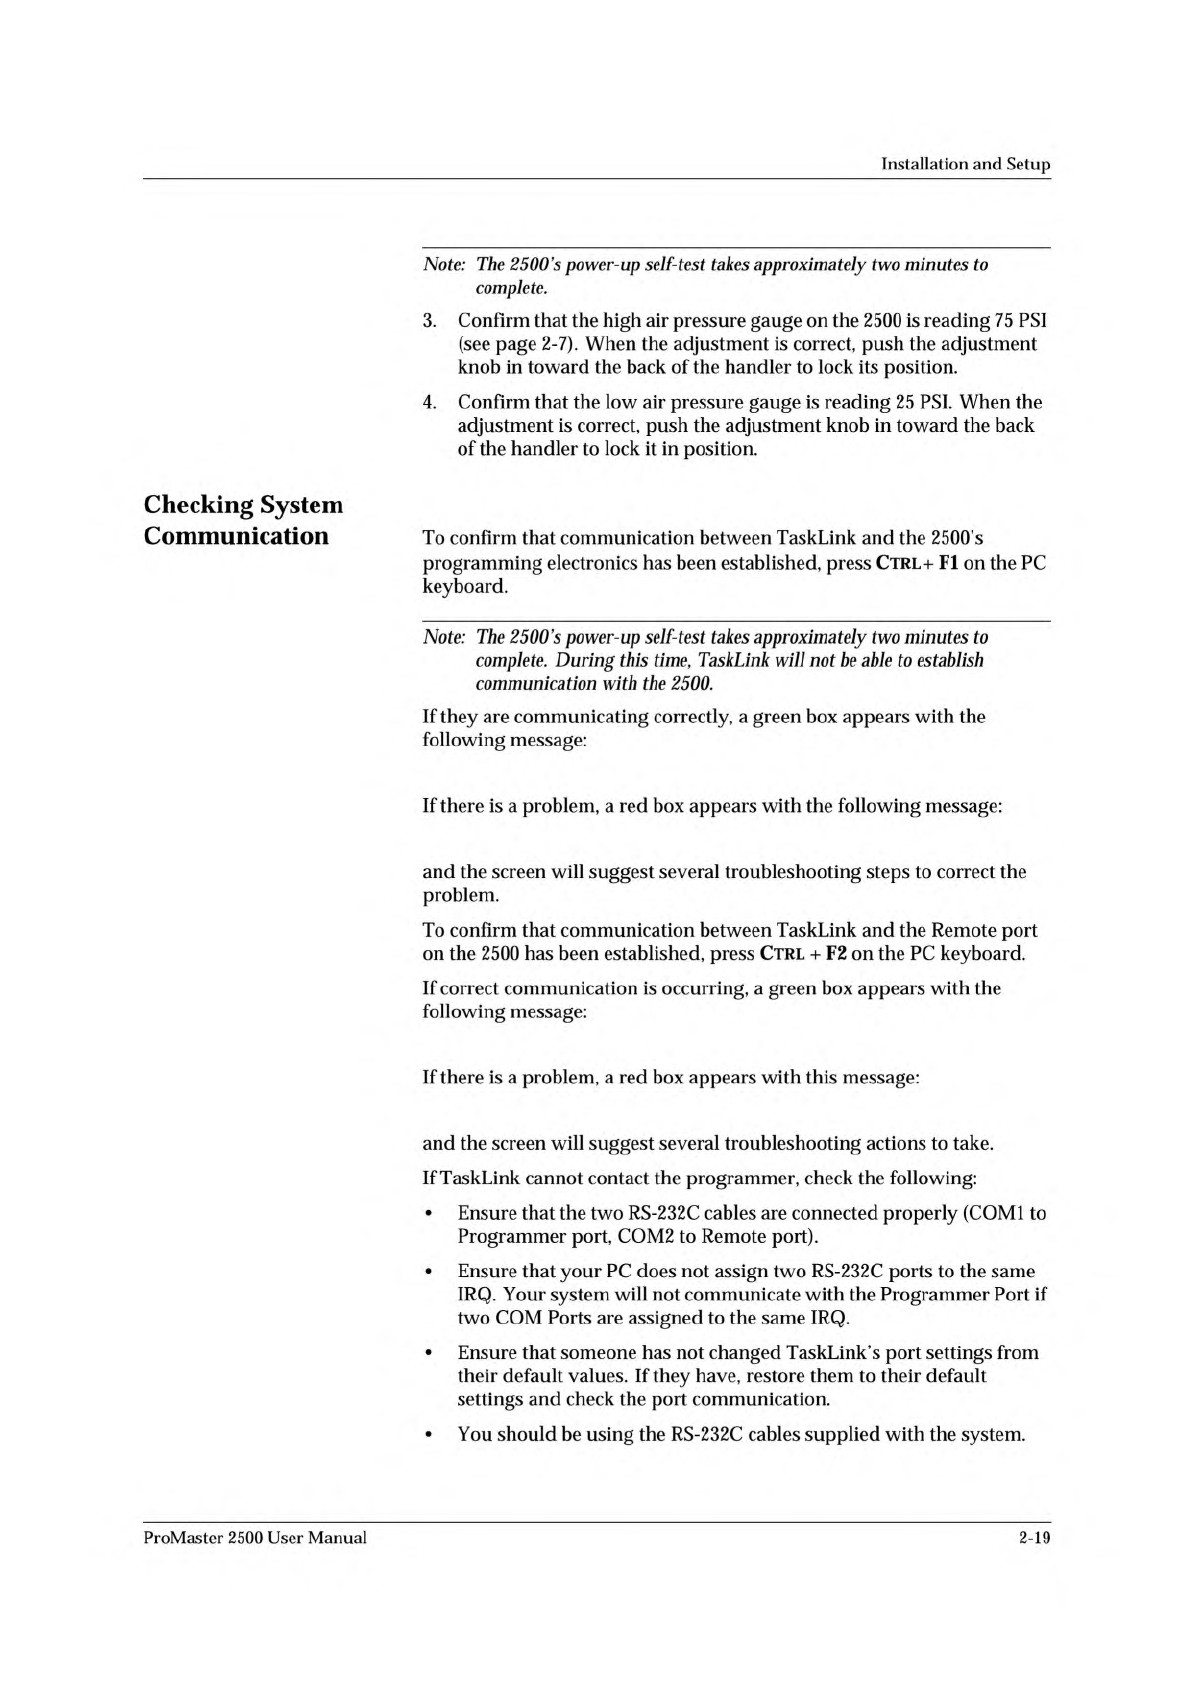
To
confirm
that
communication
between
TaskLink
and
the
2500's
programming
electronics
has
been
established,
press
Ctrl+
Fl
on
the
PC
keyboard.
Note:
The
2500
's
power-up
self-
test
takes
approximately
two
minutes
to
complete.
During
this
time,
TaskLink
will
not
be
able
to
establish
communication
with
the
2500.
If
they
are
communicating
correctly,
a
green
box
appears
with
the
following
message:
If
there
is
a
problem,
a
red
box
appears
with
the
following
message:
and
the
screen
will
suggest
several
troubleshooting
steps
to
correct
the
problem.
To
confirm
that
communication
between
TaskLink
and
the
Remote
port
on
the
2500
has
been
established,
press
Ctrl
+
F2
on
the
PC
keyboard.
If
correct
communication
is
occurring,
a
green
box
appears
with
the
following
message:
If
there
is
a
problem,
a
red
box
appears
with
this
message:
and
the
screen
will
suggest
several
troubleshooting
actions
to
take.
If
TaskLink
cannot
contact
the
programmer,
check
the
following:
•
Ensure
that
the
two
RS-
232c
cables
are
connected
properly
(COM1
to
Programmer
port,
COM2
to
Remote
port).
•
Ensure
that
your
PC
does
not
assign
two
RS-232C
ports
to
the
same
IRQ.
Your
system
will
not
communicate
with
the
Programmer
Port
if
two
COM
Ports
are
assigned
to
the
same
IRQ.
•
Ensure
that
someone
has
not
changed
TaskLink's
port
settings
from
their
default
values.
If
they
have,
restore
them
to
their
default
settings
and
check
the
port
communication.
•
You
should
be
using
the
RS-232C
cables
supplied
with
the
system.
ProMaster
2500
User
Manual
2-19
PROMASTER REMOTE MODE.
PROMASTER REMOTE MODE
Installation
and
Setup
Switching
Between
Local
and
Remote
Modes
As
discussed
in
Chapter
1,
the
2500
uses
two
methods
to
communicate
with
the
operator.
Ninety-five
per
cent
of
the
interaction
will
be
through
the
TaskLink
screens
and
PC
keyboard.
The
remaining
five
per
cent
of
the
interaction
is
through
the
2500's
keyboard
and
display.
When
the
system
is
initially
shipped
from
the
factory,
it
is
configured
to
communicate
with
TaskLink.
There
are
two
key
points
to
remember
about
these
modes:
1.
When
you
are
using
TaskLink,
the
2500
is
operating
in
Remote
mode.
The
2500
displays
the
message
2.
When
you
are
entering
commands
on
the
2500's
keyboard,
the
system
is
either:
•
in
Local
mode,
or
•
running
a
Task
and
you
have
pressed
STOP
on
the
keyboard
to
make
an
adjustment.
A
complete
list
of
STOP
commands
is
located
in
Appendix
B.
[f
the
2500
powers
up
in
local
mode,
you
can
switch
to
remote
mode
by
pressing
LOWER
CASE
+
R
(for
remote)
on
the
2500's
keyboard.
The
2500
displays
Default
2500
System
Configuration
The
2500
remains
in
remote
mode
until
you
change
it
by
pressing
LOWER
CASE
+
L
(for
local)
on
the
2500's
keyboard.
The
2500
powers
up
in
the
mode
it
was
in
when
last
turned
off.
This
will
be
remote
mode
when
operating
with
TaskLink.
Listed
below
are
the
default
settings
for
the
ProMaster
2500
system.
The
procedures
for
changing
these
parameters
are
described
in
relevant
sections
of
the
manual.
Under
most
circumstances,
you
will
use
these
defaults,
connect
the
air
line
and
communication
cables,
power
up
the
system,
and
start
creating
Tasks.
Parameter
Type
Parameter
Default
General
Remote
Port
Baud
Rate
9600
Programmer
Port
Baud
Rate
9600
Audible
Alarm
On
Labeler
Label
Calibration
Print
1/16”
from
leading
edge
Label
Placement
Autocenter
Label
Adjust
Centered
on
device
TaskLink
Ports
Programmer
Port
COM1
on
PC
Remote
Port
COM2
on
PC
2-20
ProMaster
2500
User
Manual