00193875-01.pdf - 第37页
SIPLACE Software Guide Version 101.xx 3 Graphical user interface Issue 05/03 EN 3.3 User interface - views and menus 37 Access level... 3 It is possible to protect some of the functions of the user interface again st una…

3 Graphical user interface SIPLACE Software Guide Version 101.xx
3.3 User interface - views and menus Issue 05/03 EN
36
Æ Click the checkboxes corresponding to the machine options which you want to activate or de-
activate.
NOTE
At "Operator" access level, it is only possible to activate and deactivate the conveyor interface op-
tions. 3
Æ Click Accept to save the settings.
SIPLACE Software Guide Version 101.xx 3 Graphical user interface
Issue 05/03 EN 3.3 User interface - views and menus
37
Access level... 3
It is possible to protect some of the functions of the user interface against unauthorized use by
setting an access level and allocating a password. Functions which are not accessible from a
given access level cannot be executed since the associated push buttons, radio buttons and
menu commands are either inactive or not displayed. 3
You can choose between the access levels "Operator", "Line engineer" and "Service". Passwords
can be allocated for the access levels "Line engineer" and "Service". 3
Æ Click the Access level... menu item.
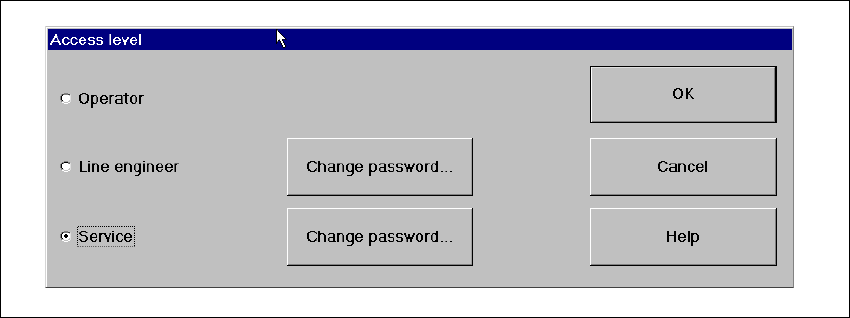
The "Access level" dialog box is displayed.
3
Fig. 3.3 - 5 "Access level" dialog box
Æ Click the radio button for the required access level.
Æ Click the "Change password" button to the right of the access level if you want to allocate a
password or change an existing password.
The dialog box for password entry is now displayed.
3 Graphical user interface SIPLACE Software Guide Version 101.xx
3.3 User interface - views and menus Issue 05/03 EN
38
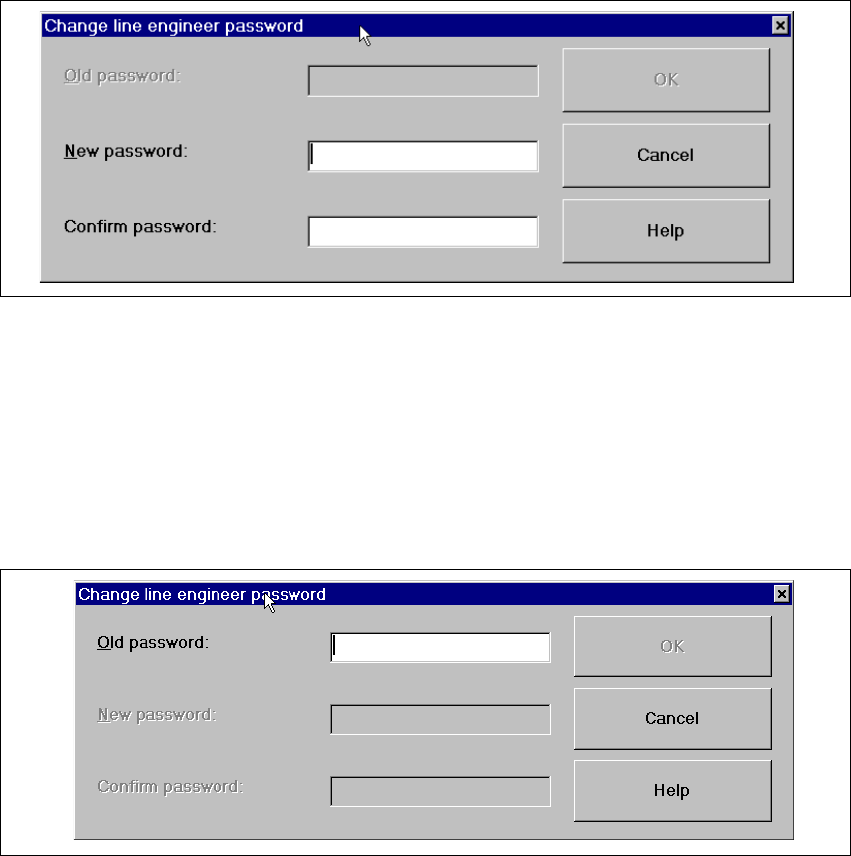
Example of initial password allocation 3
3
Fig. 3.3 - 6 "Change line engineer password - initial allocation" dialog box
Æ Click the "New password" text box and enter the required password.
Æ Click the "Confirm password" text box and re-enter the password.
Æ Click the OK button to confirm the password.
Example for the modification of an existing password 3
3
Fig. 3.3 - 7 "Change line engineer password - change an existing password" dialog box
Æ Click the "Old password" text box and enter the current password.
The other two text boxes now become active.
Æ Click the "New password" text box and enter the new password.
Æ Click the "Confirm password" text box and enter the new password for a second time.
Æ Click the OK button to confirm the password.
Æ Click OK to close the "Access level" dialog box.