00195424-01.pdf - 第123页
In stal latio ns- u nd K onf igura tio nsa nleit ung SIPL ACE Explo rer An hang Au sgab e 05 /200 7 D E Bu ndle d We b S erver Inst all ation 123 Bund l ed Web Serve r Inst allation - J2SE Runtime Envi ronment 5. 0. 07 →…
Anhang Installations- und Konfigurationsanleitung SIPLACE Explorer
Bundled Web Server Installation Ausgabe 05/2007 DE
122
5
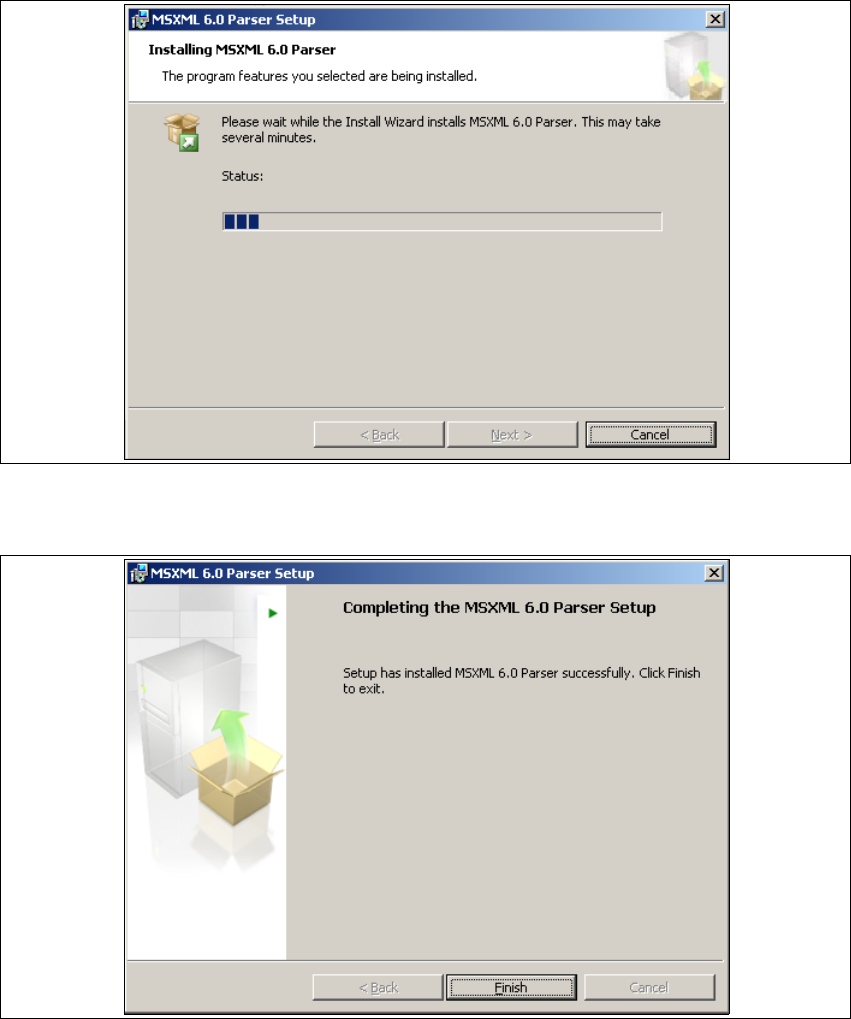
Abb. 5 - 29 MSXML 6.0 Setup - Installationsvorgang
→ Wenn die Installation beendet ist, wird das folgende Dialogfenster geöffnet.
5
Abb. 5 - 30 MSXML 6.0 Setup - Installation beendet
→ Klicken Sie auf Finish (Fertig stellen).

Installations- und Konfigurationsanleitung SIPLACE Explorer Anhang
Ausgabe 05/2007 DE Bundled Web Server Installation
123
Bundled Web Server Installation - J2SE Runtime Environment 5.0.07
→ Die benutzergeführte Installation von Java J2SE wird gestartet.
5
Abb. 5 - 31 Installshield Wizard - Vorbereitung der Installation
5
Abb. 5 - 32 Java 2SE Setup - Willkommen im SIPLACE Explorer
→ Beenden Sie alle anderen Programme und klicken Sie dann auf Next (Weiter). Das
Dialogfenster License Agreement wird geöffnet.
Anhang Installations- und Konfigurationsanleitung SIPLACE Explorer
Bundled Web Server Installation Ausgabe 05/2007 DE
124
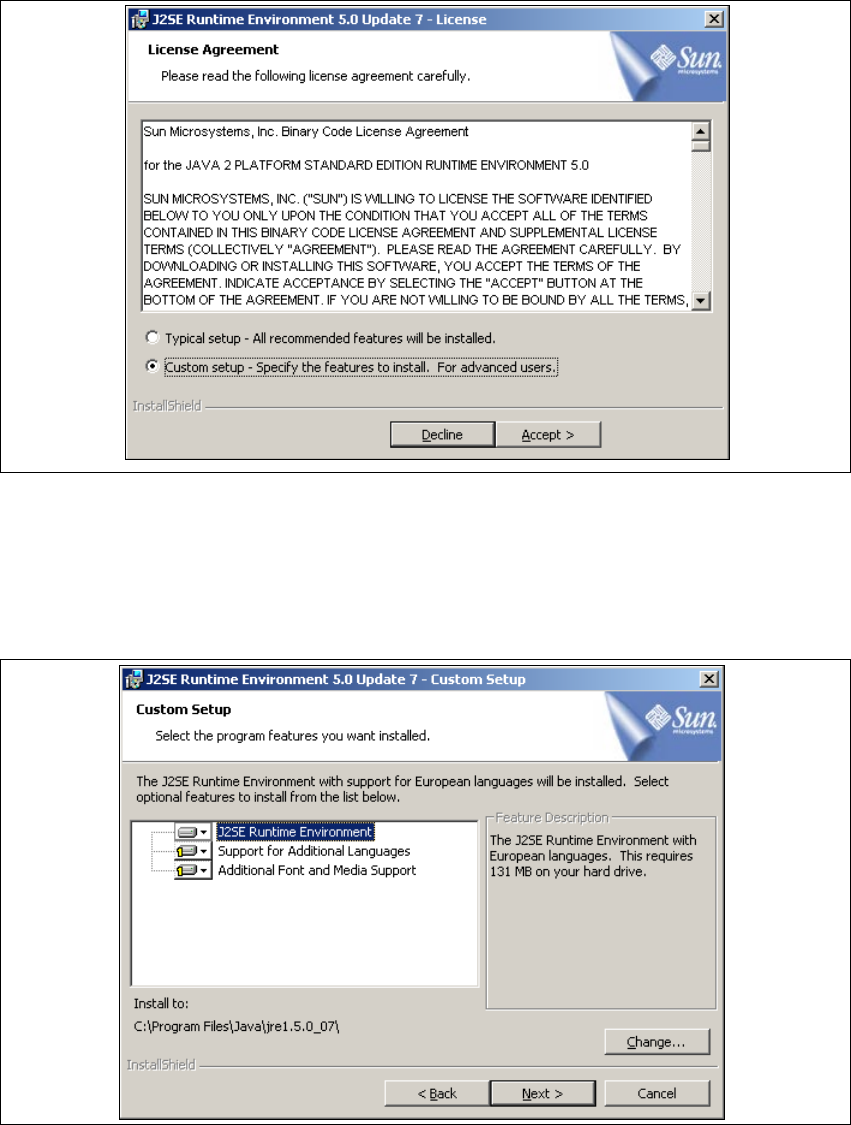
→ Lesen Sie die Lizenzbestimmungen. Wenn Sie zustimmen, Accept > anklicken, die
Installation wird fortgeführt. Ansonsten wählen Sie Decline. In diesem Fall wird die Installation
beendet.
5
Abb. 5 - 33 Java 2SE Setup - Lizenzvereinbarungen
→ Das Dialogfenster Custom Setup wird geöffnet.
→ Wählen Sie jetzt die gewünschten Installationsoptionen aus und geben Sie den Ordner an, in
dem Sie die Anwendung installieren möchten. Der standardmäßig eingestellte Ordner ist
C:\Program Files\Java\jre1.5.0_07\. Diesen können Sie nach Bedarf auch ändern.
5
Abb. 5 - 34 Java 2SE Setup - Benutzerdefinierte Installation