np134 mechanical reference-1.1e.pdf.pdf - 第87页
8. A black sticker is added for 0.7, 1.0 and 1.3 diameter nozzles. Fit the Black Sticker Attachment Jig A to the nozzle, attaching the black sticker around the jig, then apply the sticker firmly using the Black Sticker A…
3.2 Replacing the Nozzle's Fluorescent Seal
Point
Replacing the fluorescent seal ensures that the proper amount of light is supplied for
stable vision processing.
Procedure
1. Always wash your hands before replacing a fluorescent seal.
2. Use a cutter to peel the old seal from the nozzle's disk.
3. Clean off the seal's residual adhesive from the disk.
4. Peel the new fluorescent seal from its backing sheet and punch out the nozzle tube
hole from the fluorescent coating side.
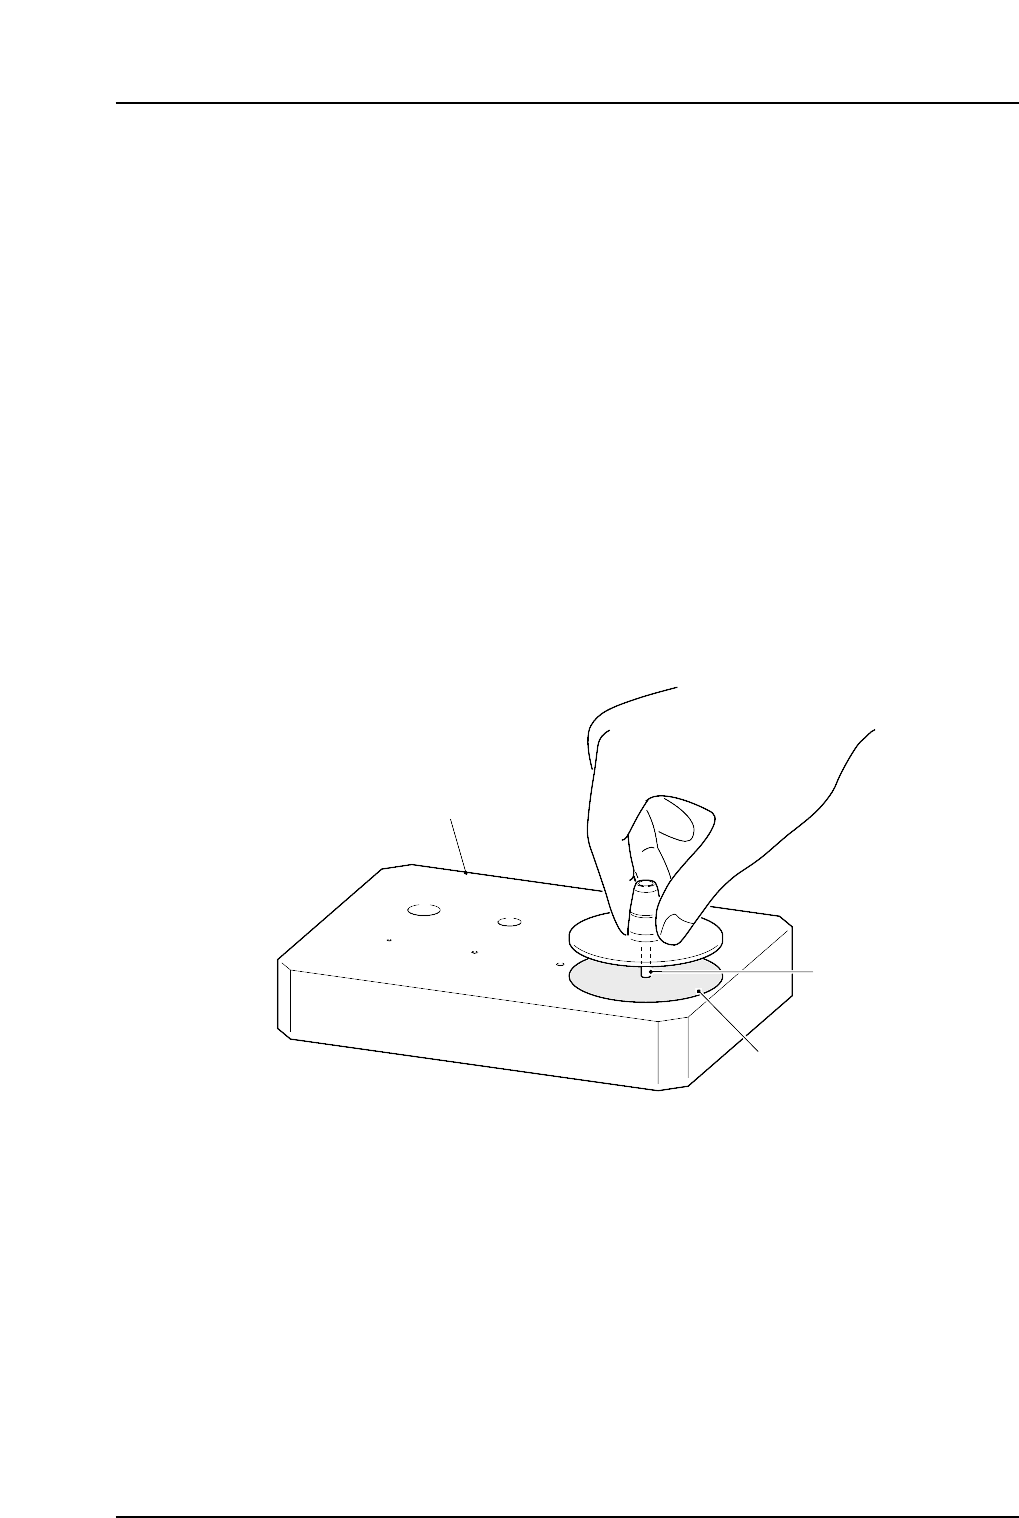
5. Align the nozzle center with the fluorescent seal center and insert the nozzle end
into the seal application jig. Verify that there are no gaps between the nozzle disk
and the seal.
Notes: The seal application jig is equipped with a number of hole sizes
(ø 0.7, ø 0.1, ø 1.3, ø 1.8, ø 2.5, ø 3.7, ø 5.0, ø 7.0) to accommodate various nozzle
tubes. Use the hole which matches the size of the nozzle where the seal is being
affixed.
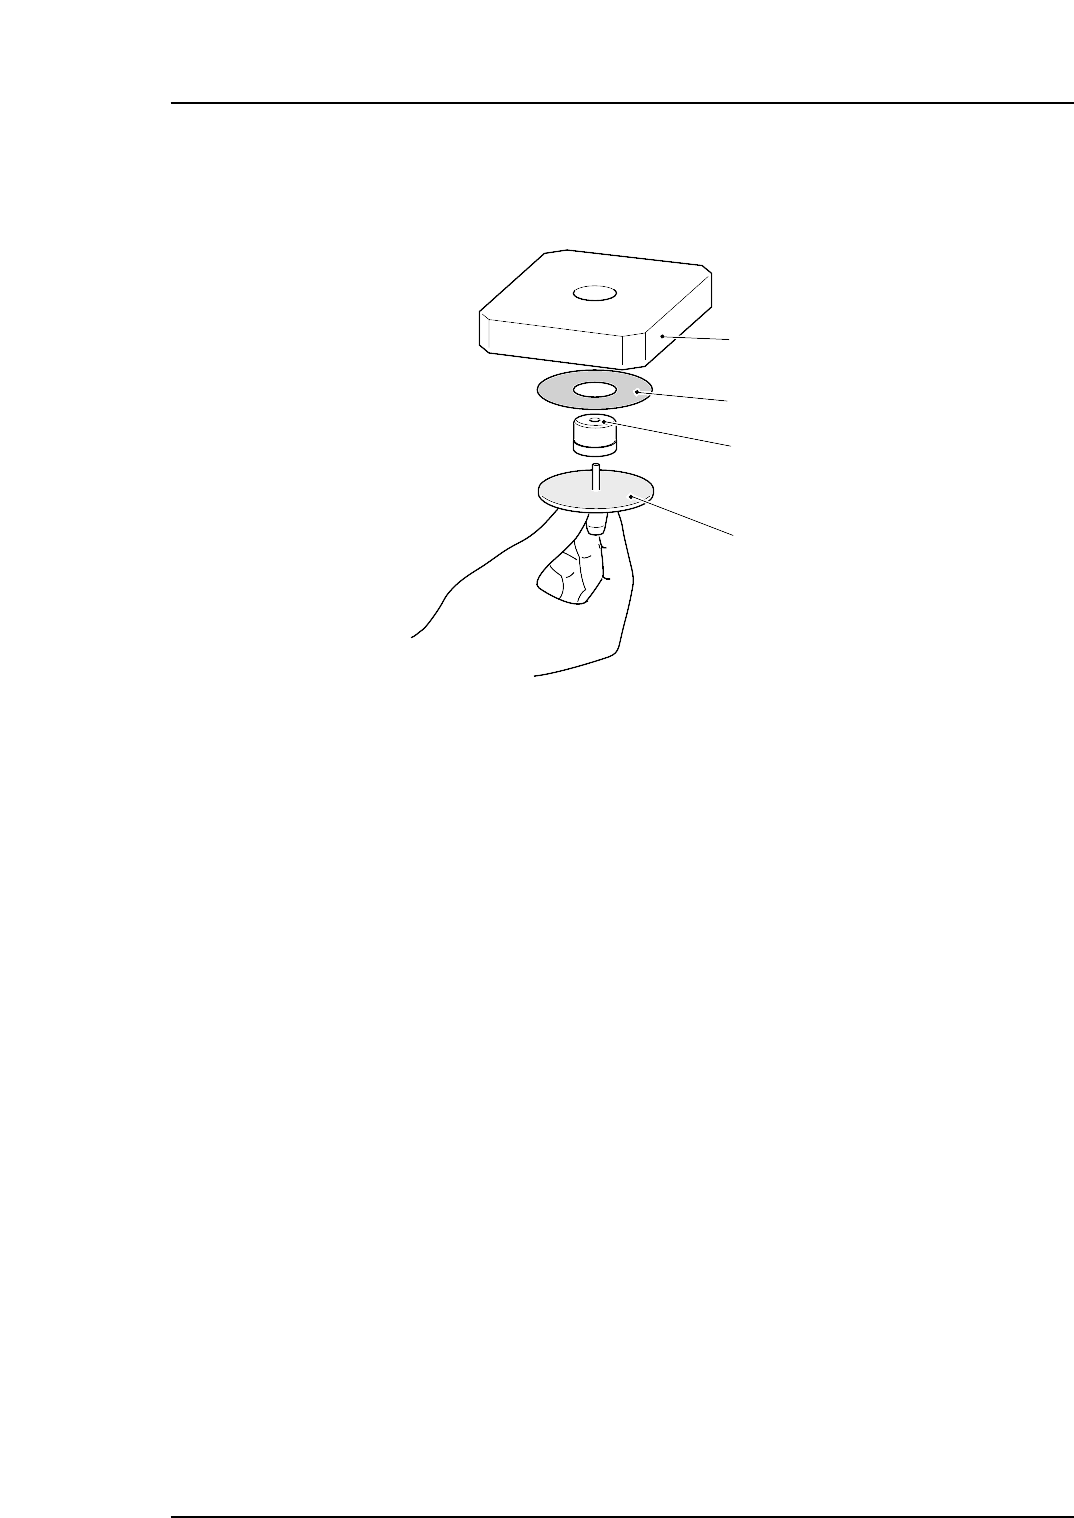
6. Use a cutter to cut off any surplus seal area.
7. Clean off any seal adhesive residue from the nozzle tube.
This completes the procedure for nozzles of a diameter 1.8 or wider.
NP1MR051a
Seal application jig
(ADFPJ8010)
Nozzle tube
Nozzle seal
Part 3 Chapter 3 Replacing Consumable Parts
Edition 1.0 3-3-2 NP-134E/134ME Mechanical
8. A black sticker is added for 0.7, 1.0 and 1.3 diameter nozzles. Fit the Black Sticker
Attachment Jig A to the nozzle, attaching the black sticker around the jig, then
apply the sticker firmly using the Black Sticker Attachment Jig B.
Note: There are various sizes of the Black Sticker Attachment Jig A for 0.7, 1.0 and 1.3
diameter nozzles. Ensure the correct jig is used.
Black Sticker Attachment Jig B
(Y9205CPPN5571)
Black Sticker Attachment Jig A
(ø0.7: Y9205CPPN5580)
(ø1.0: Y9205CPPN5590)
(ø1.3: Y9205CPPN5600)
Black Sticker
Nozzle
NP1MR071a
Part 3 Chapter 3 Replacing Consumable Parts
Edition 1.0 3-3-3 NP-134E/134ME Mechanical
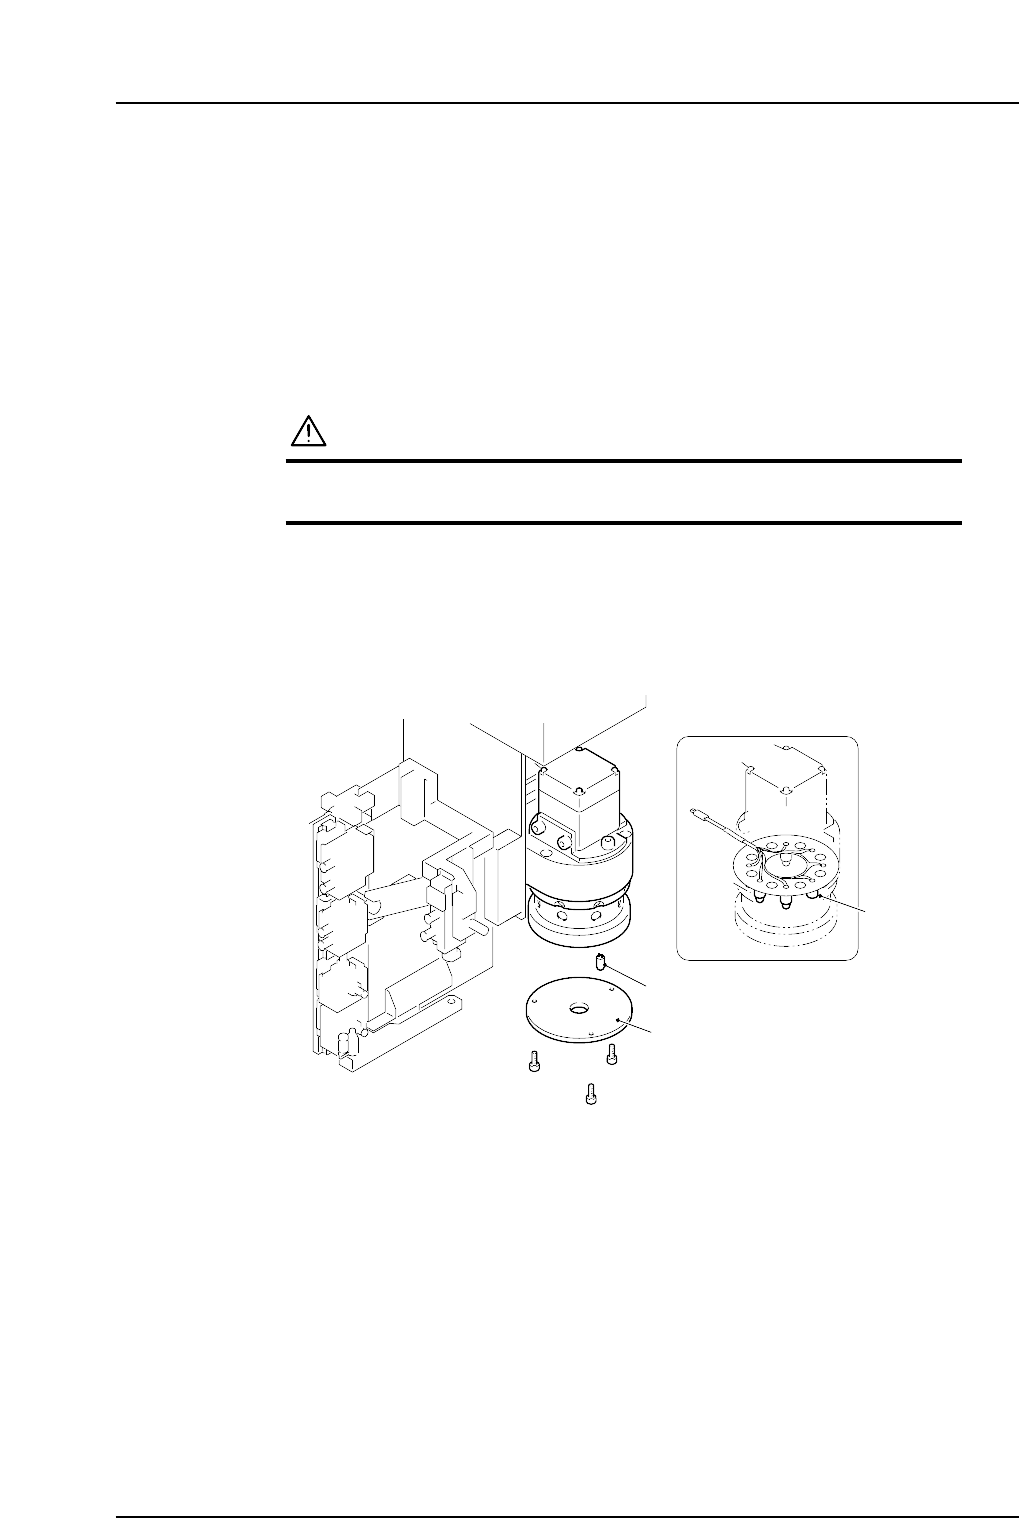
3.3 Replacing the Mark Camera Lamp
Point
The mark camera lamp must be replaced when it burns out, or when it is no longer
bright enough.
Procedure
WARNING
Always be sure to cut the main power before carrying out
any work.
1. Remove the dispersion plate.
2. Unplug the lamp from the socket.
3. Plug a new lamp into the socket, and re-attach the dispersion plate.
Note: The use of a small mirror to check the lamp and socket positions makes the
replacement procedure easier.
NP1MR052
Dispersion plate
Lamp
Socket
Part 3 Chapter 3 Replacing Consumable Parts
Edition 1.0 3-3-4 NP-134E/134ME Mechanical