SI-F130 Manual(EN)_jpg_ Rev1.pdf - 第93页
Conveyor Width Adjustment HLF-10316-01 Conv eyor Wid th Adju stmen t SHEET 1/2 Conveyor Width Adjustment [Necessary jig] • Do not use jig. [Procedure] 1 Perform origin position return of conveyor . 1. Click in an order o…
Software Limit Setup
HLF-10315-01
Software Limit Setup
SHEET
7/7
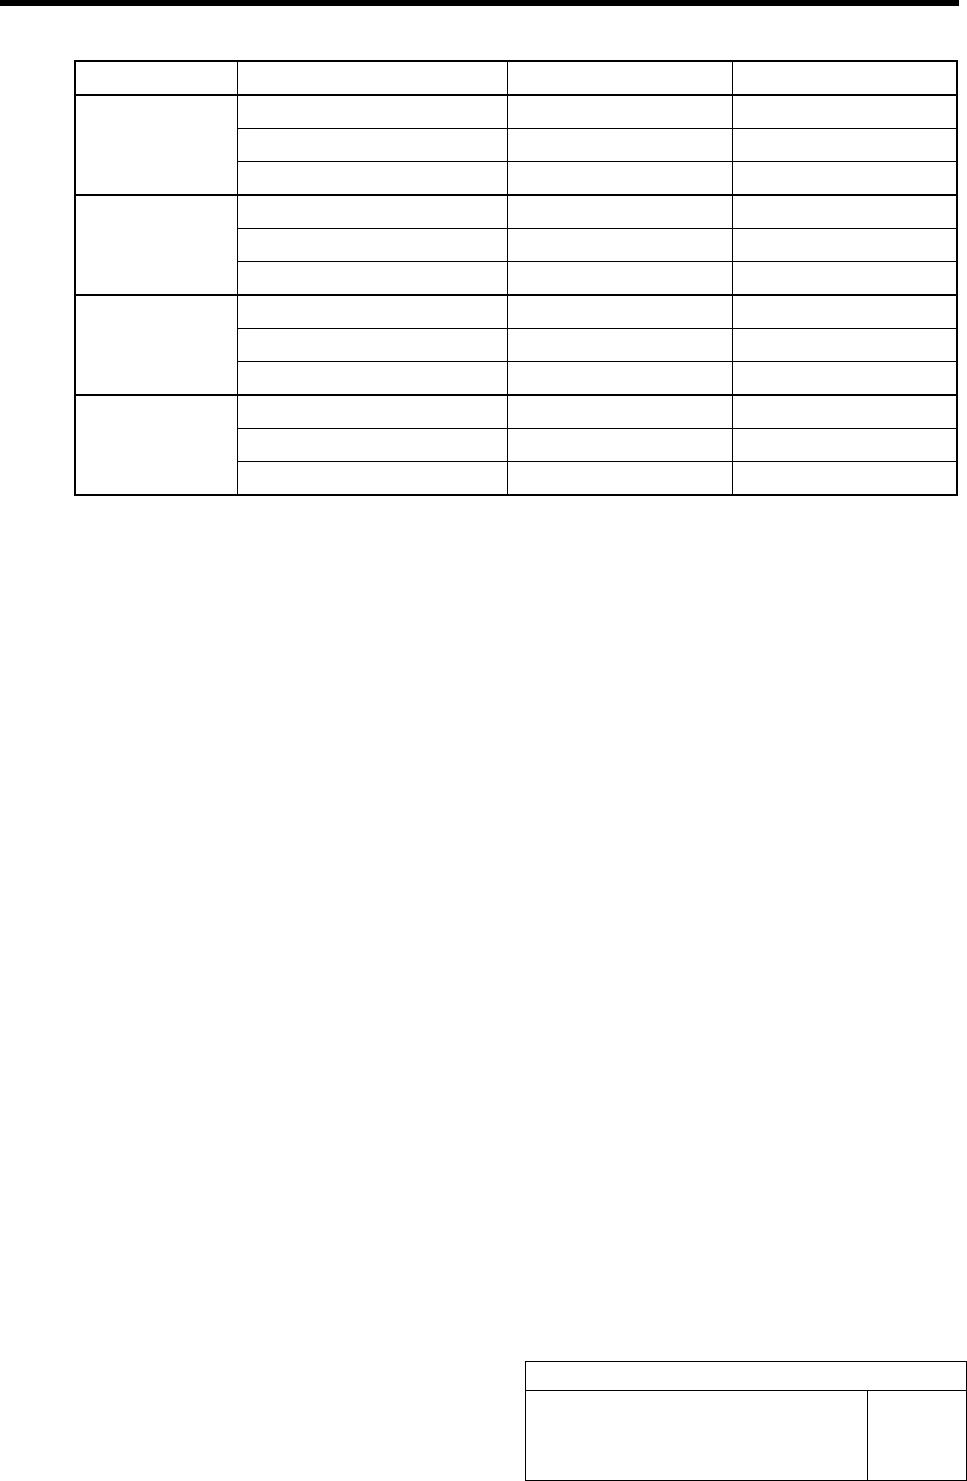
<Standard table>
Cassette No. Coordinate X Axis clearance Y Axis clearance
Pickup position X Axis coordinate Y Axis coordinate
Software limit 2 mm and more 1 mm and more
Z101
Over-travel 1 mm and more 0.5 mm and more
Pickup position X Axis coordinate Y Axis coordinate
Software limit 2 mm and more 1 mm and more
Z140
Over-travel 1 mm and more 0.5 mm and more
Pickup position X Axis coordinate Y Axis coordinate
Software limit 2 mm and more 1 mm and more
Z201
Over-travel 1 mm and more 0.5 mm and more
Pickup position X Axis coordinate Y Axis coordinate
Software limit 2 mm and more 1 mm and more
Z240
Over-travel 1 mm and more 0.5 mm and more
Conveyor Width Adjustment
HLF-10316-01
Conveyor Width Adjustment
SHEET
1/2
Conveyor Width Adjustment
[Necessary jig]
• Do not use jig.
[Procedure]
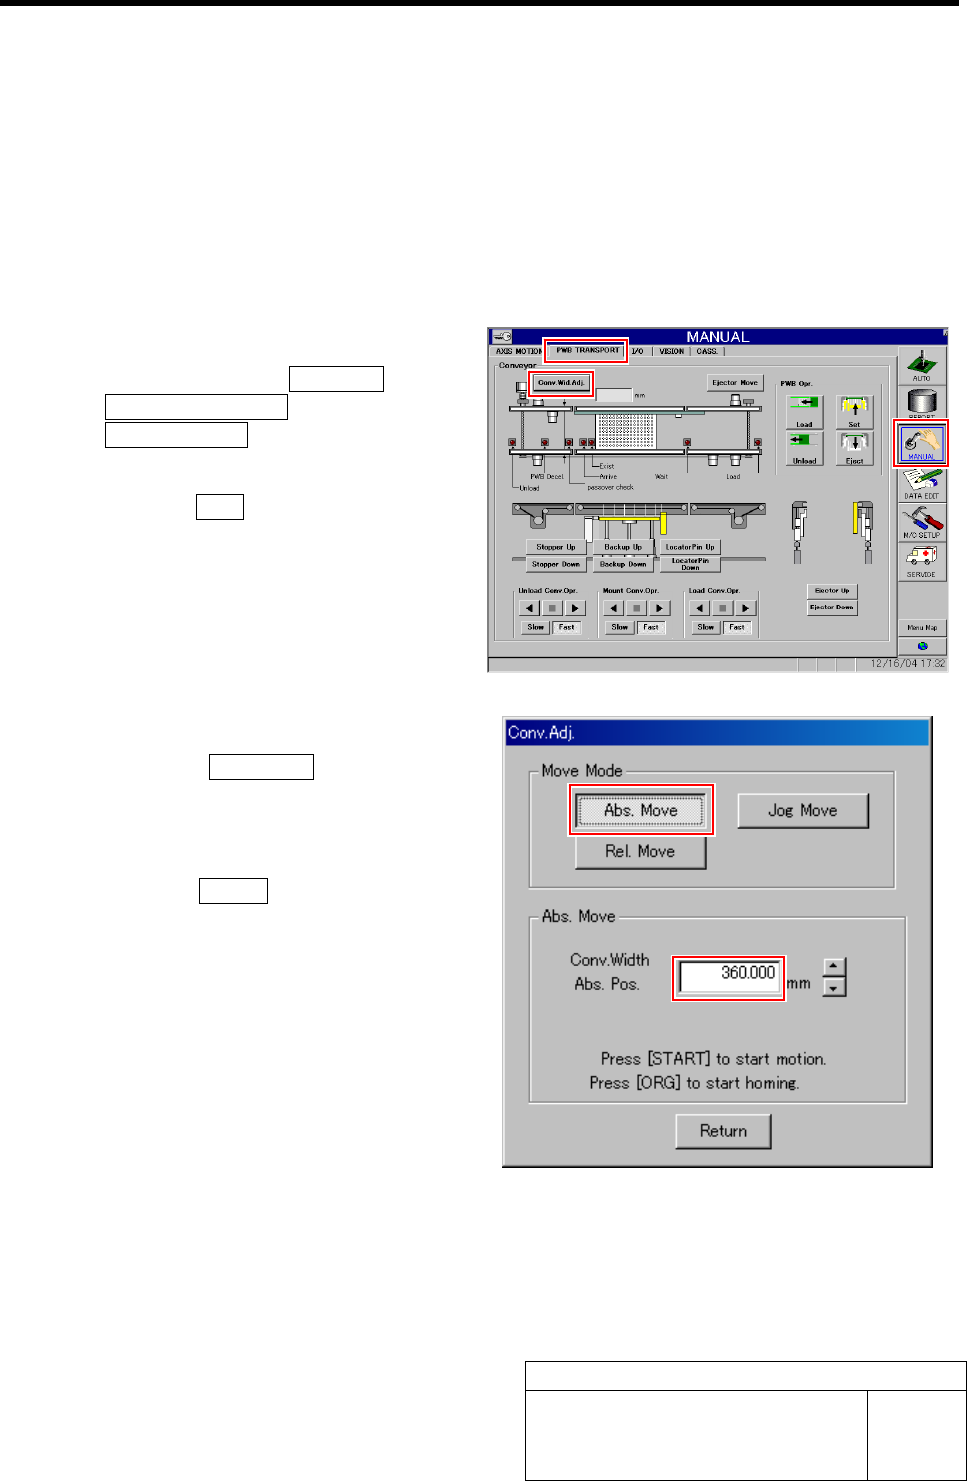
1 Perform origin position return of conveyor.
1. Click in an order of MANUAL menuÎ
PWB TRANSPORT tabÎ
Conv. Wid. Adj. button.
Conv. Adj. screen is displayed.
2. Press the ORG button on the operation
panel with the Conv. Adj. screen being
displayed.
Conveyor return to origin.
2 Set the conveyor width to 360 mm.
1. Click the Abs. Move button on the
Conv. Adj. screen.
2. Input “360” into the input box of the
Conv. Width Abs. Pos.
3. Press the START button on the opera-
tion panel.
Conveyor width is widened to the position of 360
mm.
Conveyor Width Adjustment
HLF-10316-01
Conveyor Width Adjustment
SHEET
2/2
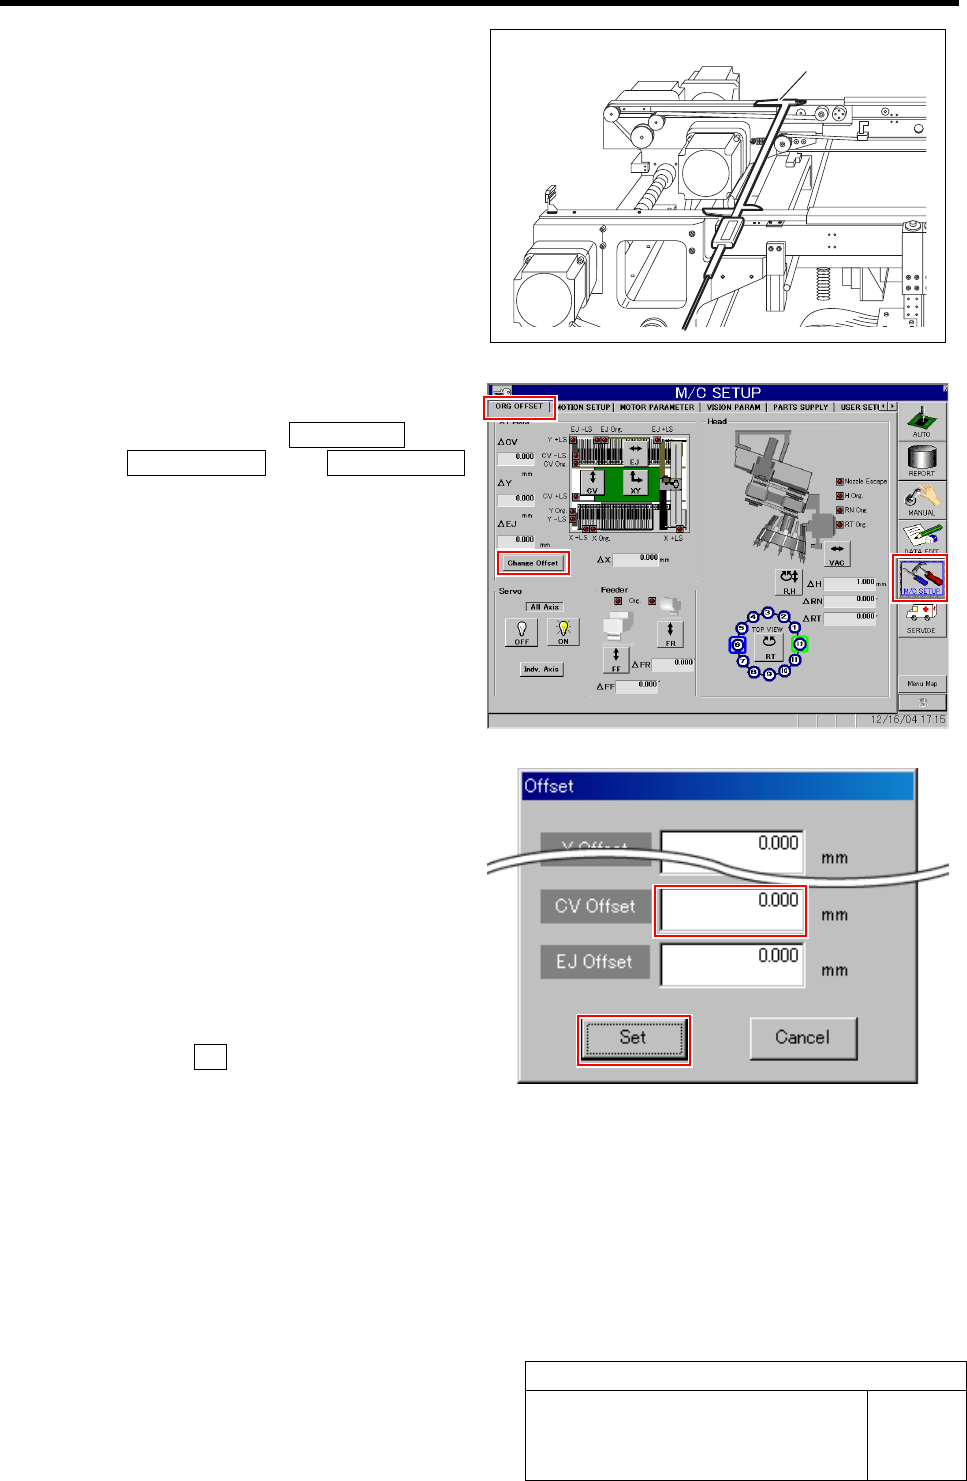
3 Measure the conveyor width with digital slide
calipers.
4 Display Offset screen.
1. Click in an order of M/C SETUP menu
ÎORG OFFSET tabÎChange Offset
button.
Offset screen is displayed.
2. Input the difference value between the
conveyor width measured in the pro-
cedure 3 and the standard value “360.5
mm” into the CV Offset box.
Example: Measured value: 360.0 mm
·········Input value “-0.5”
Measured value: 360.2 mm
·········Input value “-0.3”
3. Click the Set button.
The offset of the conveyor width is set and the
Offset screen closes.
5 Manually move the conveyor width to 360 mm again, and check that the conveyor width is within the
standard value (360.5 ±0.2 mm) with digital slide calipers in the same procedure as in the proce-
dures 1 to 3.
If the conveyor width is not within the standard value, repeat the procedures 1 to 4 until the conveyor width falls within
the standard value.
Digital slide calipers