YG200_YG200L_Mainte_E.pdf - 第58页
3-18 3 Periodic maintenance items 2 . 3 C l e a n i n g a n d g r e a s i n g t h e X , Y , Y T a n d W a x i s l i n e a r g u i d e s e 1 Pr e s s t h e e m e r g e n c y s t o p b u t t o n . T h e m a c h i n e m u s…
3-17
3
Periodic maintenance items
5
Check the greasing. (X, Y and YT
axes)
1. Close the safety cover and cancel
emergency stop.
2. Warm up the machine for about 8
minutes.
e
3. When the machine has stopped, press
the emergency stop button, and wipe
away grease deposits from the ball screw
and the nut edges.
53363-F8-00
6
Check the greasing again. (X, Y and
YT axes)
1. Close the safety cover and cancel
emergency stop.
2. Warm up the machine for about 8
minutes.
e
3. When the machine has stopped, press
the emergency stop button, and wipe
away grease deposits from the ball screw
and the nut edges.
c
CAUTION
Repeat the above steps until finally there are no longer any grease deposits. If production is carried out with grease
deposits still left, this may cause flying grease particles that may badly affect production yields.
n
Grease list
For ball screws
No.
Axis
Grease name Grease type
How to grease
1 X, Y and YT axes
NSL
Lithium-based grease
Use a grease gun.
2
W axis NSL
Lithium-based grease
Apply grease by hand.
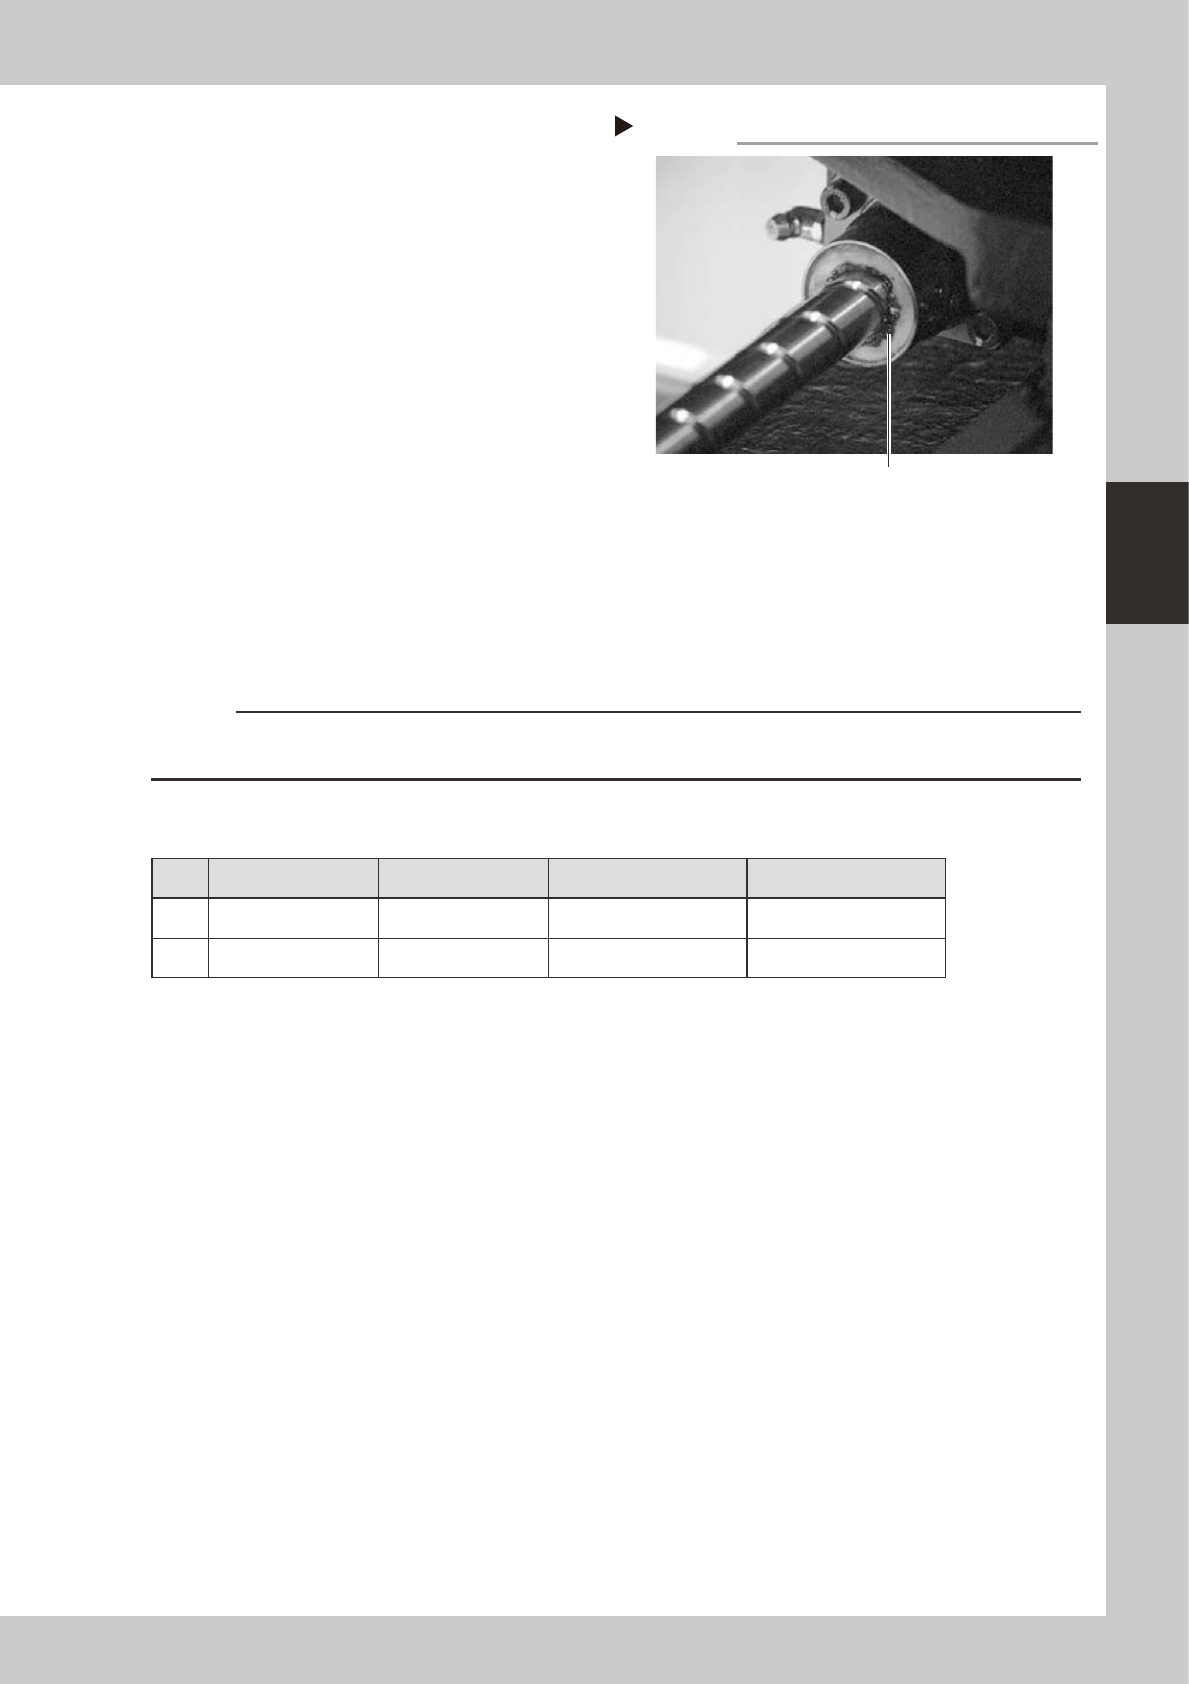
Wiping away grease
Step 4
Wipe away grease deposits.
3-18
3
Periodic maintenance items
2.3 Cleaning and greasing the X, Y, YT and W axis linear guides
e
1
Press the emergency stop button.
The machine must be in emergency stop to
ensure safety during work.
2
Clean the linear guides.
1. Move the head (or conveyor table or
rails) to one end of its axis, and wipe
away the old grease and dirt from the
linear guides with a lint-free cloth or
paper towel.
2. Move the head (or conveyor table or
rails) to the opposite side of its axis and
wipe the linear guides.
53328-F8-10
c
CAUTION
Wipe away thoroughly the old grease in the grooves of
the linear guide rails.
3
Apply new grease to the guide rails.
1. X, Y1, Y2 and YT axes
Use the grease gun to supply the specified
grease (NSL) to the grease nipples. The
grease nipples are located on the right
and left sides of the X-axis and on the
front and back sides of the Y-axis.
2. W axis
Apply grease (NSL) by hand uniformly
over the surface and groove of the linear
guide rails.
53329-F8-10
4
Remove excess grease.
After moving the head (or conveyor table)
back and forth a few times along their axes,
wipe away excess grease.
5
Check the greasing. (X and Y axes)
1. Close the safety cover and cancel
emergency stop.
2.
Warm up the machine for about 8 minutes.
e
3. When the machine has stopped, press
the emergency stop button, and wipe
away grease deposits from the ball screw
and the nut edges.
6
Check the greasing again. (X and Y
axes)
1. Close the safety cover and cancel
emergency stop.
2.
Warm up the machine for about 8 minutes.
e
3. When the machine has stopped, press
the emergency stop button, and wipe
away grease deposits from the ball screw
and the nut edges.
c
CAUTION
Repeat the above steps until finally there are no longer any grease deposits. If production is carried out with grease
deposits still left, this may cause flying grease particles that may badly affect production yields.
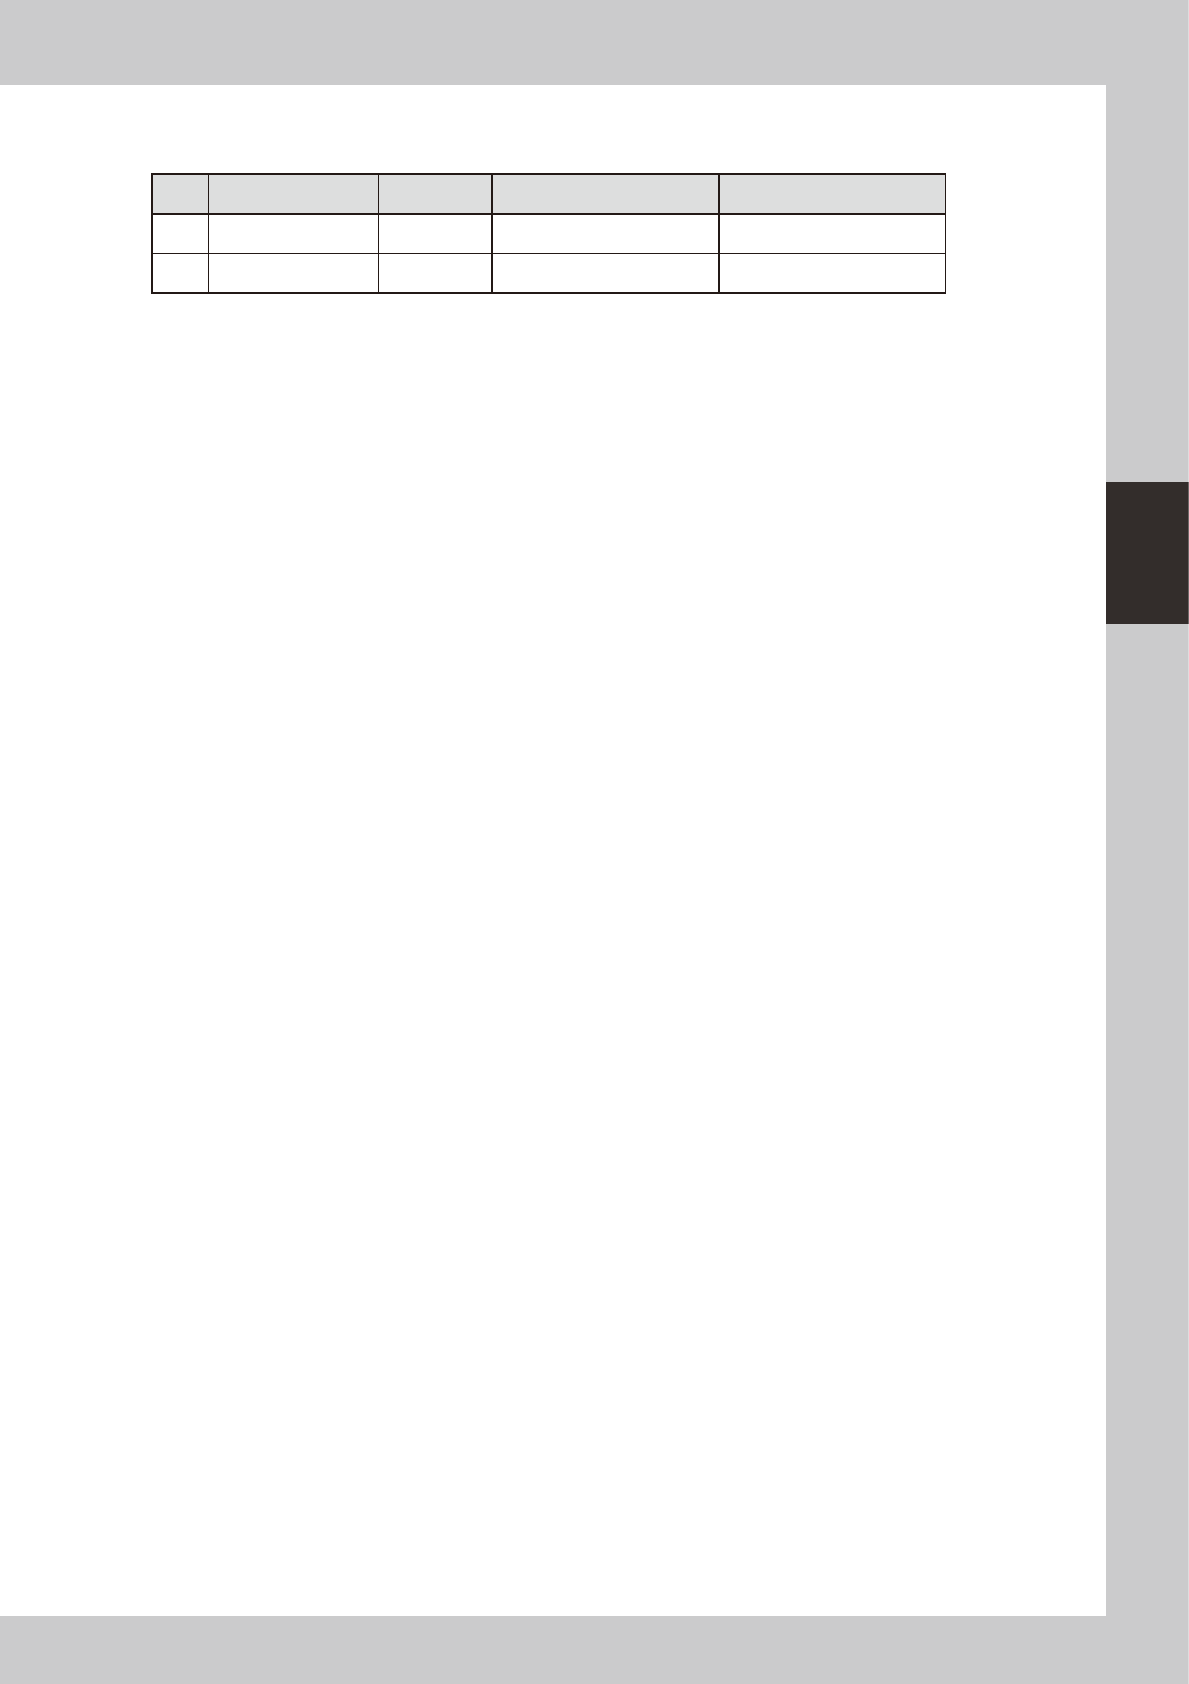
Applying grease to the linear guides
Step 3
X-axis linear
guide rail
Y-axis linear
guide rail
Grease gun
Grease gun
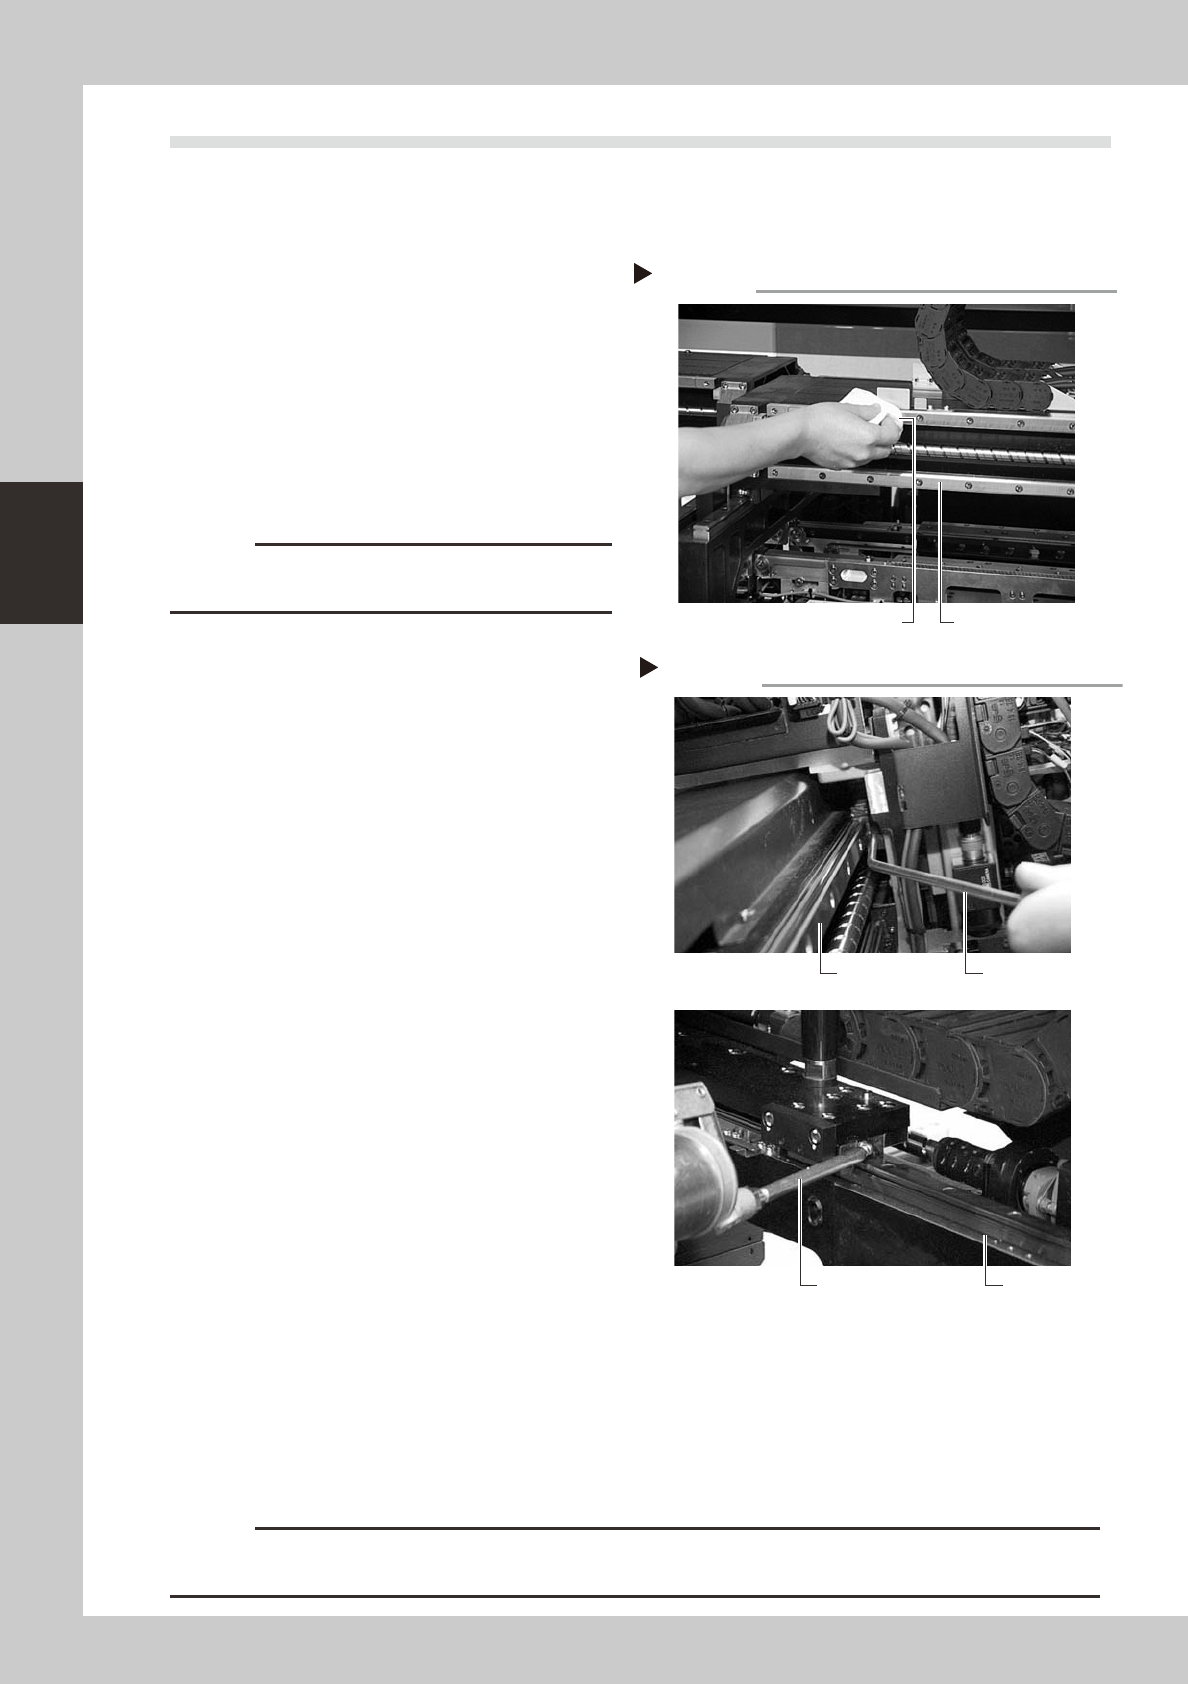
Cleaning the linear guides
Step 2
Guide rail
Cleaning paper or cloth
3-19
3
Periodic maintenance items
n
Grease list
For linear guides
No.
Axis
Grease name
Grease type
How to grease
1
X, Y and YT axes
NSL
Lithium-based grease
Use a grease gun.
2
W axis
NSL
Lithium-based grease
Apply grease by hand.