YG200_YG200L_Mainte_E.pdf - 第63页
3-23 3 Periodic maintenance items 3 . S i x - m o n t h o r o n e - y e a r i n s p e c t i o n 3 . 1 C l e a n i n g a n d r e p l a c i n g t h e e j e c t o r f i l t e r A l t h o u g h d e p e n d i n g o n t h e a …
3-22
3
Periodic maintenance items
2.5 Cleaning the camera lens
The camera lens may become dirty sue to dust and dirt, we recommend periodic cleaning as explained below.
1
e
Press the emergency stop button.
The machine must be in emergency stop to
ensure safety during work.
2
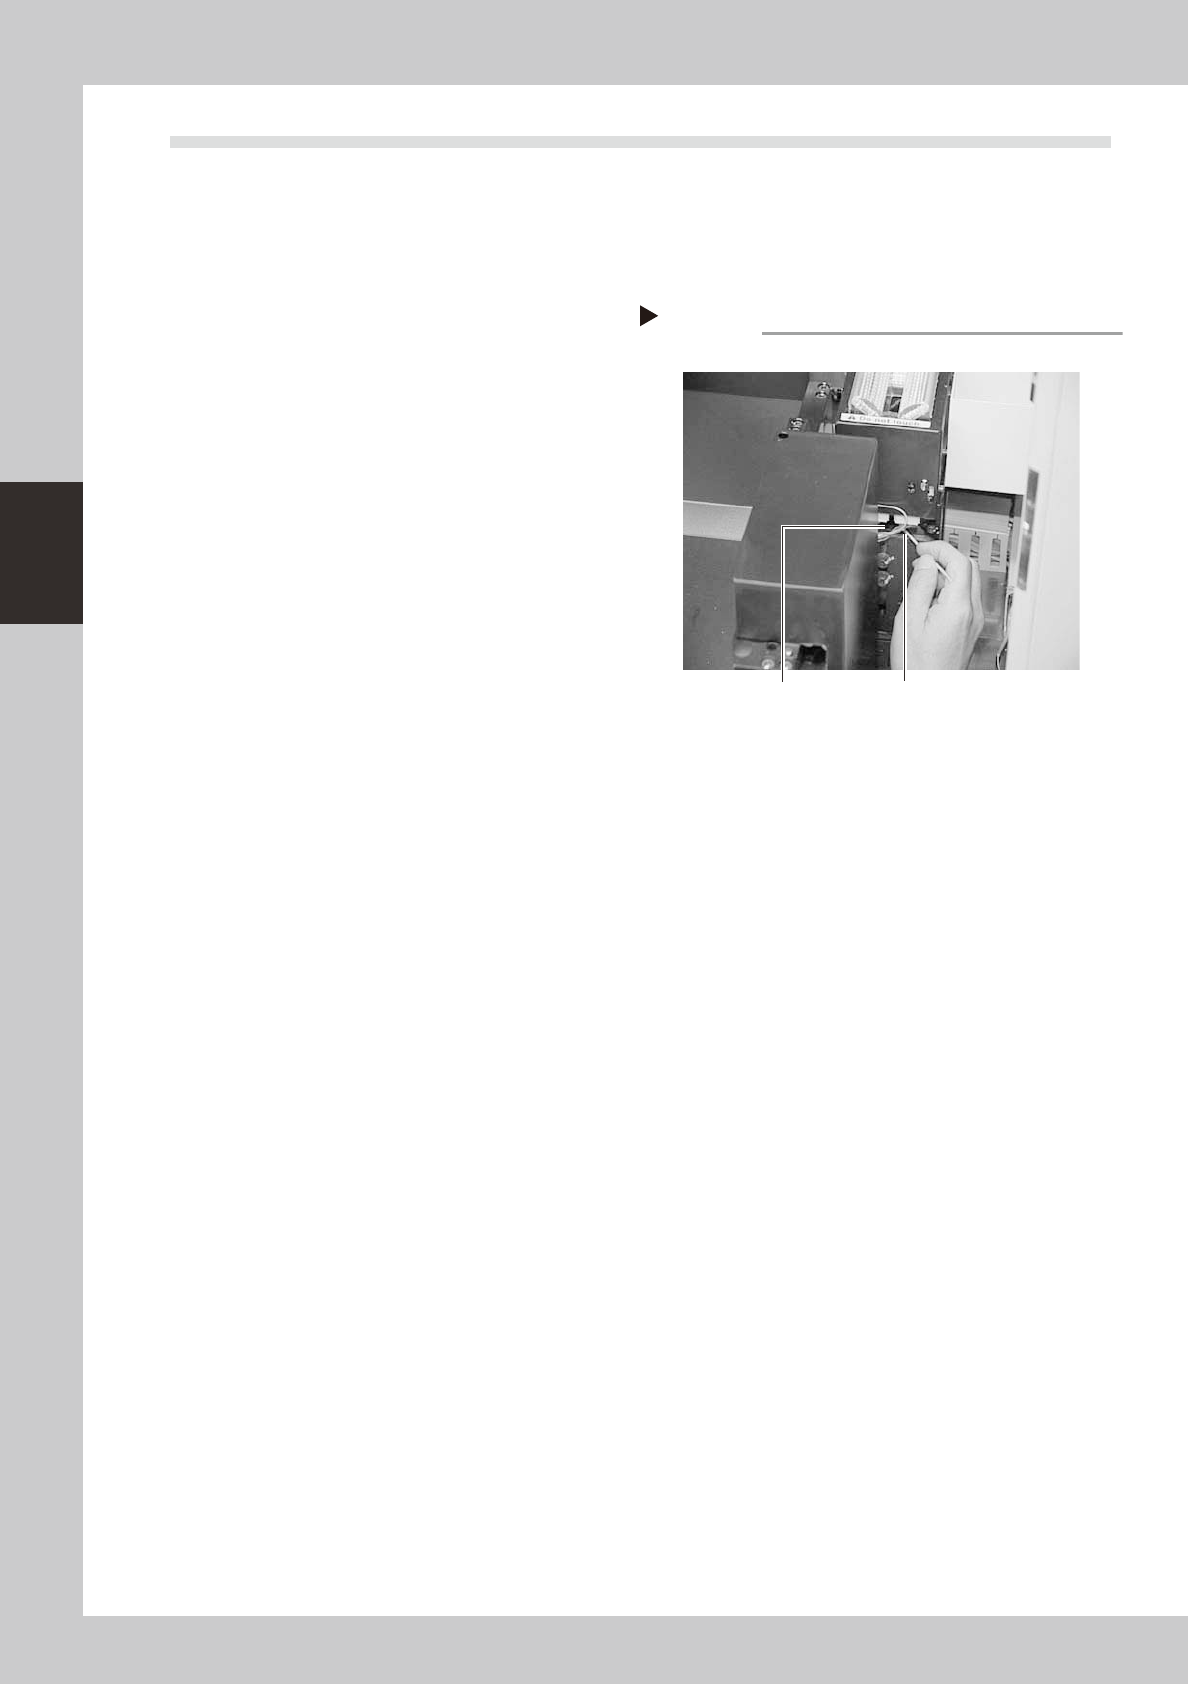
Clean the camera lens.
Illuminate the camera from the top with a
pen light or flashlight. You will see the
camera lens.
1. Use a blow brush to blow air onto the
lens to remove dust buildups.
2. Apply several drops of lens cleaner to a
cotton swab and wipe off the lens.
53334-F8-00
Cleaning the lens
Step 2
Camera lens
Cotton swab stick applied
with lens cleaner liquid
3-23
3
Periodic maintenance items
3. Six-month or one-year inspection
3.1 Cleaning and replacing the ejector filter
Although depending on the air supply conditions and operating time, ejectors should be inspected once every
6 months. Use an air blow gun to remove dust buildups when small. We recommend replacing the air filter if
heavy dust deposits are found.
1
e
Press the emergency stop button.
The machine must be in emergency stop to
ensure safety during work.
2
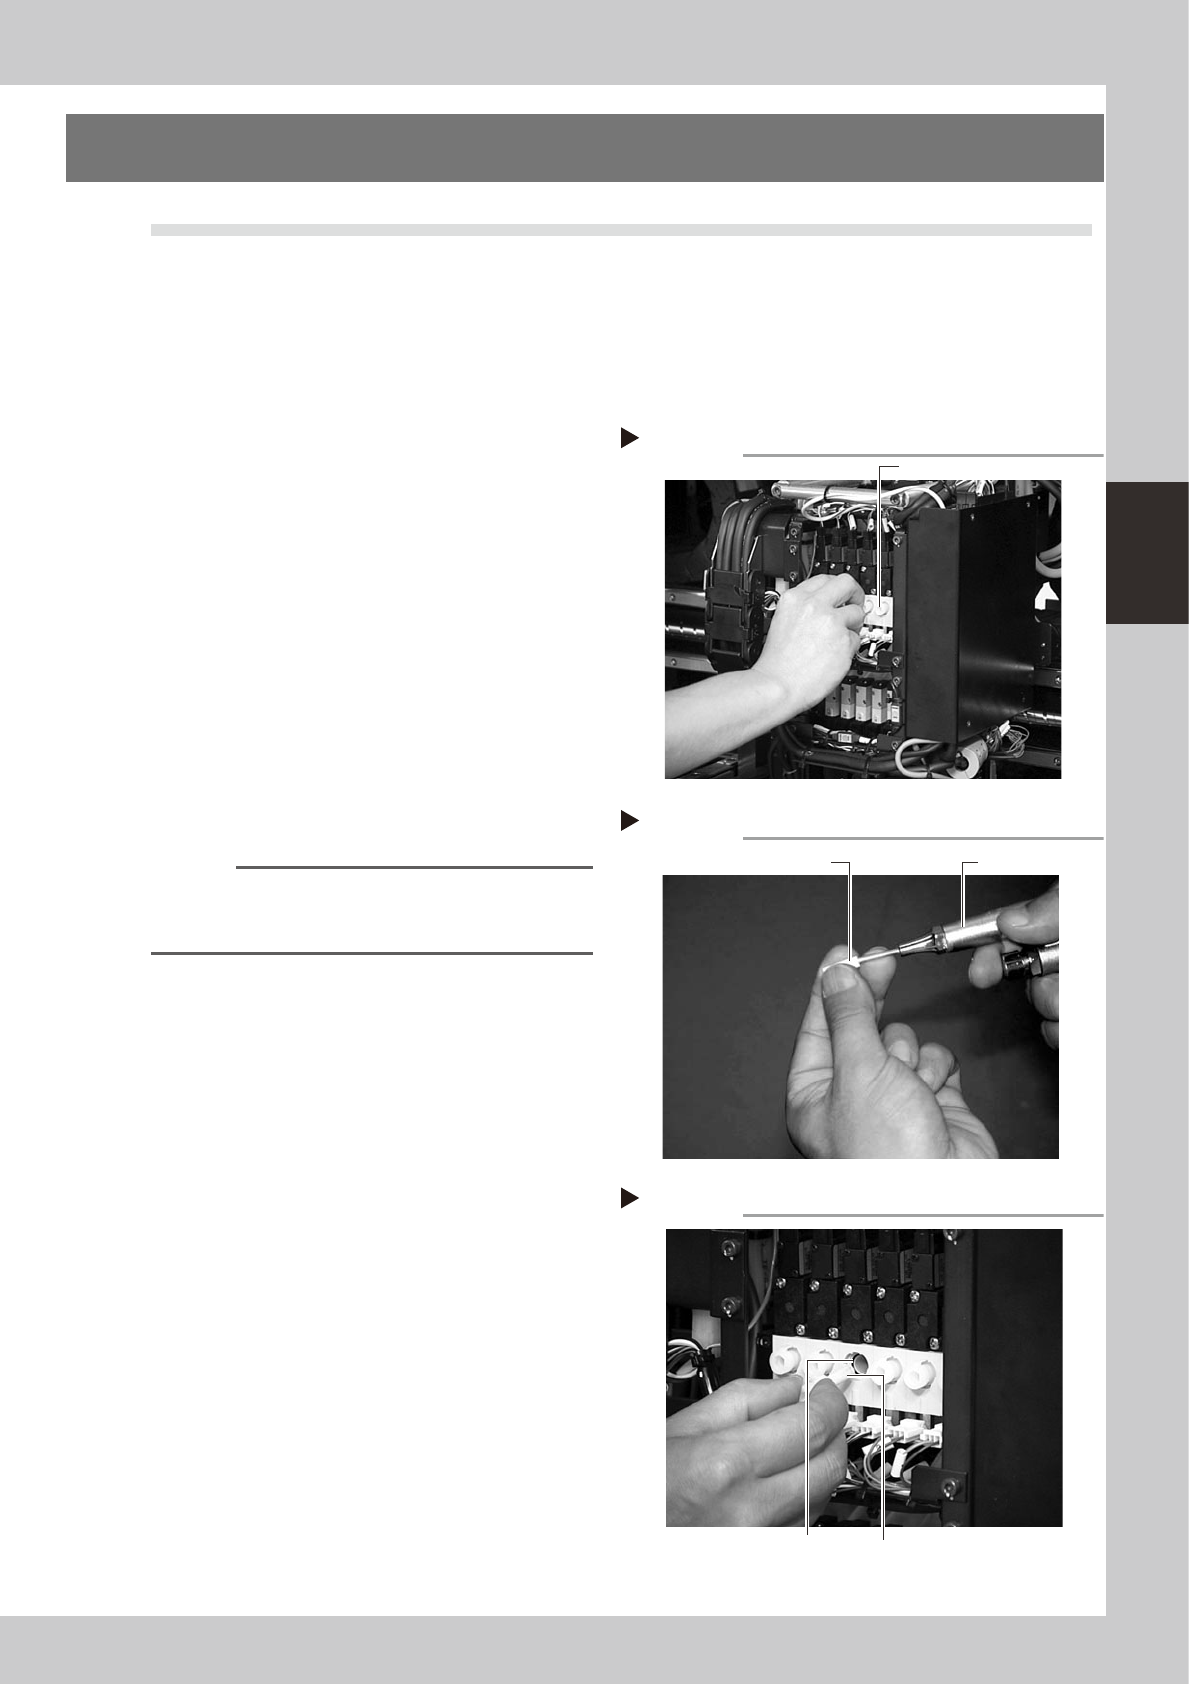
Remove the filter cap.
Remove the cap on the head by turning it
by hand.
53335-F8-00
3
Clean the air filter.
Use tweezers to take the air filter out of the
vacuum ejector. When there is only a little
dust in the filter, use an air blow gun to blow
it away and return the filter to the original
position.
53336-F8-00
4
Replace the air filter as necessary.
If there are heavy dust deposits in the filter
or the filter has discolored, replace with a
new filter.
n
NOTE
As a general guide, filters should be replaced once
every 6 months, although this depends on actual
operating time.
5
Reattach the filter cap.
Screw the filter cap back into the original
position. Do not forget to fit the O-ring inside
the vacuum ejector.
53337-F8-00
Removing the filter cap
Step 2
Filter cap
Cleaning the filter
Step 3
Air blow gun Filter
Inserting the filter
Step 5
Filter fitted into the cap
O-ring
3-24
3
Periodic maintenance items
3.2 Cleaning the spline shaft
Although depending on the air supply conditions and operating time, dust or grime adheres to the air path of
the spline shaft and may cause component pickup or mounting errors. The inside of the spline shaft should be
cleaned once every 6 months.
3.2.1 Removing the standard nozzles
1
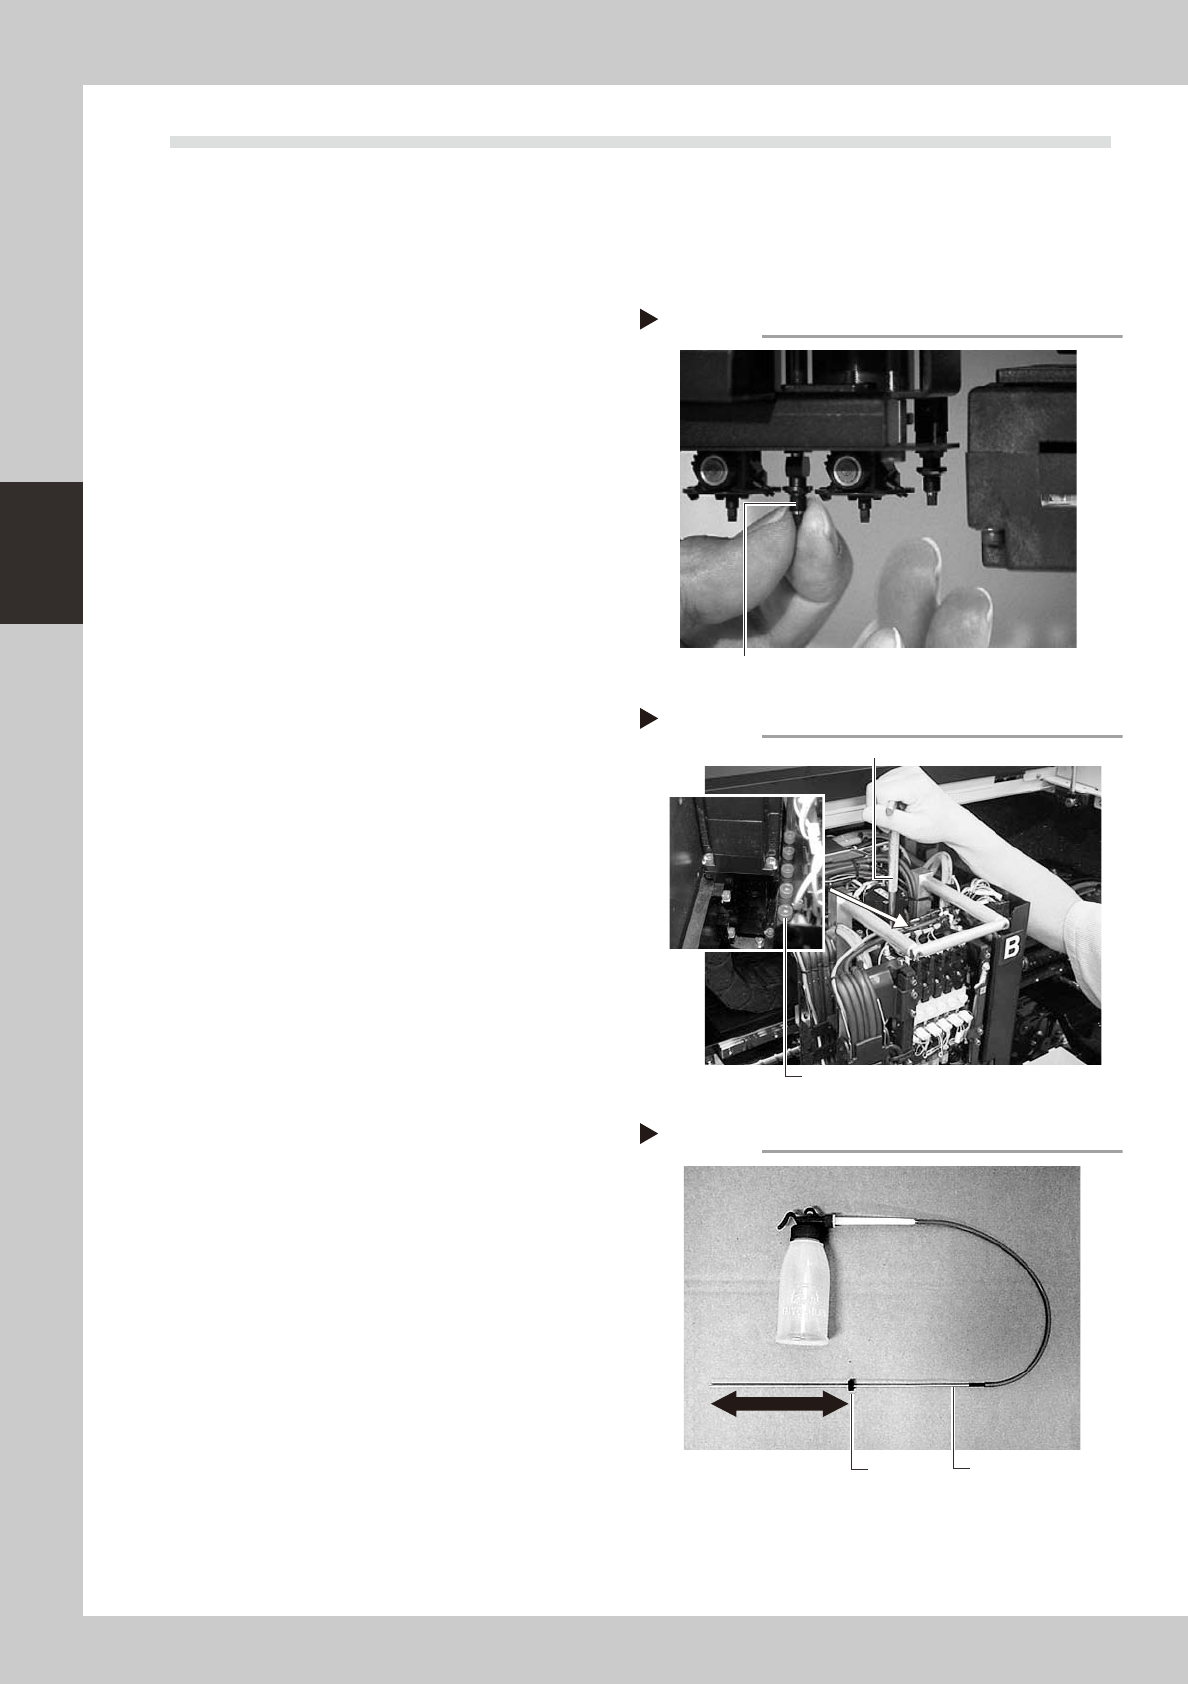
Remove the standard nozzles from
the head.
After checking that the emergency stop
button is pressed, remove the standard
nozzles attached to Heads 1, 3 and 5 of the
"F" type machines by hand or all heads
(Heads 1 to 6) of the "S" type machines.
53338-F8-00
2
Remove the FNC nozzle assemblies
from the head.
By referring to the previous section "1.2.1
Removing the FNC nozzle assembly", remove
all FNC nozzle assemblies from the head.
3.2.2 Cleaning the spline shaft
1
Remove the plug bolts for spline
shaft maintenance.
There are 6 bolts used to plug the cleaning
hole of each spline shaft on the rear side of
the blow valves of the head assembly. Use
the M5 hex wrench to remove all plug bolts
for Heads 1 through 6.
53339-F8-00
2
Prepare the cleaning tool (KV8-
M8860-00X).
1. Pour IPA (isopropyl alcohol) into the
container of the cleaning tool. (Never
pour other solvent into the container.)
2. Slide the stopper on the nozzle tube of
the cleaning tool so it is positioned 110 to
150mm away from the nozzle tip.
3. Place a paper cup or tray under the
spline shaft to be cleaned. (This prevents
IPA from flowing out downwards.)
53340-F8-00
Step 1
Removing the nozzles
Remove the standard nozzles by hand.
Removing the plug bolts
Step 1
Maintenance plug bolt
M5 hex wrench
Adjusting the stopper position
Step 2
Stopper
Nozzle
110 to 150mm