00191413-01.pdf - 第390页
12 Production Tools / Station and Line Confi guration User Manual Line Computer UNIX 12.2 Line Editor Software Version 501.xx 01/99 Issue 12 - 28 - (Edit parameters) If this i con is ac tive, it i s possibl e to edi t th…
User Manual Line Computer UNIX 12 Production Tools / Station and Line Configuration
Software Version 501.xx 01/99 Issue 12.2 Line Editor
12 - 27
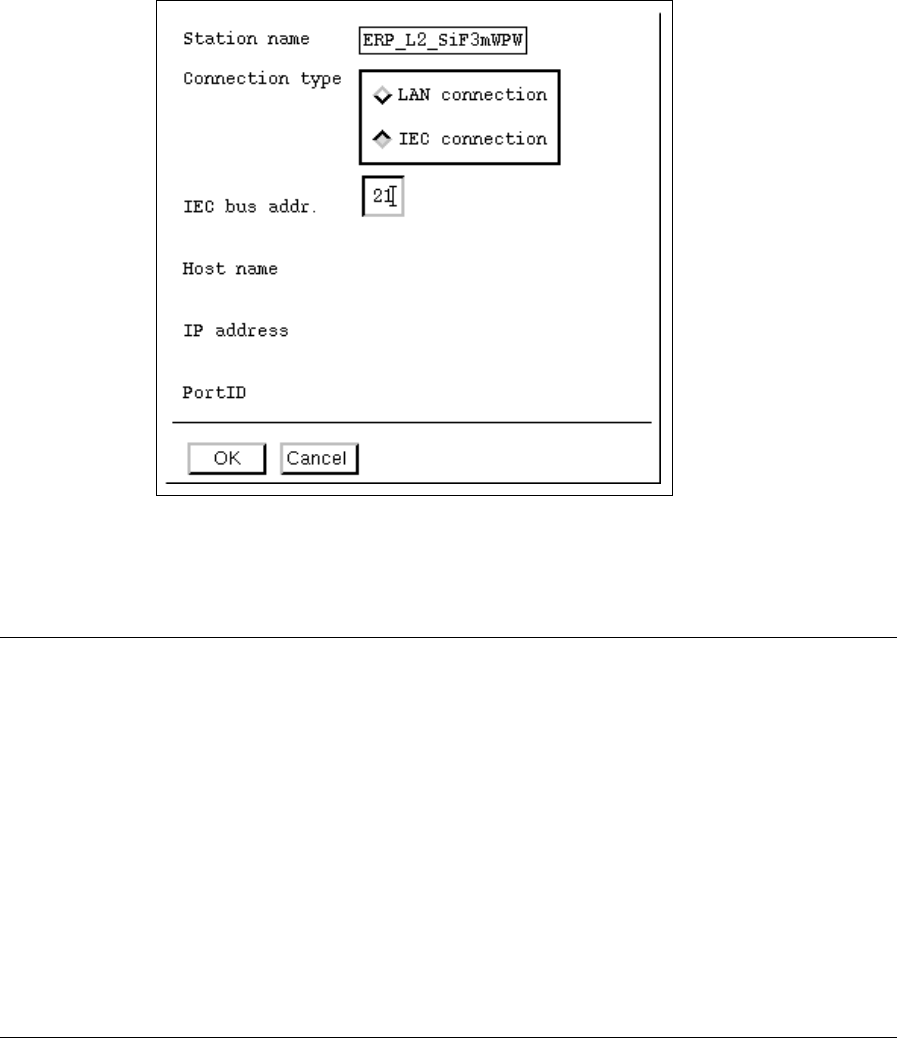
● Activate the LAN connection or IEC connection button for the connection type desired.
● Enter the parameters in the appropriate editing fields.
NOTE
Only those parameters can be edited that are required or possible for the connection type selected.
IEC connection:
- Each IEC bus address may be assigned only once and must be consistent with the IEC bus
address set at the station (acceptable is any figure between 1 - 30 for a SIPLACE station, and
any figure between 8 - 30 for an HS180 station).
LAN connection:
- Any name desired can be entered for the host name (max. 17 characters).
- The IP-address (Internet address) is to be entered in four sections (editing fields). In
each section a number between 000 and 255 must be entered, e.g. "139.10.2.16".
- For the Port ID a number between 4000 and 7000 is to be entered.
● To accept the entries, click on OK.
If all entries are correct, the window closes and the station is integrated into the overall line.
Subsequently, the name of the station including the parameters entered is displayed in the view
area.

12 Production Tools / Station and Line Configuration User Manual Line Computer UNIX
12.2 Line Editor Software Version 501.xx 01/99 Issue
12 - 28
- (Edit parameters)
If this icon is active, it is possible to edit the parameters of a station already contained in the current
line.
● Select the desired station in the view area.
● Click on the icon.
The window for entering the station parameters opens (see page 12 - 27).
● Edit parameters and accept the changes with OK.
The window closes and the name of the station together with the modified parameters is dis-
played in the view area.
- (Delete)
If this icon is active, an already-allocated station can be removed again from the line.
● Select the desired station from the view area.
● Click on the icon.
A dialog box containing the verification query "Do you really wish to delete the entry?" opens.
● Confirm the query with OK.
The dialog box closes and the station is deleted from the line.
The entry for the station is no longer displayed in the view area.
Accepting the configuration of the line:
● On the menu bar select the File --> Save function.
The configuration of the line is saved.
● On the menu bar select the File --> Exit function.
A dialog box containing the following message opens:
● Confirm the dialog box with OK.
The Line Editor closes.
NOTE
To display the currently configured line graphically on the desktop, the view area must be switched over
with the aid of the line selection button (see chapt. 3, section 3.2.3).
User Manual Line Computer UNIX 12 Production Tools / Station and Line Configuration
Software Version 501.xx 01/99 Issue 12.2 Line Editor
12 - 29
12.2.2 Configuration of a Subline
A line can consist of one or several sublines. Upon the configuration of the subline it is defined which stations
will be combined to form a given subline. Only the stations of the higher-order overall line can be configured.
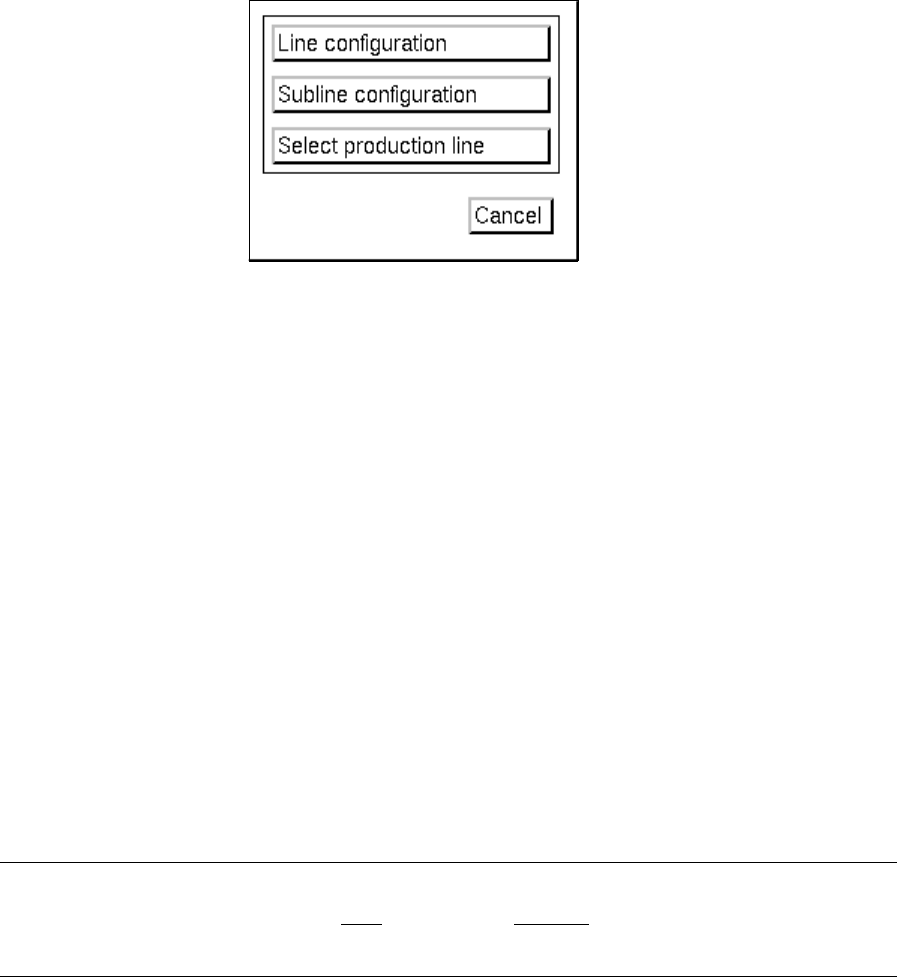
● On the menu bar on the desktop click on SERVICES --> Line configuration.
The "Line configuration" selection window opens.
● Click on the Subline configuration button.
The FSB containing the "Master data: Anlagen" directory opens.
● Select line "xx.ak" in which the subline is to be configured by double-clicking. All sublines contained
in the overall line are now displayed in the FSB.
To change an existing configuration:
● Select subline "xx.va" and confirm with OK (or select subline directly by double-clicking).
The "Subline configuration" window opens (see Fig. 12.2.2).
The names of all stations that were allocated to the line during the configuration are listed in the
view area (see section 12.2.1.1).
The names of the stations that were already assigned to the subline darken.
Establishing a new configuration:
● Enter the name "xx.va" for the new subline and confirm with OK (or RETURN).
The "Subline configuration" window opens (see Fig. 12.2.2).
The names of all stations that were allocated to the line during the configuration are listed in the
view area (see section 12.2.1.1).
NOTE
The name of the subline may comprise max.
20 characters, including the suffix ".va". Some characters
must not be used when assigning the name; more details are contained in chapt. 2, section 2.3.