00191413-01.pdf - 第588页
17.4 Set-Up Generation User Manual Line Computer UNIX 17.4.3 Manual Set-Up Adjustment S oftware Version 501.xx 01/99 Issue 17 - 56 17.4.3 Manual Set-Up Adjustment The packa g in g form fo r compo nent Com p6 is to be ch …
User Manual Line Computer UNIX 17.4 Set-Up Generation
Software Version 501.xx 01/99 Issue 17.4.2 Automatic Set-Up Generation
17 - 55
To start Optimization for a lot file, proceed as follows:
1. In the Optimization Dialo
g
activate the
Read in directory
icon .
The new lot file is listed.
2. Activate the Start icon .
3. Click on the
Examples.lose
lot file.
Optimization of the lot file is started. The Info Box indicates the pro
g
ress and the phases of the process,
as well as production time and the chan
g
eover time of the set-ups bein
g
calculated.
Upon the successful optimization, the status of the lot file is indicated as
optimized
. The set-up name
here:
Examples01.ar
is automaticall
y
assi
g
ned to the optimized set-up.
If errors are encountered durin
g
Optimization, the optimization run is aborted and the status of the lot file
is indicated as
faulty
. In the case of an error, proceed as follows:
— Activate the Select icon .
— Click on the fault
y
j
ob.
— Click on the
View error file
option on the
SERVICES
menu.
The File displa
y
containin
g
the error file is opened.
— Correct the errors displa
y
ed.
— Click on the
Quit
option on the
FILE
menu.
File displa
y
is closed.
— Optimization is re-started.
To check the producibility of a lot file:
4. Activate the Select icon .
5. Click on the
Examples.lose
lot file.
6. Click on the
Producibility check
option on the
SERVICES
menu.
The producibilit
y
check is started. Upon the successful check, the status of the
j
obs is indicated as
R (=ready)
.
To obtain a printout of the optimized set-up, proceed as follows:
7. Click on the
Examples.lose
lot file.
8. Click on one of the
j
obs of this lot file.
9. Click on the
Display set-up
option on the
SERVICES
menu.
The Set-Up Modification Generator is opened.
10. In the Set-Up Modification Generator activate the
Set-up modification instructions
button.
The set-up chan
g
eover instructions are displa
y
ed.
11. On the
FILE
menu click on the
Print
command, then
Print Line
.
The set-up is printed out for all stations.
12. Click on the
Quit
option on the
FILE
menu.
The Set-Up Modification Generator is closed.
13. After optimization has been successfull
y
completed, click on the
Quit
option on the
FILE
menu.
The Optimization Dialo
g
is closed.
17.4 Set-Up Generation User Manual Line Computer UNIX
17.4.3 Manual Set-Up Adjustment Software Version 501.xx 01/99 Issue
17 - 56
17.4.3 Manual Set-Up Adjustment
The packa
g
in
g
form for component Comp6 is to be chan
g
ed: it is supplied in stick ma
g
azines. Comp5 is addi-
tionall
y
supplied in waffle-pack tra
y
s. The set up is adapted manuall
y
.
Opening Set-up Edi-
tor/Feeder Part Editor
continued on pa
g
e 17-58
Deleting feeders
Allocating feeder to a
track
Setting up feeders
Allocating component
to a feeder
User Manual Line Computer UNIX 17.4 Set-Up Generation
Software Version 501.xx 01/99 Issue 17.4.3 Manual Set-Up Adjustment
17 - 57
To open the Set-Up Editor/Feeder Part Editor, proceed as follows:
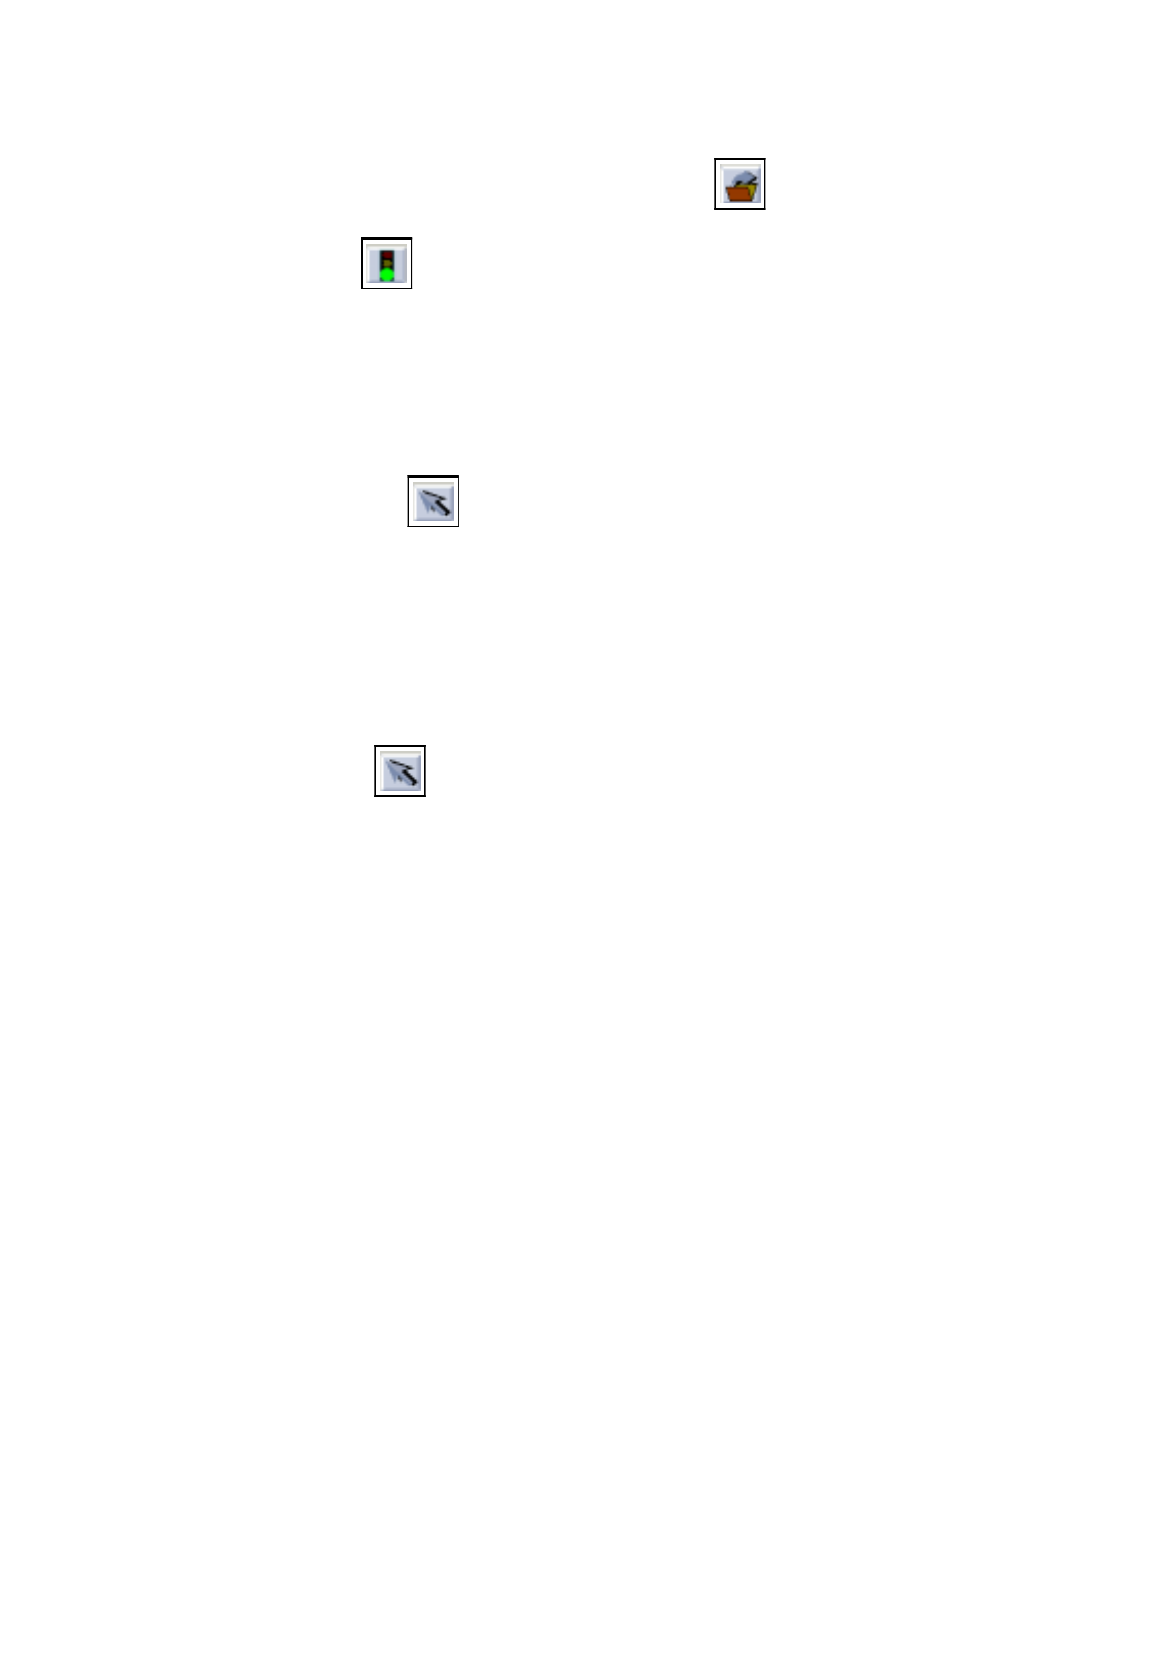
1. On the desktop click on the feeder part of the respective station, here:
right feeder part of Siplace_80S
.
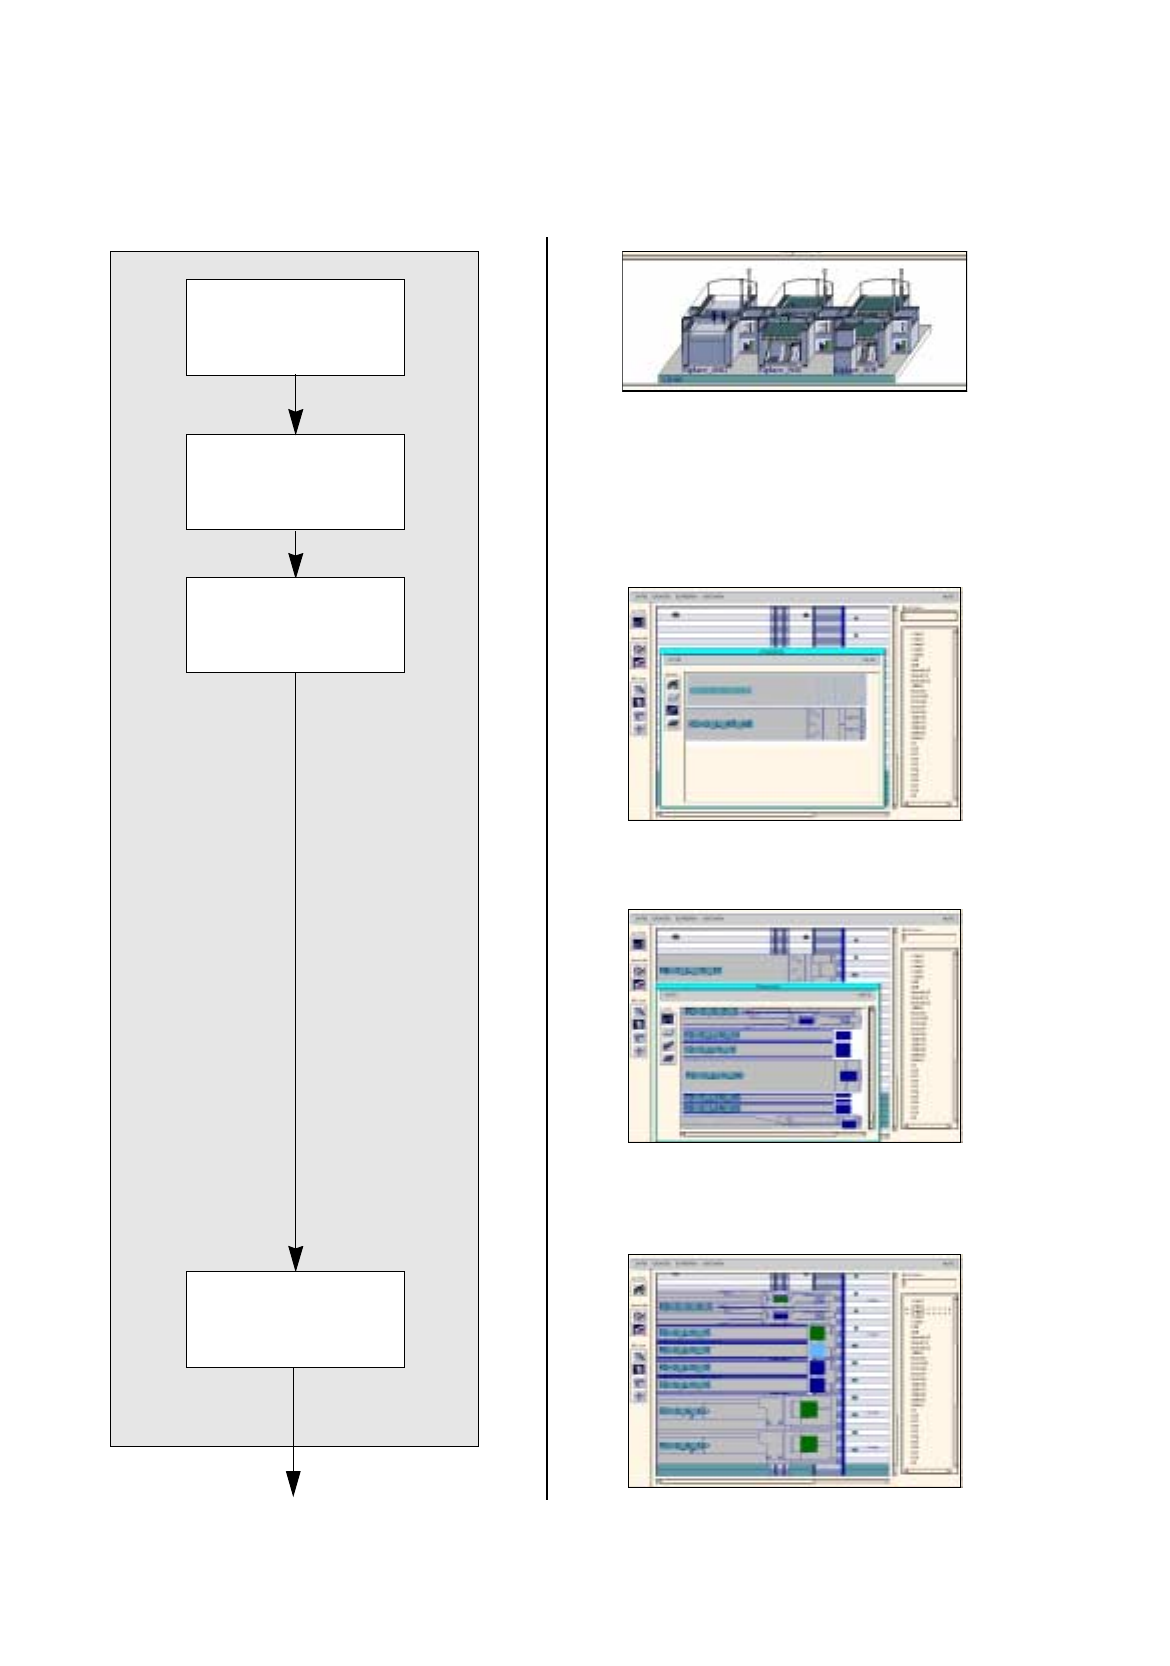
The file selection window for set-up selection is opened.
2. Click on the set-up, here:
Examples01.ar
and click on the
OK
button.
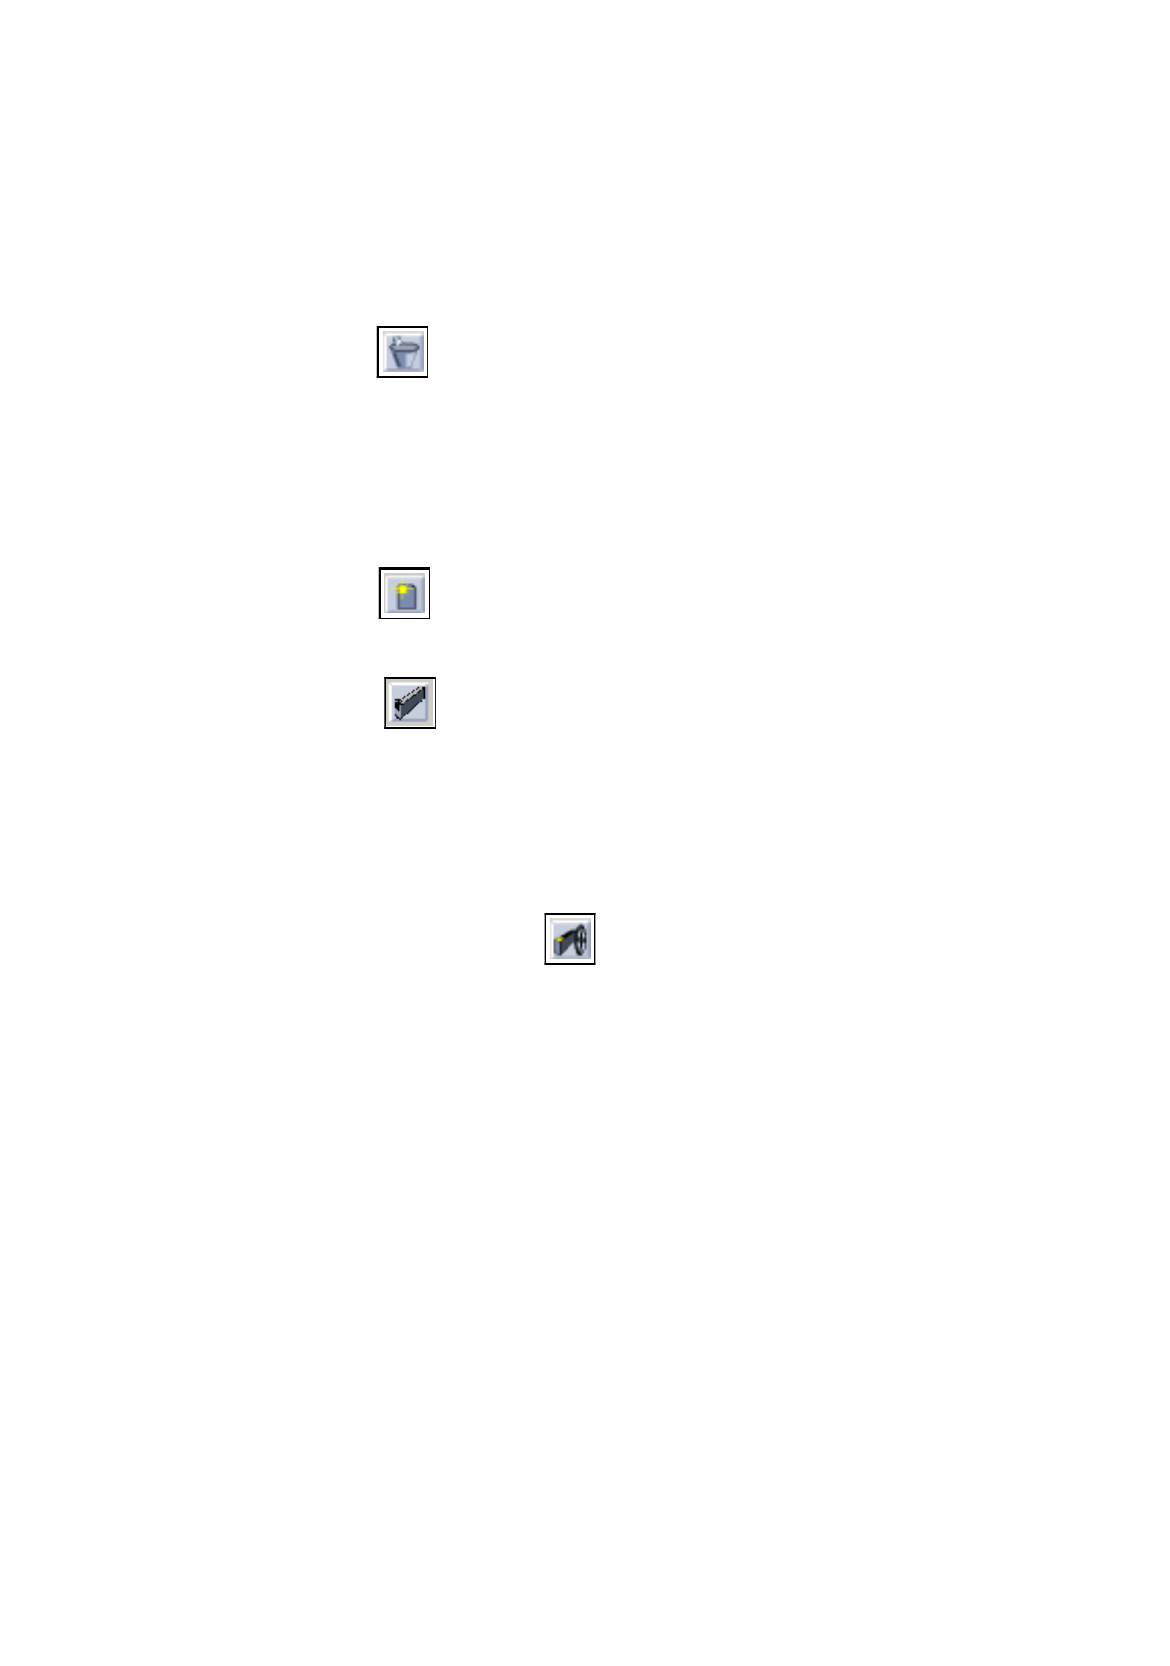
The Set-Up Editor/Feeder Part Editor for this feeder part is opened.
To delete a feeder, proceed as follows:
3. Activate the Delete icon .
4. Click on the feeder that is to be deleted, here:
FD~S_G_12
on track
97
.
A dialo
g
box appears.
5. In the dialo
g
box click on the
OK
button.
The feeder is deleted, the dialo
g
box is closed.
6. If re
q
uired, delete other feeders analo
g
ousl
y
, here:
FD~S_G_12
on track 103
.
To allocate a feeder to a track, (here: linear feeders with module), proceed as follows:
7. Activate the Create icon .
8. Click on the
°Feeder list
option on the
SERVICES
menu.
The feeder list is opened.
9. Activate the Module icon .
A listin
g
of all modules is displa
y
ed.
10. Click on a module, here:
MD~S_L_10_15
.
11. Click on a track, here:
track
97.
The module is set up on the track.
12. Set up the same module on track 103 analo
g
ousl
y
.
13. Click on the
°Feeder list
option on the
SERVICES
menu.
The feeder list is opened.
14. On the Feeder list activate the Feeder icon .
A listin
g
of all feeders is displa
y
ed.
15. Click on a feeder, here:
FD~S_LIN_15
.
16. Click on an area of one of the modules.
The feeder is set up in this area.
17. Click on the
°Feeder list
option on the
SERVICES
menu.
The feeder list is opened.
18. Click on a feeder, here:
FD~S_LIN_15
.
19. Click on the other area on the module.
The feeder is set up in this area, the feeder list is closed.
20. Set up the second module analo
g
ousl
y
.
To allocate a component to a feeder, proceed as follows:
21. Click on the component in the component list, here:
Comp6
.
22. Click on the compartment
(
division
)
of a feeder.
The component Comp6 is allocated to the compartment and the component name is displa
y
ed on the
ri
g
ht hand side.
23. Allocate components to the other compartments of the feeder analo
g
ousl
y
.