00191413-01.pdf - 第592页
17.4 Set-Up Generation User Manual Line Computer UNIX 17.4.3 Manual Set-Up Adjustment S oftware Version 501.xx 01/99 Issue 17 - 60 FILE Save FIL E Quit Savi ng set-u p Alloca ting a c ompo- nent t o a waffle- pack tray A…
User Manual Line Computer UNIX 17.4 Set-Up Generation
Software Version 501.xx 01/99 Issue 17.4.3 Manual Set-Up Adjustment
17 - 59
To adapt the vibration time and the pick-up angle, proceed as follows:
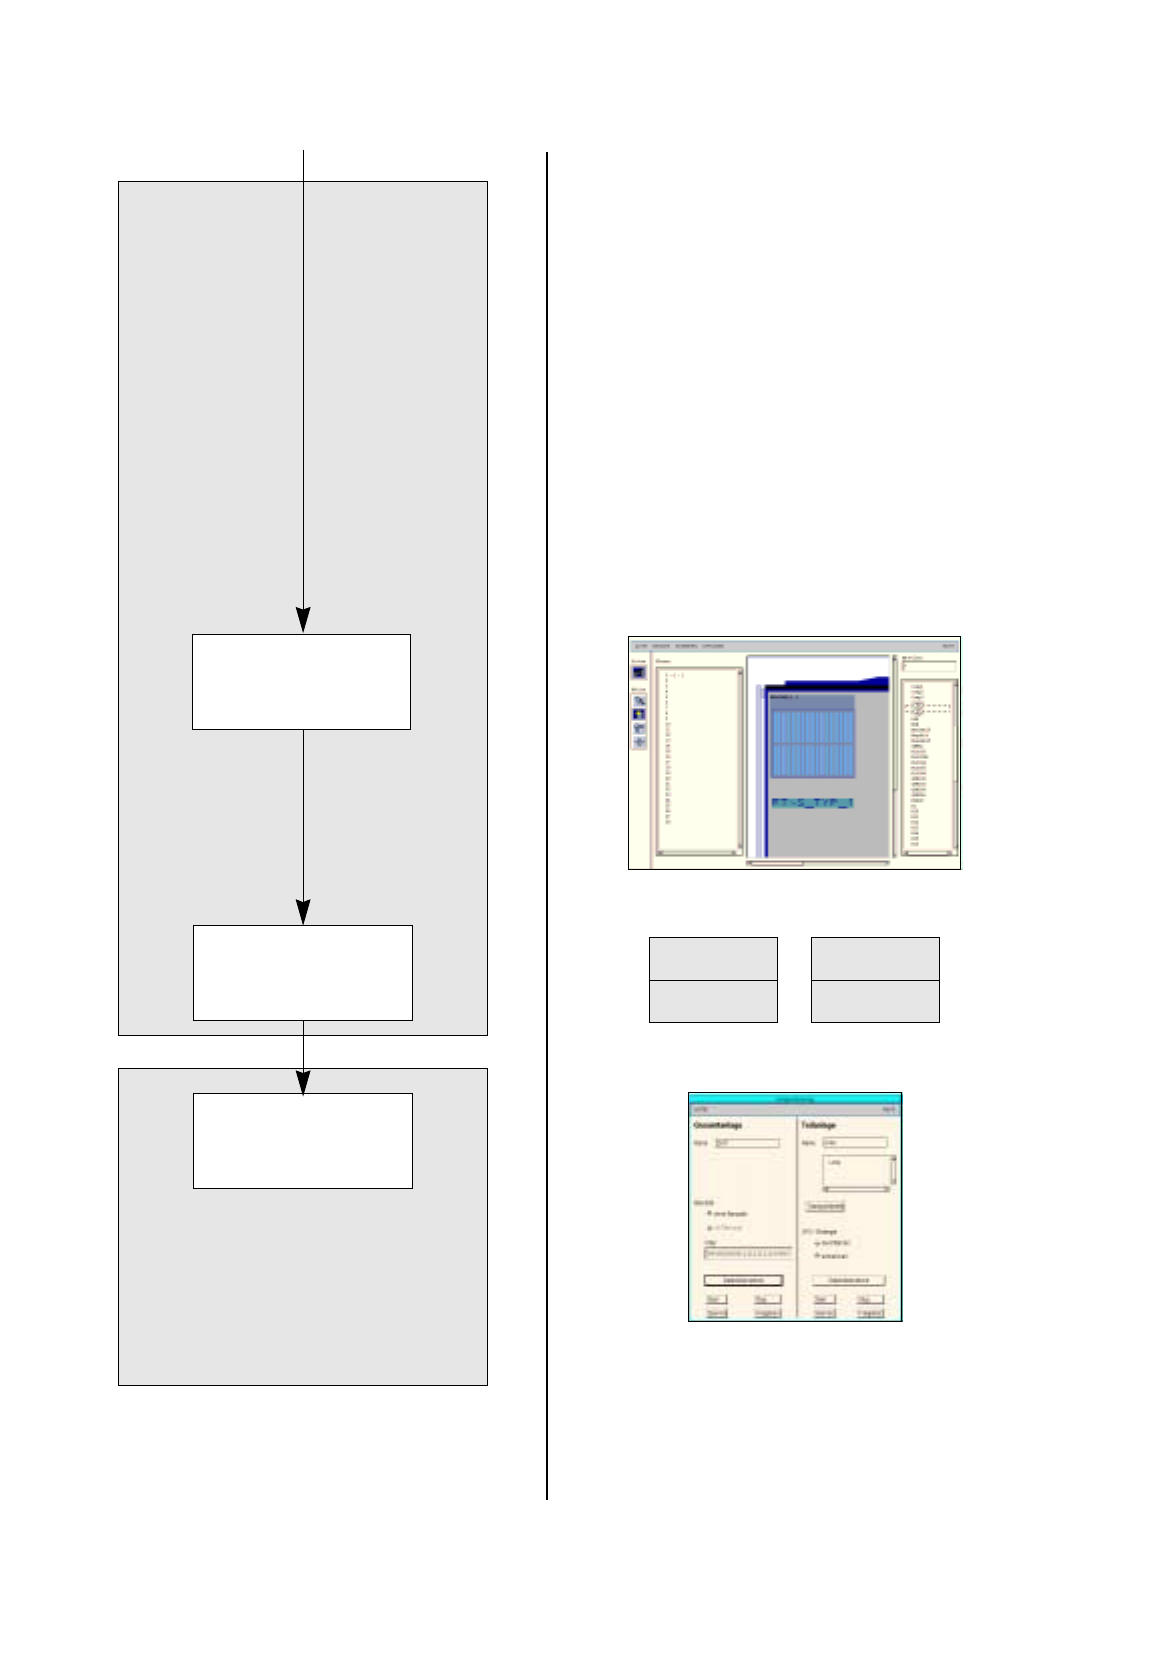
24. Activate the Select icon.
25. Click on a compartment of a feeder.
26. Click on the
Packaging box
option on the
SERVICES
menu.
The Packa
g
in
g
Editor is opened.
27. Click on the
Pick-up ang.
editin
g
field and enter the new pick-up an
g
le, here:
90
degrees
.
28. Click on the
Vibrat. time
editin
g
field and enter the new vibration time, here:
600 ms
.
29. Click on the
Quit
option on the
FILE
menu.
The Packa
g
in
g
Editor is closed.
To save the set-up, proceed as follows:
30. Click on the
Save
option on the
FILE
menu.
The data are saved.
31. Click on the
Quit
option on the
FILE
menu.
The Set-Up Editor/Feeder Part Editor is closed.
To open the Set-Up Editor/WPC Editor, proceed as follows:
32. On the desktop click on the Waffle-Pack Chan
g
er.
The file selector box for the set-up selection is opened.
33. Click on the set-up, here:
Examples01.ar
and click on the
OK
button.
The Set-Up EditorWPC Editor is opened.
To allocate a waffle-pack tray to a level of the Waffle-Pack Changer:
34. Activate the Create icon.
35. In the Levels displa
y
area click on a level, here:
Level1
.
36. Click on the
°Feeder list
option on the
SERVICES
menu.
The feeder list is opened.
37. Activate the waffle-pack tra
y
carrier icon.
A list with all waffle-pack tra
y
carriers is opened.
38. Click on a waffle-pack tra
y
carrier, here:
WC~S_TYP_1
.
39. Click on the s
y
mbol of the Waffle-Pack Chan
g
er.
The waffle-pack tra
y
carrier is set up at the appropriate level.
40. Click on the
°Feeder list
on the
SERVICES
menu.
The feeder list is opened.
41. On the feeder list activate the Waffle-pack tra
y
icon.
A window containin
g
a waffle-pack tra
y
with the spacin
g
1x1 is opened.
42. Click on the waffle-pack tra
y
on the text line.
43. Click on the waffle-pack tra
y
carrier in the displa
y
.
The waffle-pack tra
y
is set up on the waffle-pack tra
y
carrier.
To define a waffle-pack tray, proceed as follows:
44. Click on the blue pick-up area of the waffle-pack tra
y
.
45. Click on the
Packaging box
option on the
SERVICES
menu.
The Packa
g
in
g
Editor is opened.
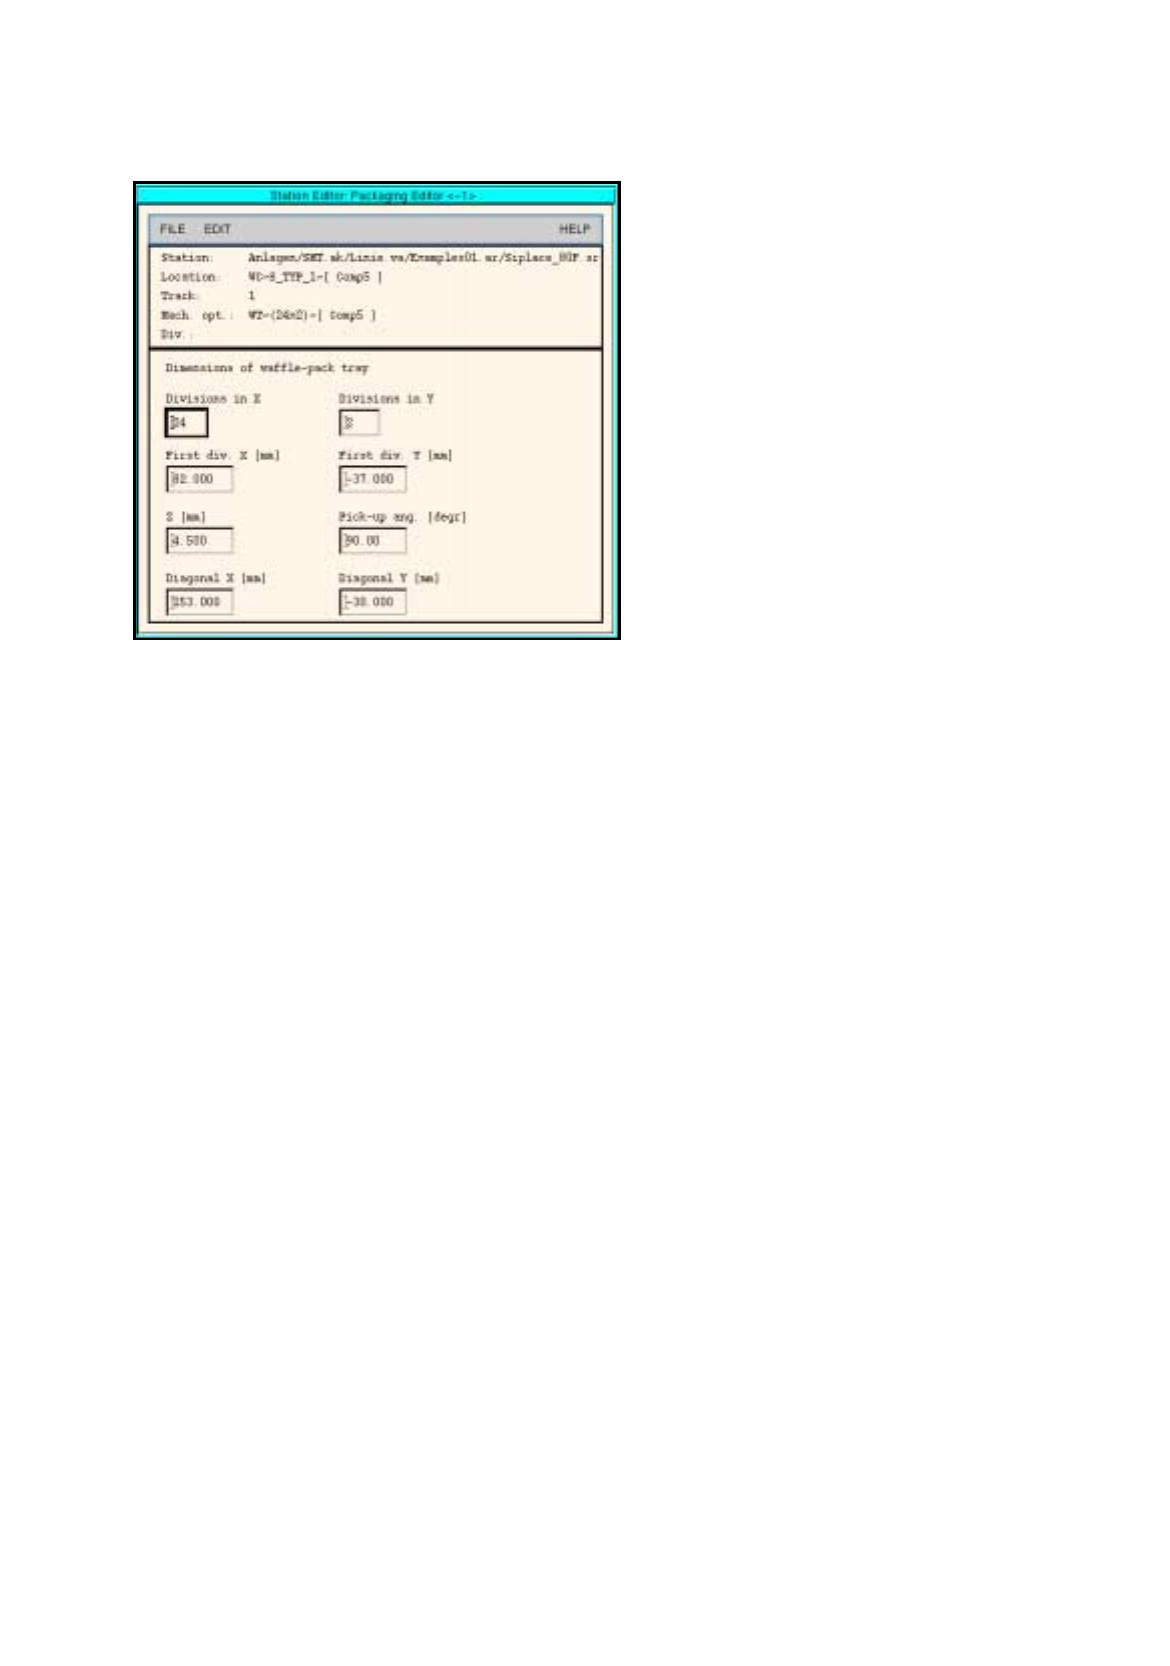
46. Enter the dimensions of the waffle-pack tra
y
in the editin
g
fields, see Fi
g
. 17.4.1 on
pa
g
e 17-61.
17.4 Set-Up Generation User Manual Line Computer UNIX
17.4.3 Manual Set-Up Adjustment Software Version 501.xx 01/99 Issue
17 - 60
FILE
Save
FILE
Quit
Saving set-up
Allocating a compo-
nent to a waffle-pack
tray
Adjusting conveyor
width
continued from pa
g
e 17-58
Setting up waffle-pack trays
User Manual Line Computer UNIX 17.4 Set-Up Generation
Software Version 501.xx 01/99 Issue 17.4.3 Manual Set-Up Adjustment
17 - 61
Fig. 17.4.1 Definition of a Waffle-Pack Tray
47. Click on the
Quit
option on the
FILE
menu.
The Packa
g
in
g
Editor is closed. The pick-up area of the waffle-pack tra
y
is displa
y
ed to
g
ether with the
indicated spacin
g
.
To allocate a component to a waffle-pack tray, proceed as follows:
48. On the component list click on the component, here:
Comp5
.
49. Click on the blue pick-up area of the waffle-pack tra
y
.
The component is allocated to the compartments of the waffle-pack tra
y
.
To save the set-up, proceed as follows:
50. Click on the
Save
option on the
FILE
menu.
The created set-up is saved.
51. Click on the
Quit
option on the
FILE
menu.
The Set-Up Editor/WPC Editor is closed.
To adjust the conveyor width (if not already done), proceed as follows:
52. On the desktop click on the
Line control
option on the
SERVICES
menu.
The Line control window is opened.
53. Click on the
Conveyor width
button.
A dialo
g
box is opened.
54. Activate the
Width adj. upon cluster change
button.
With this function, the conve
y
or width is ad
j
usted automaticall
y
upon the next cluster chan
g
e.
55. Click on the
OK
button.
The dialo
g
box is closed.
56. Click on the
Quit
option on the
FILE
menu.
The Line control window is closed.