M1series_ServiceManual_e.pdf - 第30页
3 Mechanical Section 3-2 Head ■ Solenoid Valves NOTE: Do not disassemble the solenoid valves for any pur poses. Disassembling them is not covered by the warranty. Part No. Part Name LG0-M71A1-00X SOLENOID VALVE ■ Air Pas…

3 Mechanical Section
3-1
3
Mechanical Section
3 Mechanical Section
3-2
Head
■ Solenoid Valves
NOTE: Do not disassemble the solenoid valves for any purposes. Disassembling them is not covered by the
warranty.
Part No.
Part Name
LG0-M71A1-00X SOLENOID VALVE
■ Air Passage
Clean the air passage (from the air filter assy. to the nozzle holder) periodically to maintain machine
accuracy and placement rate. Give an air blow either from nozzle holder or from an air tube.
■ Air Filter
Take out air filter elements from air filter assy., once a week, to check if they are dirty. Replace the elements
if they are clogged with dust.
3 Mechanical Section
3-3
Nozzle
When obstacles such as solder paste is stuffed up in the nozzle, the suction becomes weak. And existence
of an obstacle at the nozzle tip prevents the vision processing from recognizing smaller components. Clean
nozzles to avoid these troubles.
■ Nozzle Cleaning with Air Blow
Clean nozzles with alcohol and then blow away dust with a blower (more than once a week). When
choking error occurs, also do the cleaning of the nozzle.
Be careful not to apply alcohol to identification marks. Quickly wipe off if
applied.
■ Nozzle Cleaning using Wire (1)
If the stain on the nozzle is stubborn, clean the nozzle using a wire.
Take care not to get injured with the fine wire when cleaning the nozzle.
ACTION:
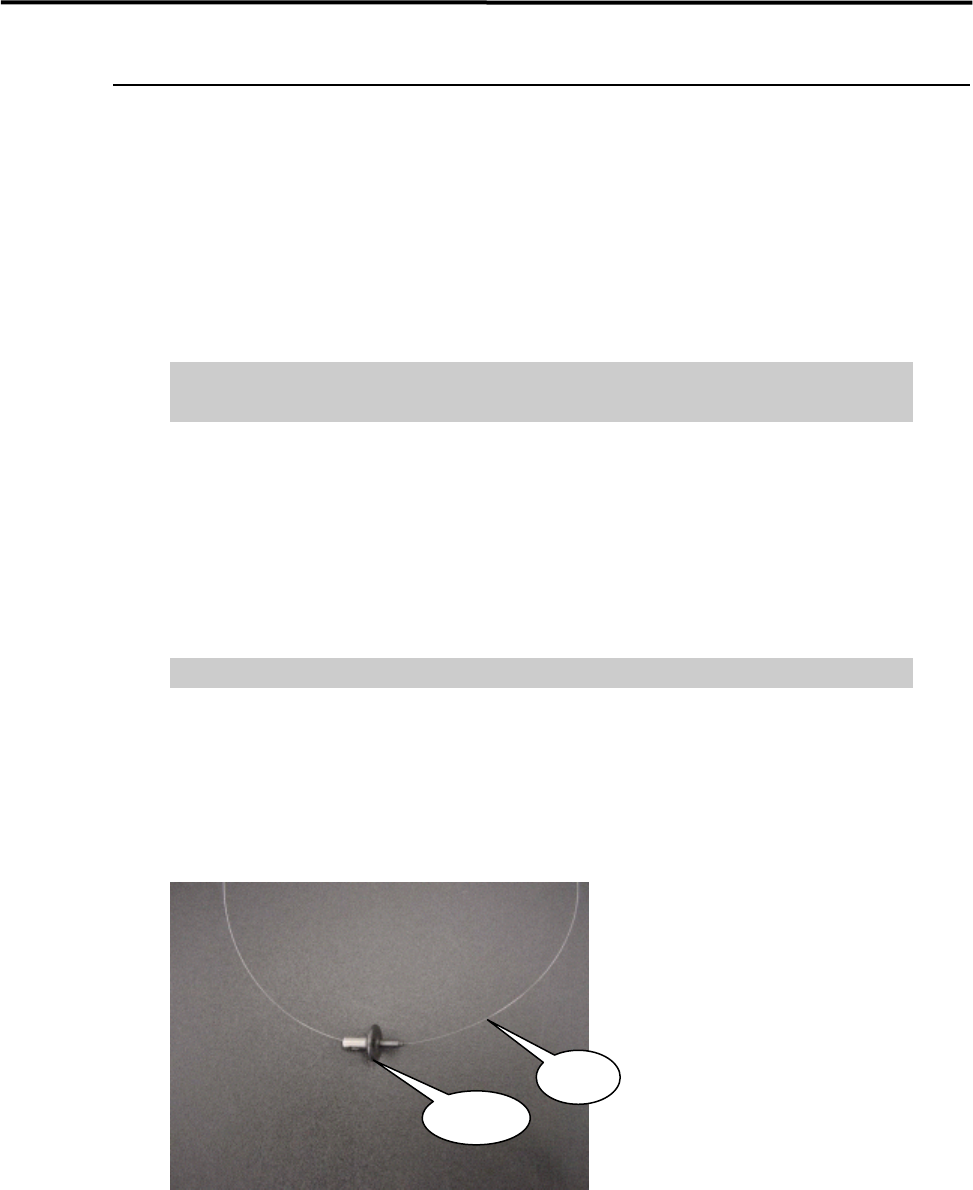
① Have a wire ready.
(300mm length, 0.1mm diam. Part No. KV8-M8887-00X
② Pass the wire through the nozzle hole.
Wire
Nozzle
③ Wind to fasten the wire between both sides of the nozzle cleaner assy.
(Part No. KV8-M8881-A0X)