00196433-02_AI_Vakuumpumpe_X-Serie_70XDE+EN.pdf - 第112页
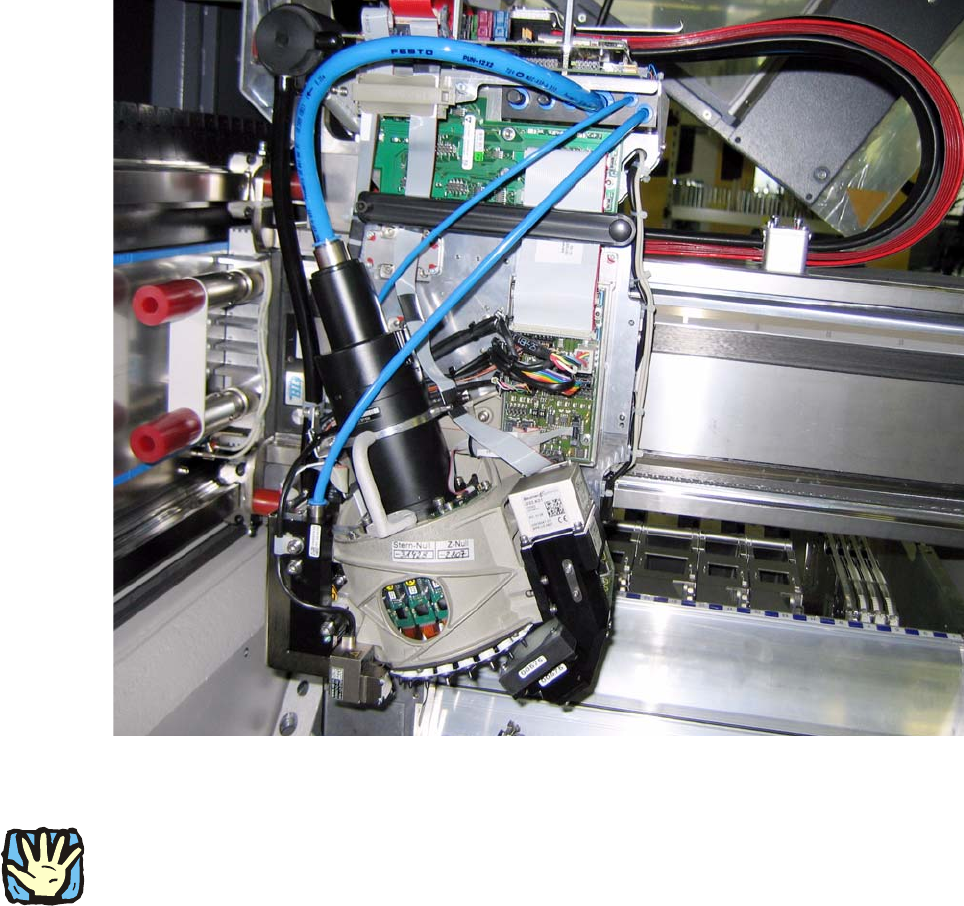
Assembly instructions: Vacuum pump for SIPLACE X-se ries 04/2009 Edition 112 Fig. 2.9 - 1 C&P20 with hoses for compressed air (initial state) 2 2 BEFORE starting any work, shu t down the operating system correctly , …

Assembly instructions: Vacuum pump for SIPLACE X-series
04/2009 Edition
111
2.9 Conversion for C&P20
2
The TwinHead and CPP head are not vacuum pump-compatible. The air supply for the gantry con-
cerned must not be converted for vacuum operation. If the compressed air supply for this head is
con
verted to vacuum operation, the return cylinder cannot move out and the Z axis thus remains
in the top position. 2
2
If a gantry is converted from C&P to TwinHead or CPP head, the original compressed air supply
must be restored for this gantry. All the modules for this gantry must be refitted.
Partial conversion of the pneumatic unit, for example, can lead to
serious faults in the placement
machine in compressed air operation because the gantry hoses are detached (additional hoses
for vacuum). 2
2
If a gantry with TwinHead is converted to C&P vacuum operation, the vacuum operation must be
retrofitted for this gantry.
If a C&P head that has been converted to vacuum oper
ation is used on a gantry with compressed
air, the silicone hoses may become detached from the segments, leading to serious damage to
the head. 2
Assembly instructions: Vacuum pump for SIPLACE X-series
04/2009 Edition
112
Fig. 2.9 - 1 C&P20 with hoses for compressed air (initial state)
2
2
BEFORE starting any work, shut down the operating system correctly, then switch the machine
OFF at the main power switch and disconnect from the main power supply. In addition, the com-
pressed air supply must be switched off at the compressed a
ir unit's main valve in the machine
base and vented by actuating the needle valve on the compressed air unit.
2
Assembly instructions: Vacuum pump for SIPLACE X-series
04/2009 Edition
113
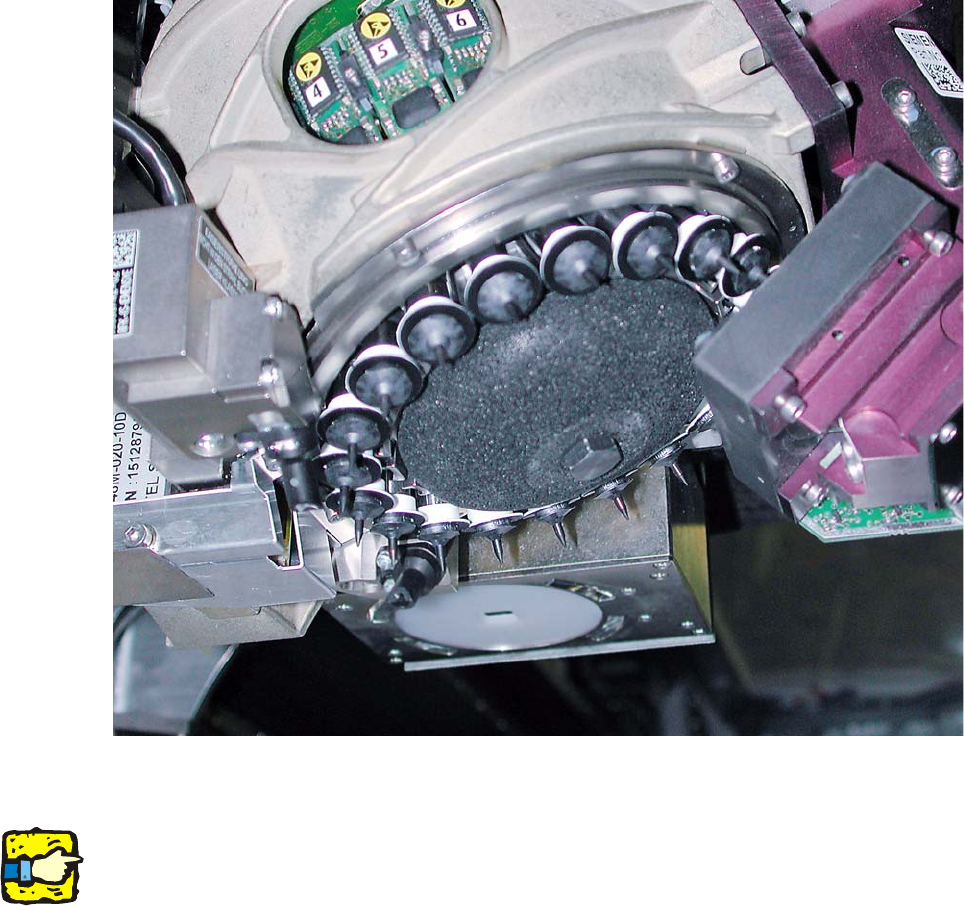
Fig. 2.9 - 2 C&P20 with porous silencer (for compressed air)
2
2
Be careful not to soil or damage the camera lens.
2
2
2
2
2
2
2
2
2
2