00196433-02_AI_Vakuumpumpe_X-Serie_70XDE+EN.pdf - 第96页
Assembly instructions: Vacuum pump for SIPLACE X-se ries 04/2009 Edition 96 2.8.4 Connecting the vacuum pump controller 2 The cable is already inst alled on machines from seria l number E-001. 2 2 : Open the covers on th…
Version 2, mount for vac. connection X, complete (item no.: 03075466-xx) 2
Assembly instructions: Vacuum pump for SIPLACE X-series
04/2009 Edition
95
2
2
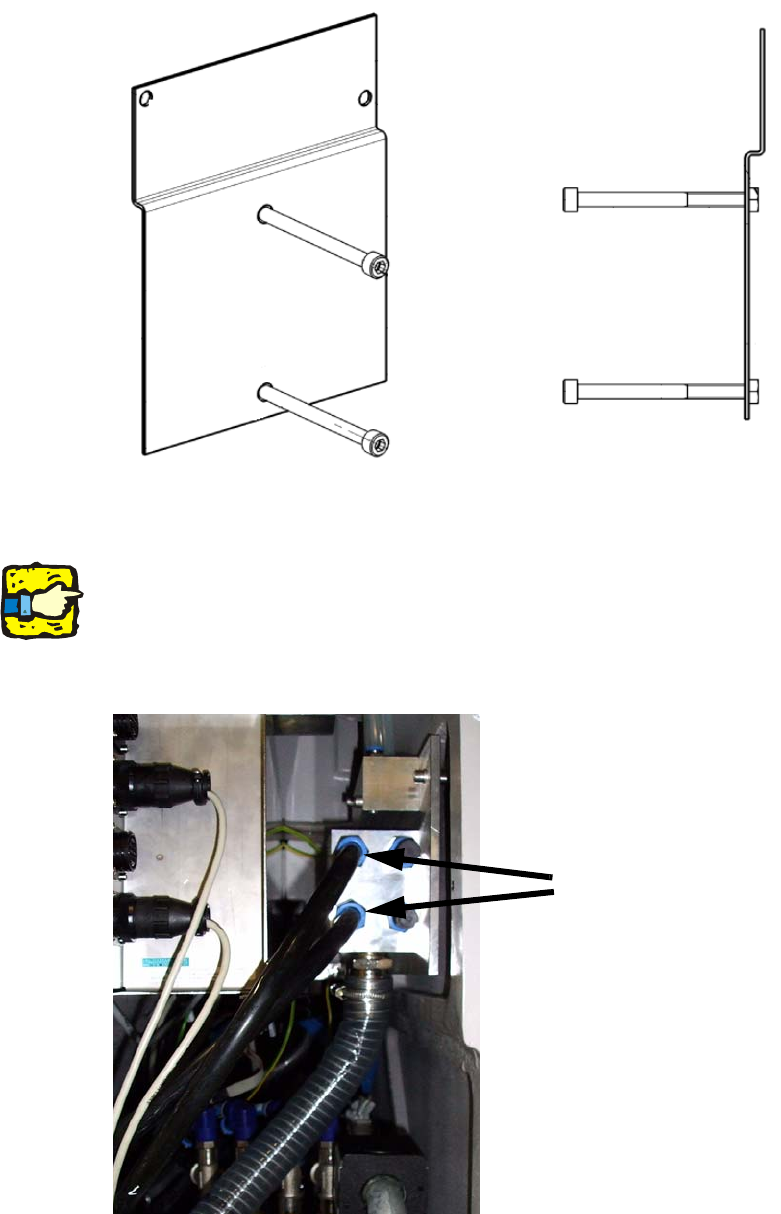
: Attach the hoses to the gantries.
2
With QuadLane, the distributor for the SMEMA interfaces is installed at the same installation lo-
cation.
It is therefore a good idea to use the two left-hand connections to supply the gantry. In this case,
the two righ
t-hand connections should be closed with plugs. 2
Hoses to the gantries
2

Assembly instructions: Vacuum pump for SIPLACE X-series
04/2009 Edition
96
2.8.4 Connecting the vacuum pump controller
2
The cable is already installed on machines from serial number E-001. 2
2
: Open the covers on the extension kits at locations 2 and 4.
: At location 2,
pull out the drawer unit for the 30V DC/DC converter for the component feeding.
Extension kit at location 2
2
: At location 4, pull out the computer unit.
Extension kit at location 4
Computer unit
2
Assembly instructions: Vacuum pump for SIPLACE X-series
04/2009 Edition
97
: If required, run the Cable, sub-distributor - vacuum pump (item no.: 03075762-xx) from the ex-
tension kit at location 2 to the extension kit at location
4.
On more recent machines supplied after approx. Ju
ly 2009, this cable will already be included
in the wiring harness.
The cable can be run or pulled through the recesses in the machine frame.
2
CAUTION:
To do this, the machine must be disconnected from the supply volt
age since the cable has to be
pulled past the power supply unit. 2
Cable at location 2
Cable at location 4
Holes for running the cable in the machine frame
2