KE-2030使用说明书 - 第127页
4 – 28 4.3.12 Change Component Name This command allows you to change a com ponent name. W hen y ou change a com ponent name only , t he name is changed and t he contents remain the sam e. W hen you select the [Change Co…
4 – 27
4.3.11 Sort
This command is selectable on the Component list screen or Adhesive data
screen.
① Entering Sort mode
When you select the [Sort] command, the component names are displayed in
ascending order on the Component list (according to the JIS code, but upper
case letters are not distinguished from lower case letters).
The sorted result is maintained even on the Component form screen.
The machine puts a check mark next to the [Sort] command to indicate that
the data is sorted.
② Canceling Sort mode
In the following cases, Sort mode is canceled, then the Component list is
displayed in the input order. The check mark disappears from the [Sort]
command displayed on the menu.
• Select the [Sort] command although this command is already checked.
• If you edit data so that the order of the Component list data is changed
(addition, deletion or change of a component name), Sort mode is
automatically canceled.
4 – 28
4.3.12 Change Component Name
This command allows you to change a component name.
When you change a component name only, the name is changed and the contents
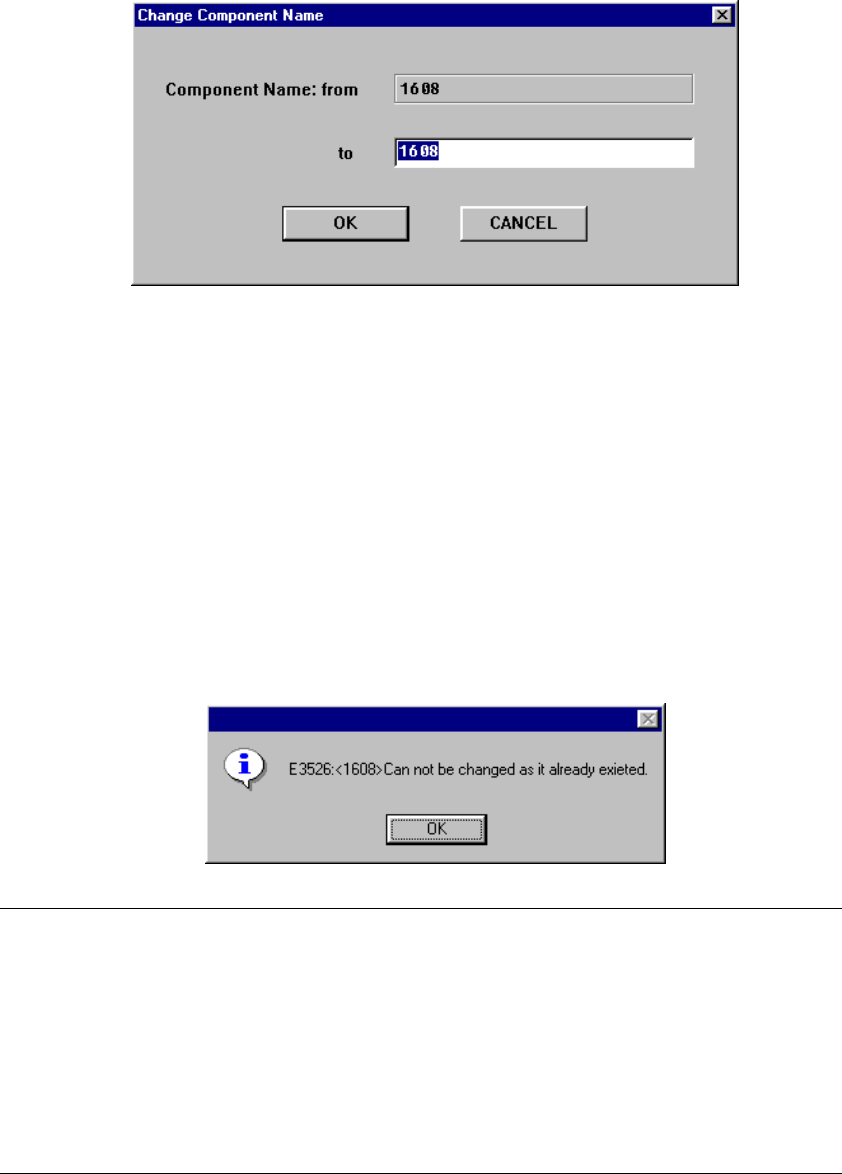
remain the same. When you select the [Change Component Name] command,
the following dialog box appears on the screen.
The component name before changed is displayed in the Edit box “Component
Name: from”. The component name before changed is displayed and highlighted
in the Edit box “Component Name: to”.
• Enter a new component name in the Edit box “Component Name: to”, then
click the <OK> button. The component name is changed to a new name you
specified. When you click the <CANCEL> button, the component name is not
changed, then the machine returns to the screen displayed before you select
the [Change Component Name] command.
• If the same component name already exists, the following dialog box appears
on the screen.
Note: This command can be selected on the following screens:
•
Component list
•
Component form
•
Pick data All component names are replaced with the specified
name.
•
Vision data All component names are replaced with the specified
name.
•
Placement data All component names are replaced with the
specified name.
4 – 29
4.3.13 Matrix Copy
For Placement data, this command inserts the data read into the memory buffer
with the [Cut] or [Copy] command at or before the cursor position.
For Pick data, this command copies the line at which the cursor is located, then
inserts the copied line to the next line. After this command is executed, the cursor
moves to the leftmost input field of the newly copied line.
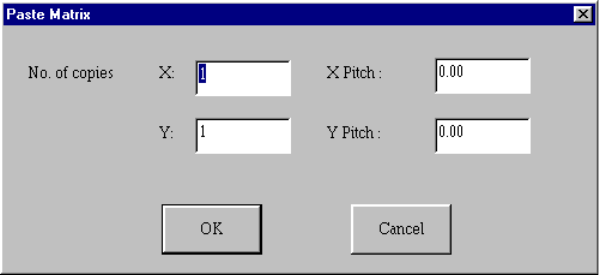
When you specify the items “No. of copies X”, “No. of copies Y”, “X Pitch”, and “Y
Pitch”, the machine copies the data in a matrix with adding or subtracting the
entered valued to/from the placement position in the X direction and that in the Y
direction respectively.
After the [Matrix Copy] command is executed, all of the component IDs are
changed to “#”.
If there is no data in the memory buffer, this command is disabled.
For Pick data, this command can be executed for tray components (fed with a tray
holder or ATS only).
For Pick data, you cannot execute this command by selecting two or more data
records.
① No. of copies X: specifies the number of times for copying in the X direction.
The default value is “1” for both Placement data and Pick data.
② No. of copies Y: specifies the number of times for copying in the Y direction.
The default value is “1” for both Placement data and Pick data.
③ X Pitch: sets the amount to increment or decrement the placement or pick
position in the X direction.
The default value is “0.00” for both Placement data and Pick data.
④ Y Pitch: sets the amount to increment or decrement the placement or pick
position in the Y direction.
The default value is “0.00” for both Placement data and Pick data.
⑤ OK: executes the paste operation.
⑥ Cancel: cancels the paste operation.