00198503-02_IM_SIPLACE_Pro_15.1_R18-1_EN - 第24页
SIPLACE Pro 15.1 (R18 - 1) / Installat ion Manual 05/2018 Edition 24 6.2.1 Installation without Local SIPLACE Line Control Server If SIPLACE Line Co ntrol Server has alr eady been insta lled on a remote computer this sof…
SIPLACE Pro 15.1 (R18-1) / Installation Manual 05/2018 Edition
23
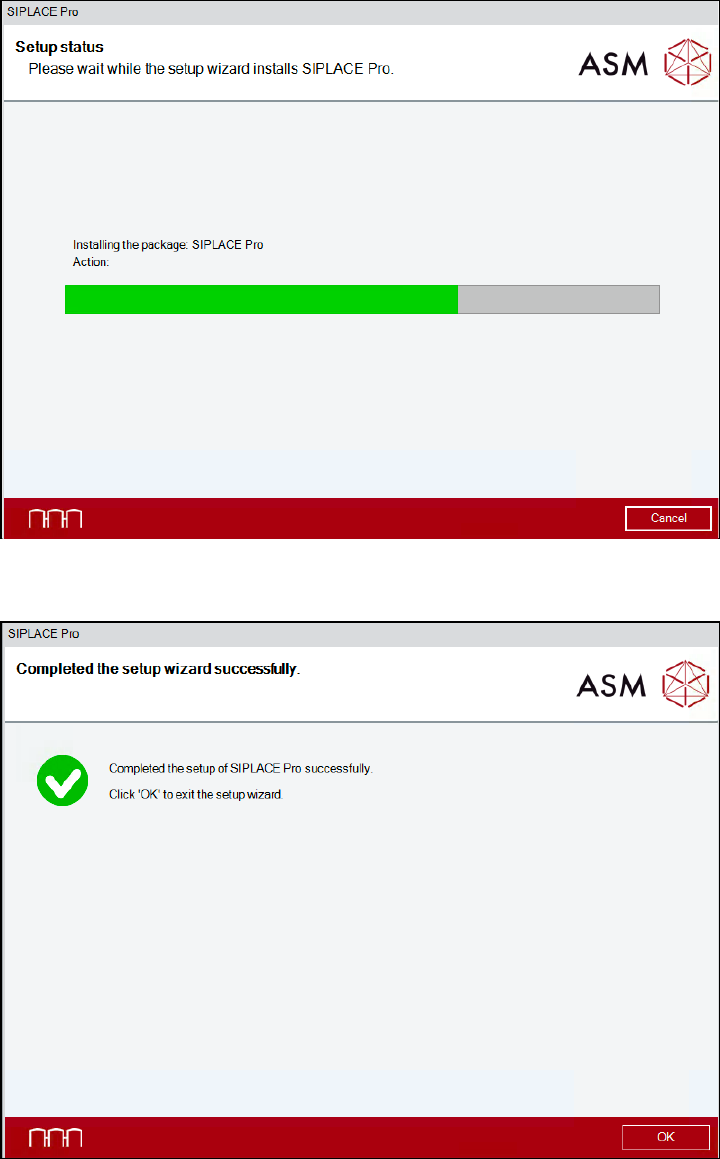
The setup status is displayed during installation.
Figure 6-16: Setup status
After successful installation, the following dialog is displayed.
Figure 6-17: Installation completed
► Click the OK button to exit the setup wizard.
SIPLACE Pro 15.1 (R18-1) / Installation Manual 05/2018 Edition
24
6.2.1 Installation without Local SIPLACE Line Control Server
If SIPLACE Line Control Server has already been installed on a remote computer this software
component has to be disabled during the SIPLACE Pro installation.
► Ensure that the remote computer is connected to the network and available.
► Start installing SIPLACE Pro as described in section 6.2.
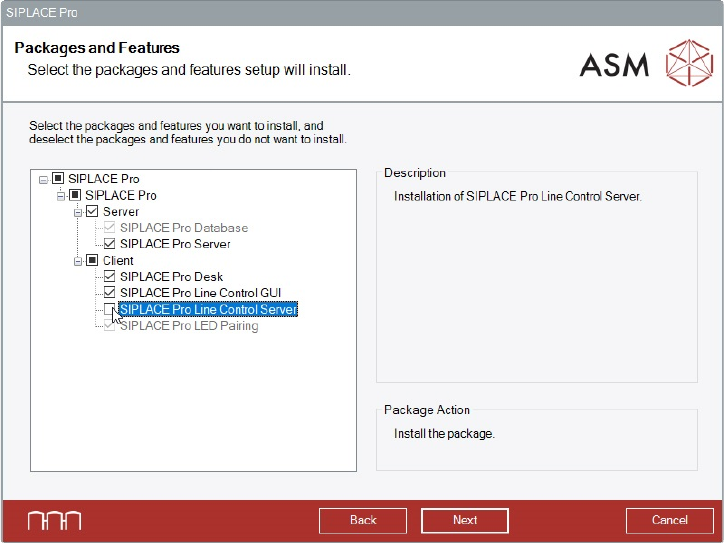
► Proceed as follows when the Packages and Features dialog is displayed.
Figure 6-18: Disabling SIPLACE Pro Line Control Server
► Disable the SIPLACE Pro Line Control Server software feature.
► Click the Next button.
► Configure SIPLACE Pro Server and the SIPLACE Pro access rights as described in section 6.2
(Figure 6-6, Figure 6-7 and Figure 6-8).
SIPLACE Pro 15.1 (R18-1) / Installation Manual 05/2018 Edition
25
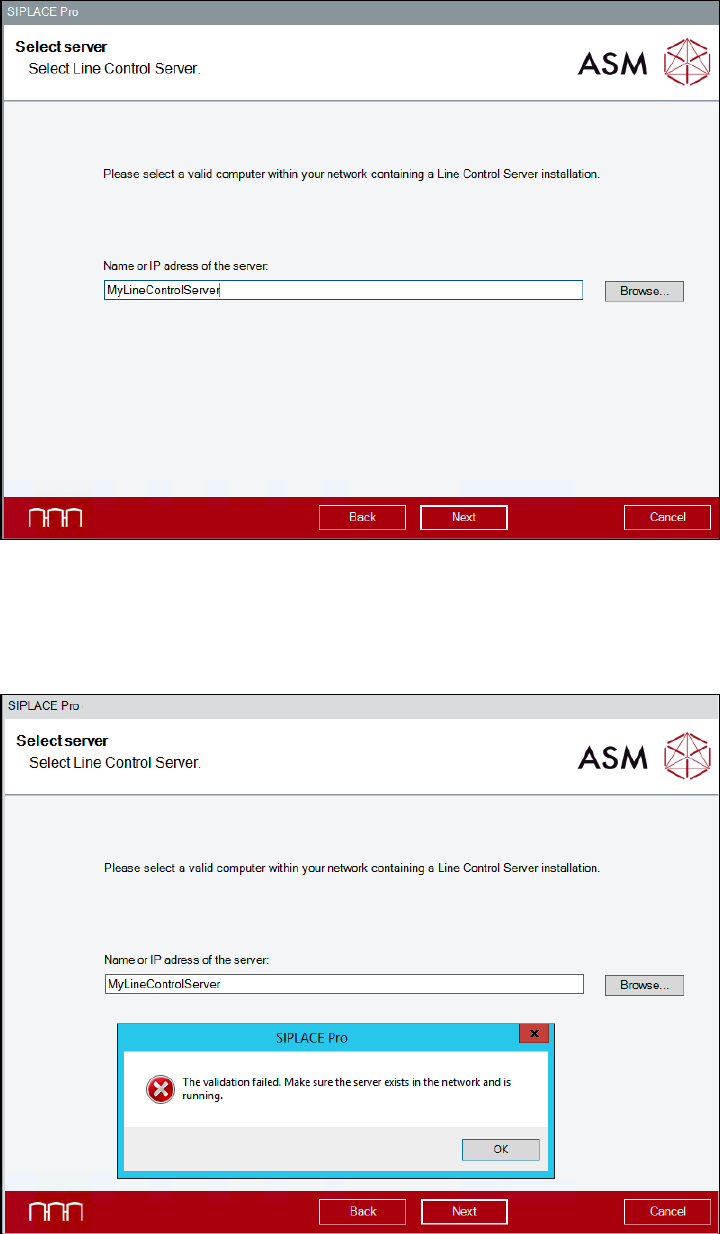
The Select Server dialog is displayed.
Figure 6-19: Selecting Line Control Server
► Enter the server name of the remote computer on which the Line Control Server is installed.
► Click the Next button.
The following message is displayed if the remote computer is unavailable.
Figure 6-20: Validation failed
► In this case, click the OK button and solve the problem.
► Click the Next button.
The installation continues with the SQL Server Login dialog as described in Figure 6-9.