MPM UP2000印刷机中文操作手册 - 第20页
This is the curr ent T rack wid th ( 這 是目前的軌 道 寬 度 ) Pr ess S ELECT to fine adjust ( 按 SELECT 微調 軌道 寬 度 ) Pr ess NE XT to accept ( 按 NEXT , , , ,接受 目前的軌道 寬 度 ) 如 果, 你按 SE LECT 之後 , 出 現 下列訊息視 窗: Jog ACTIVE… ( 這段 訊息 告訴 你 ,…
1.1 選擇 Board Parameters 進入 PCB 參數設定
Hardware Required:
Board
Board Parameters
基板
基板基板
基板
(PCB)
參數設定
參數設定參數設定
參數設定
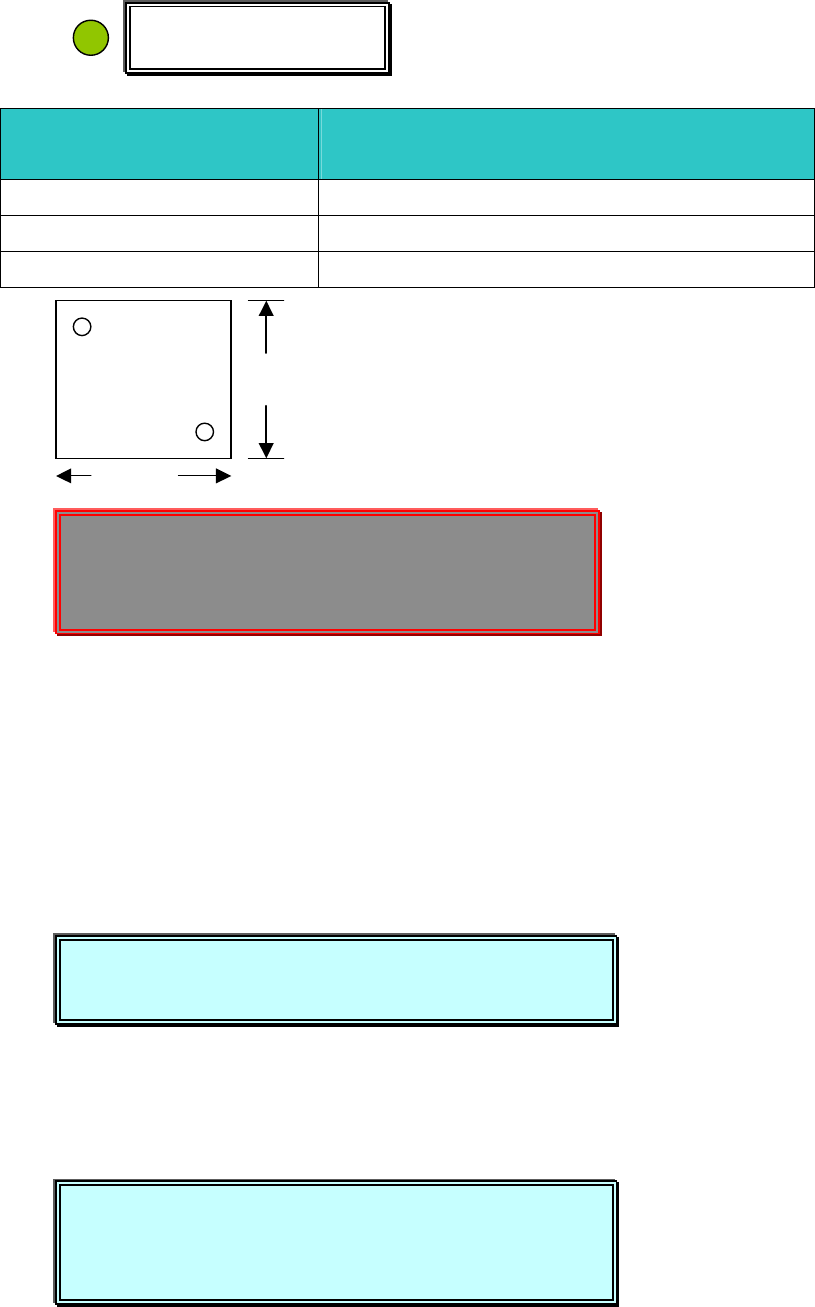
X size 228.600
(PCB)
基板
X
軸方向長度
Y size 406.400
(PCB)
基板
Y
軸方向寬度
Thickness 1.570
(PCB)
基板厚度
Y
X
Enter Board Dimensions into setup menu. (
輸入基板
X
、
Y
、厚度
)
Click on Y size to adjust Track Width. (
點取
Y
方向尺寸,可調整軌道寬度
)
Press Done when finished. (
當你做完上述之步驟,按
Done)
點取
X size
,輸入基板寬度
X size
,按
EXIT
完成輸入,單位
mm
。
例
14.5cm = 145mm
點取
Y size
輸入基板寬度
Y size
,按
EXIT
之後出現如下訊息視窗:
About to adjust the TRACK WIDTH for the board. (
調整基板的軌道寬度
)
Press NEXT to Continue, or EXIT to Quit. (
按
NEXT
繼續
,
按
EXIT
離開
)
按
NEXT
之後,出現下列訊息視窗:
Board Parameters
PCB 板
板板
板
About to adjust the TRACK WIDTH for the board.
Press NEXT to Continue, or EXIT to Quit.
This is the current Track width
Press SELECT to fine adjust
Press NEXT to accept
Enter Board Dimensions into setup menu.
Click on Y size to adjust Track Width.
Press Done when finished.
锡膏印刷机 www.smt11.cn
This is the current Track width(這是目前的軌道寬度)
Press SELECT to fine adjust (按 SELECT 微調軌道寬度)
Press NEXT to accept(按 NEXT,
,,
,接受目前的軌道寬度)
如果,你按 SELECT 之後,出現下列訊息視窗:
Jog ACTIVE…(這段訊息告訴你,用 Jog 方式去調整基板的軌道寬度)
TRK WIDTH 126.136
Press NEXT to quit(調整完後,
,,
,按 NEXT)
點取 Thickness,輸入基板厚度。使用游標卡尺測量。
Press Done when finished. (當你做完上述之步驟,按 Done)
Stencil Dimensions
鋼板尺寸設定參數
鋼板尺寸設定參數鋼板尺寸設定參數
鋼板尺寸設定參數
Inner 660.400
鋼板尺寸
Enter stencil inner dimension(
輸入內部鋼板尺寸
)
Press Done when finished. (
當你做完上述之步驟,按
Done)
1.2
選擇
Worknest
進入印刷工作平台參數設定
Hardware Required:
Board ,Tactile , Vacuum Chucks
Please remove the stencil. (
請移開鋼板
)
Worknest
Jog ACTIVE…
TRK WIDTH 126.136
Press NEXT to quit
(
調整完後,
,,
,按 EXIT
)
Enter stencil inner dimension
Press Done when finished.
Please remove the stencil.
Squeegee will now move back.
Press SELECT when ready.
锡膏印刷机 www.smt11.cn

Squeegee will now move back. (刮刀組現在將移動到後面)
Press SELECT when ready. (準備好後按 SELECT)
按 NEXT 之後,出現下列訊息:
Now, adjust the vacuum rear and (現在請調整後隔板和側(左右)隔板)
side plates
If you have a dedicated work holder, (若有使用專用 PCB 板支撐架,請現在
install it now 把他裝上)
Press NEXT to Continue, or EXIT to Quit. (按 NEXT 繼續, 按 EXIT 離開)
按 NEXT 之後,出現下列訊息:
The Z TOWER is about to load (Z 軸上升到 tooling height 的位置)
to tooling height
Press NEXT to Continue, or EXIT to Quit. (按 NEXT 繼續, 按 EXIT 離開)
你按 NEXT 之後,出現下列訊息:
If you have X snuggers,adjust snugger pins now. (若有使用 X 方向夾板,請
調整好)
Press NEXT to Continue, or EXIT to Quit. (按 NEXT 繼續, 按 EXIT 離開)
你按 NEXT 之後,出現下列訊息:
Now, adjust the vacuum rear and side plates
If you have a dedicated work holder, install it now
Press NEXT to Continue, or EXIT to Quit.
The Z TOWER is about to load
to tooling height
Press NEXT to Continue, or EXIT to Quit.
If you have X snuggers,adjust snugger pins now.
Press NEXT to Continue, or EXIT to Quit.
CAUTION, The machine is now going to
Center itself for this size board.
The Y AXIS is about to move forward.
Press NEXT to Continue, or EXIT to Quit.
锡膏印刷机 www.smt11.cn