EdisonStandardOwnersManual-RevA-20170818B.pdf - 第124页
P RINTER O PERATIONS Edison Printer User Manual (Part Number 1023838) 124 Rev. A Copyright © 2017 ITW EAE All rights reserved. No part of the contents of thi s manual may be reproduced, copied or transmitted in any form …
Edison Printer User Manual (Part Number 1023838) PRINTER OPERATIONS
Rev. A 123
Copyright © 2017 ITW EAE
All rights reserved. No part of the contents of this manual may be reproduced, copied or transmitted in any form or by any
means including graphic, electronic, or mechanical methods or photocopying, recording, or information storage and
retrieval systems without the written permission of ITW EAE, unless for purchaser's personal use.
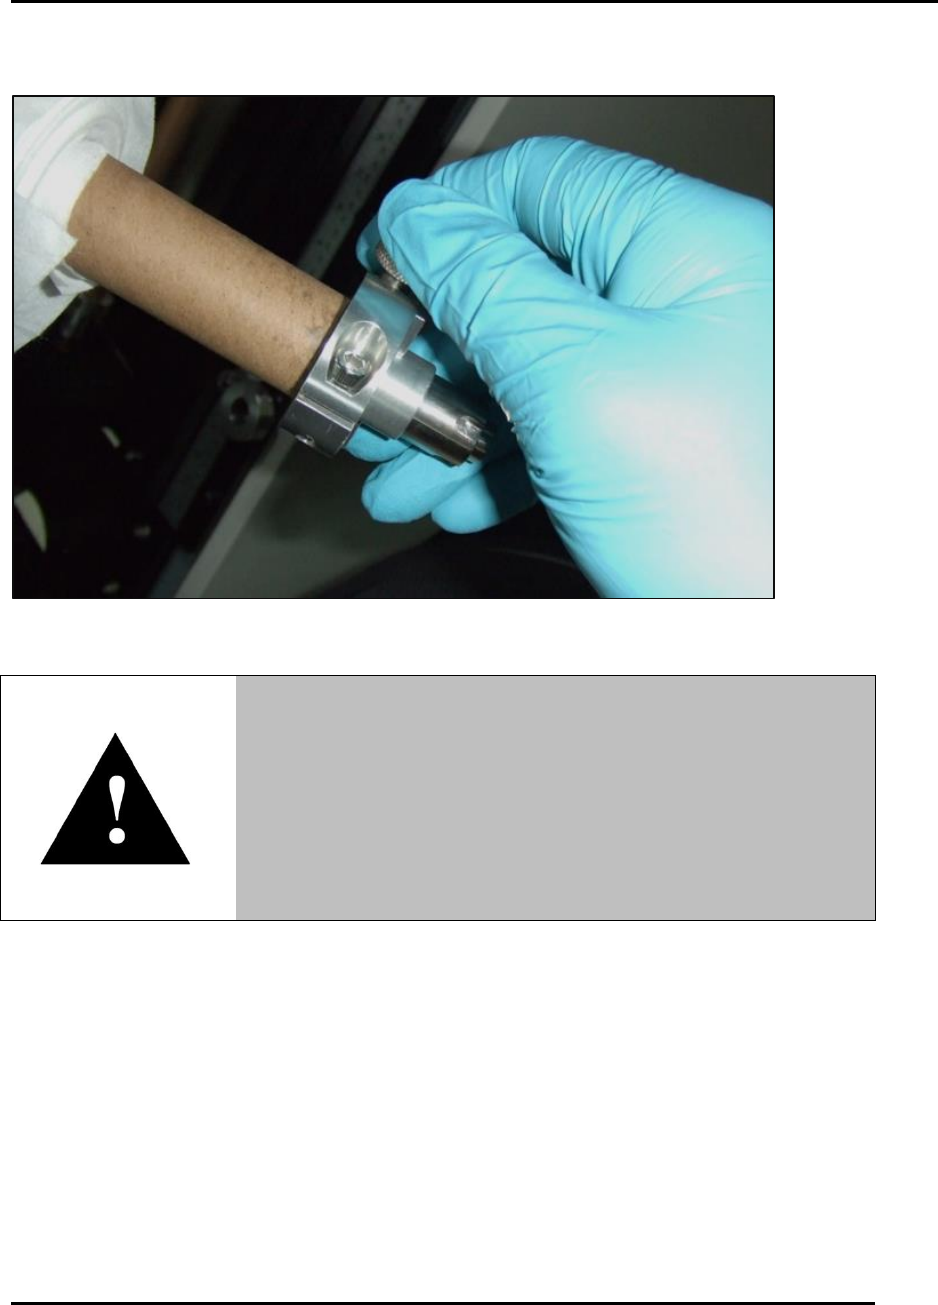
5. Loosen and remove the shaft collar from the right end of the take-up shaft (Figure 120).
Figure 120. Loosen and remove take-up shaft collar.
6. Carefully remove the used wiper paper roll from the take-up shaft:
a. Hold the shaft while quickly twisting (counterclockwise) the used paper roll.
b. This twist is necessary to disengage toothed spurs from inside the paper core.
c. Discard the used wiper paper roll in appropriate waste container.
5.7.3. Remove Roller Shaft
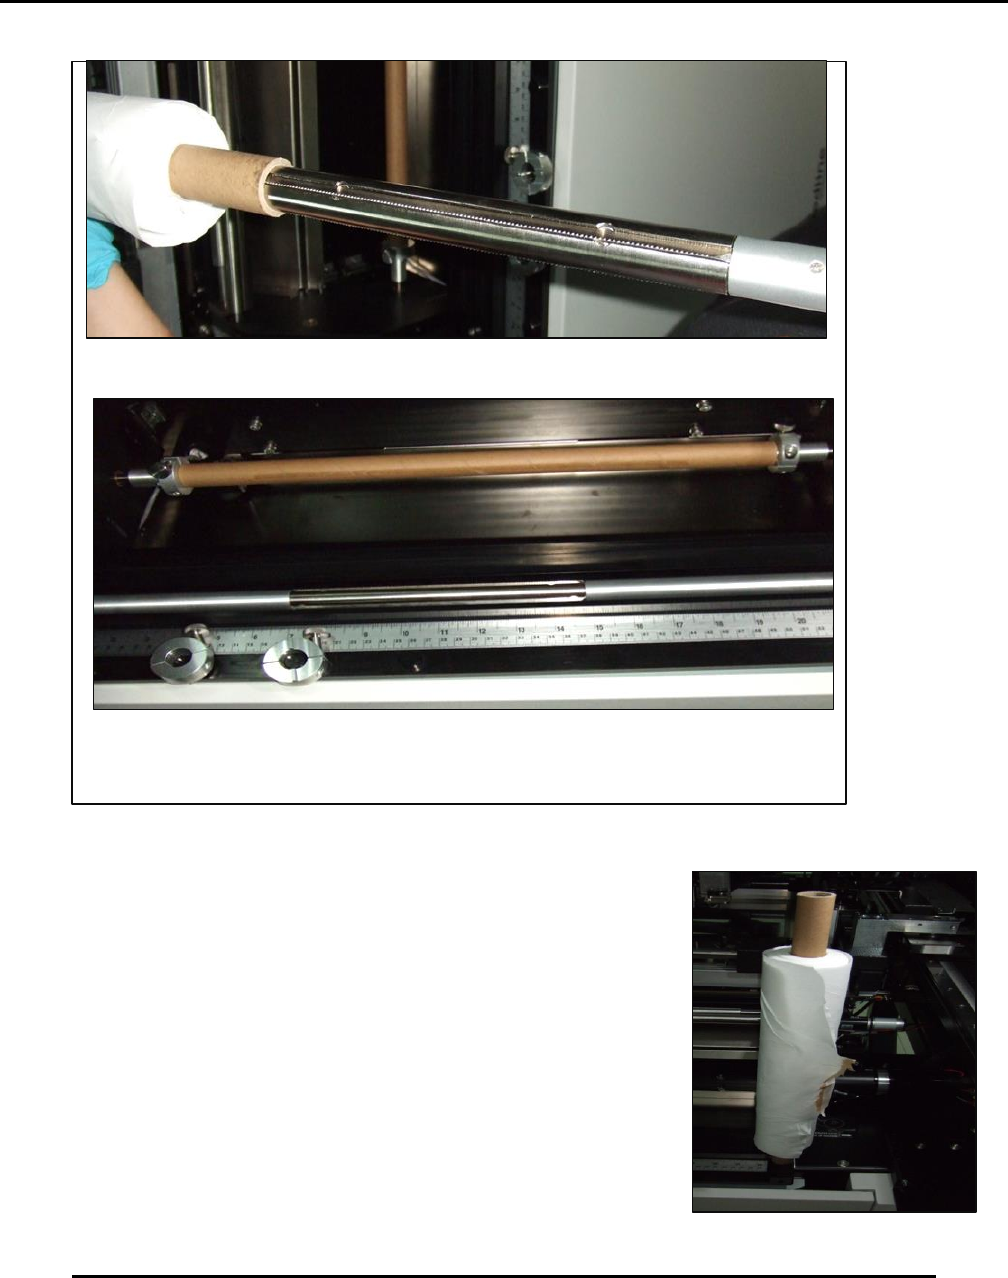
7. Remove the roller shaft (the shaft with the diamond-knurl pattern) and store in the exchange
tray (Figure 121).
8. Place the take up shaft and the collar in the holding locations on the exchange tray (Figure
121).
Warning!
Use caution when removing the wiper paper roll.
Three toothed spurs on the take-up and pay-out shafts can
cause hand injury.
Take care to grasp only the paper and the shaft away from the
toothed spurs when removing or installing paper rolls.
PRINTER OPERATIONS Edison Printer User Manual (Part Number 1023838)
124 Rev. A
Copyright © 2017 ITW EAE
All rights reserved. No part of the contents of this manual may be reproduced, copied or transmitted in any form or by any
means including graphic, electronic, or mechanical methods or photocopying, recording, or information storage and
retrieval systems without the written permission of ITW EAE, unless for purchaser's personal use.
Figure 121. Remove roller shaft and place it temporarily in the exchange tray.
9. Place a new wiper paper roll on the flip-up shaft (Figure 122).
The roller shaft has a diamond-knurl pattern.
Use the exchange tray as a convenient resting place for the roller shaft, take-
up shaft, and collar.
Figure 122. Place new wiper roll on
flip-up shaft.
Edison Printer User Manual (Part Number 1023838) PRINTER OPERATIONS
Rev. A 125
Copyright © 2017 ITW EAE
All rights reserved. No part of the contents of this manual may be reproduced, copied or transmitted in any form or by any
means including graphic, electronic, or mechanical methods or photocopying, recording, or information storage and
retrieval systems without the written permission of ITW EAE, unless for purchaser's personal use.
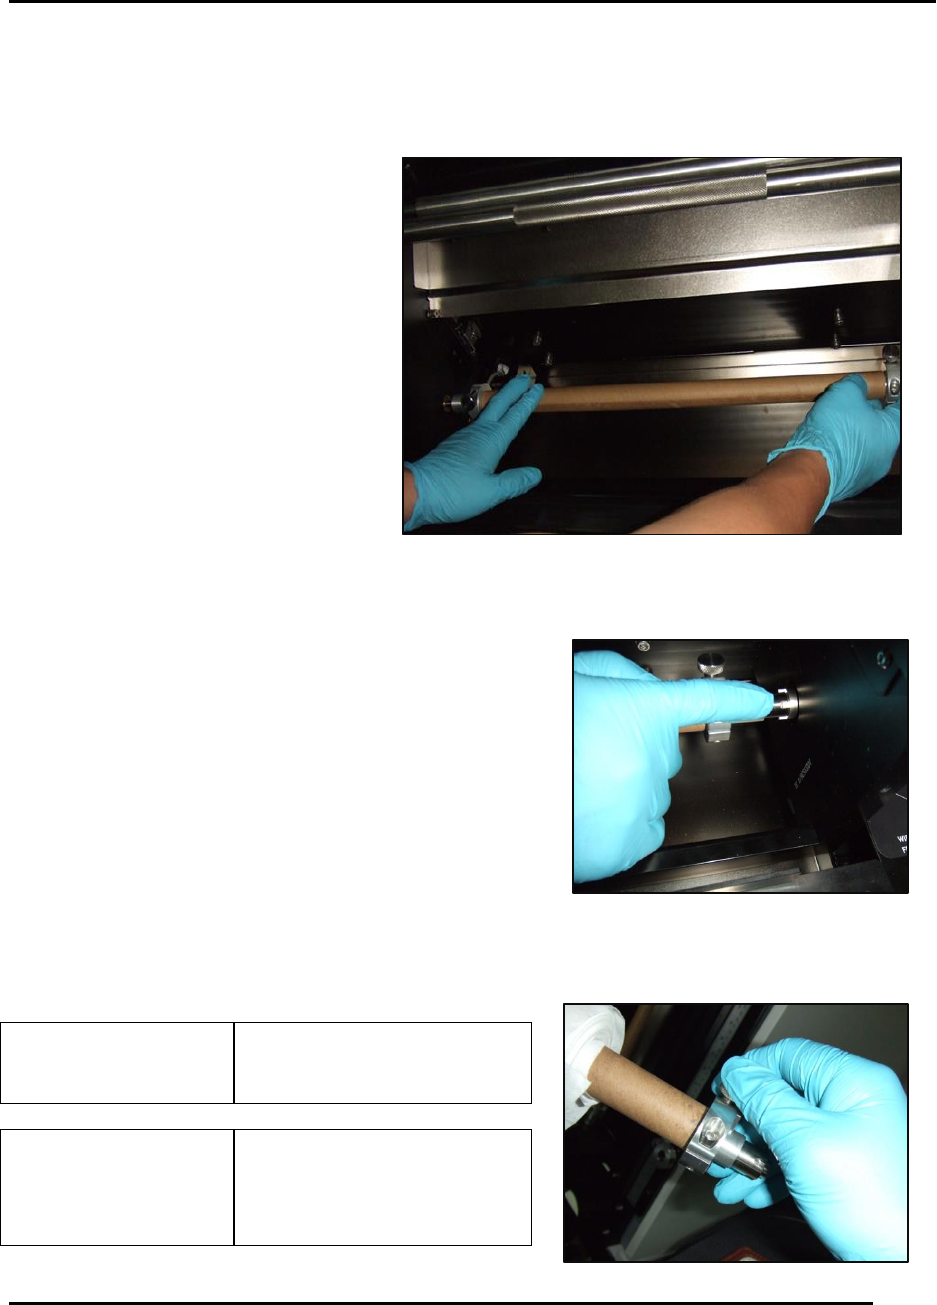
5.7.4. Remove Empty Payout Roll
10. Remove the empty pay out roll with the paper core attached (Figure 123).
a. Do not remove the paper core.
b. Peel away the strip of tape
protector on the core.
11. Install this shaft with the paper core into the take up shaft location as shown.
a. Watch for proper engagement of the drive teeth
(Figure 124).
5.7.5. Install Fresh Roll of Wiper Paper
12. Place a fresh roll of paper onto the empty shaft and
reinstall collar (Figure 124).
a. Orient paper so it spools out from the top of the paper
and away from the operator (Figure 126).
Install collar with flat surface
against paper core.
Tabs opposite the collar are
designed to engage wiper
paper rolls that use a plastic
core.
Figure 123. Remove empty payout roll.
Figure 124. Reinstall Payout Roll with
proper alignment.
Figure 125. Reinstall collar