EdisonStandardOwnersManual-RevA-20170818B.pdf - 第164页
M AINTENANCE Edison Printer User Manual (Part Number 1023838) 164 Rev. A Copyright © 2017 ITW EAE All rights reserved. No part of the contents of thi s manual may be reproduced, copied or transmitted in any form or by an…
Edison Printer User Manual (Part Number 1023838) MAINTENANCE
Rev. A 163
Copyright © 2017 ITW EAE
All rights reserved. No part of the contents of this manual may be reproduced, copied or transmitted in any form or by any
means including graphic, electronic, or mechanical methods or photocopying, recording, or information storage and
retrieval systems without the written permission of ITW EAE, unless for purchaser's personal use.
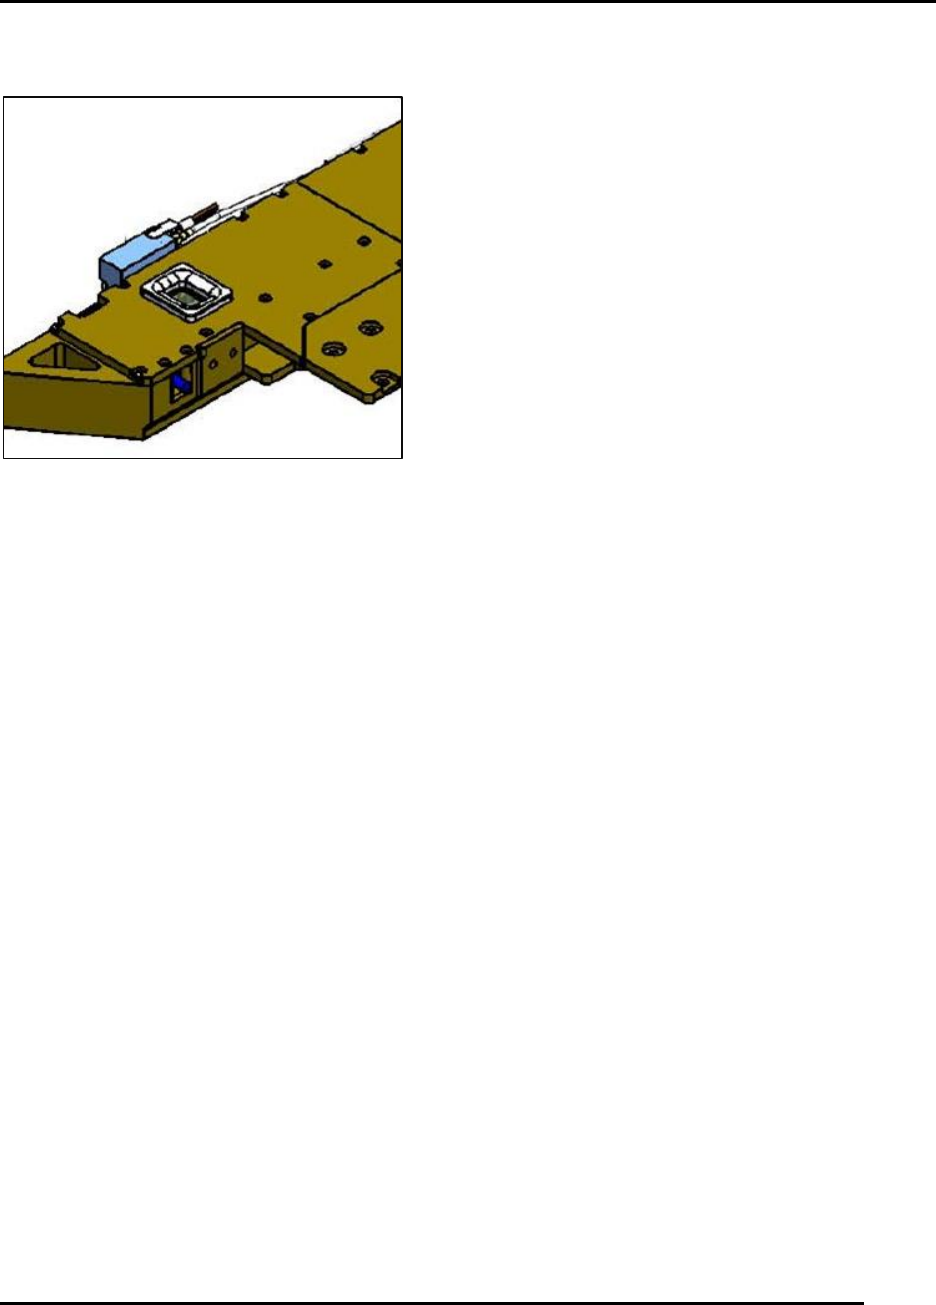
6.2.27. Inspect, Clean, and Verify Functionality of the Hard Stop–Monthly
Figure 161. Inspect functionality of the Hard Stop.
Introduction
Inspect, clean and verify functionality of the hard stop (Figure 161).
Estimated Completion Time
Less than 5 minutes.
Procedure
Jog the vision gantry forward so the hard stop can be observed.
With the hard stop retracted, look for a red LED indicating the hard stop shaft is up.
Using the Diagnostics I/O screen, toggle the VISION_X_HARDSTOP_EXTEND output to
move the hard stop down.
o Examine the shaft for contamination by solder paste.
o Clean the surfaces using isopropyl alcohol and a lint free cloth.
o Check carefully for any air leaks at the cylinder.
NOTE:
Do not jog the Vision Y gantry with the hard stop extended.
Return the hard stop to the up position immediately when done.
Initialize the machine.
MAINTENANCE Edison Printer User Manual (Part Number 1023838)
164 Rev. A
Copyright © 2017 ITW EAE
All rights reserved. No part of the contents of this manual may be reproduced, copied or transmitted in any form or by any
means including graphic, electronic, or mechanical methods or photocopying, recording, or information storage and
retrieval systems without the written permission of ITW EAE, unless for purchaser's personal use.
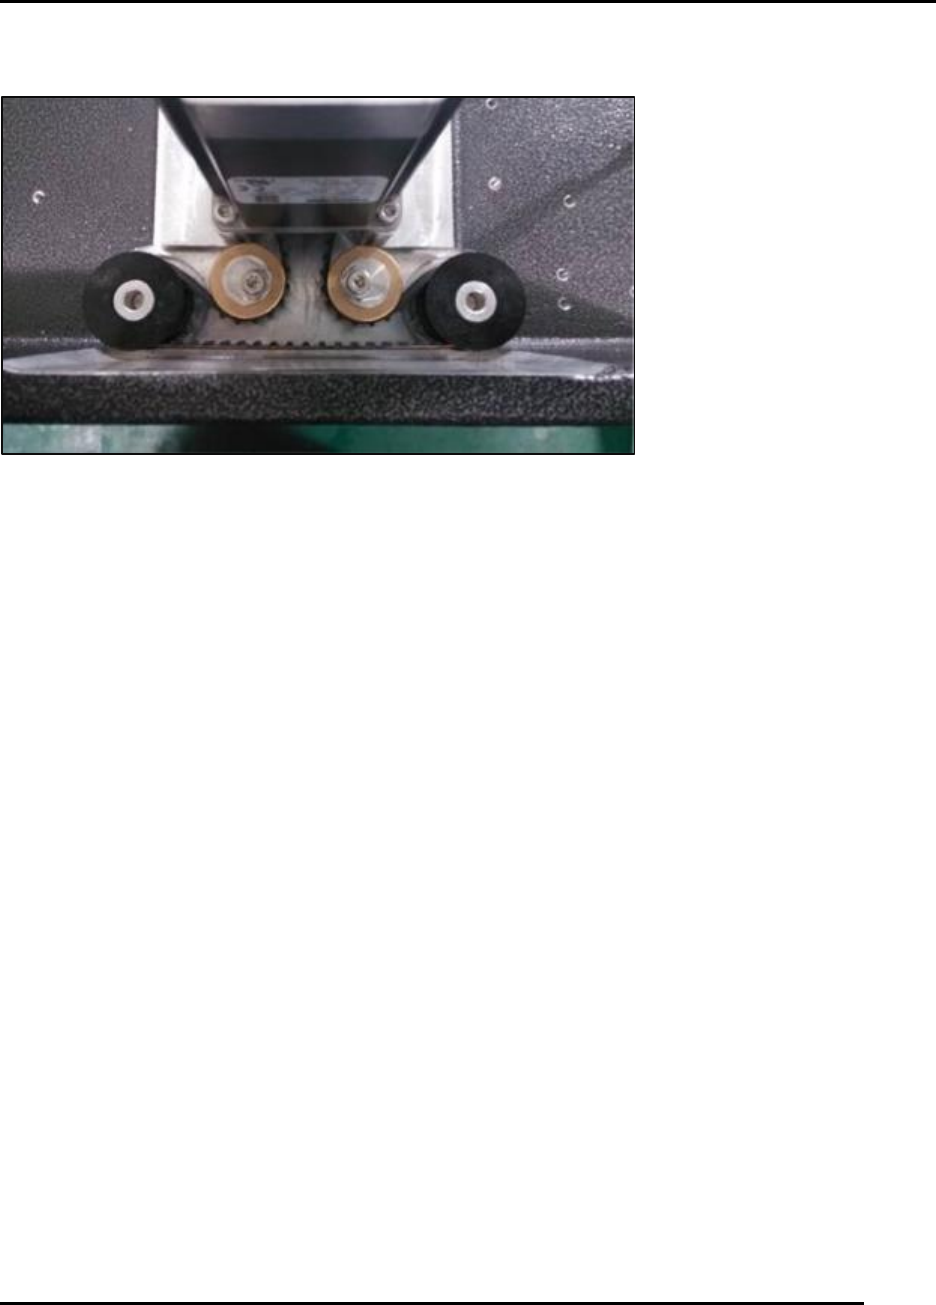
6.2.28. Inspect Front and Rear Transport Belts–Monthly
Figure 162. Inspect front and rear transport belts. Note that image shows rail removed from printer.
Introduction
Inspect and clean the front and rear transport belts monthly (Figure 162).
Estimated Completion Time
30 minutes
Procedure
Navigate to View > Diagnostics > Motion Control.
o Leave this screen open.
Put the printer into Bypass mode.
Open hood.
From the open Motion Control screen, jog Print Head to the rear.
Clear any tooling from the worknest.
From the open Motion Control screen:
o Jog the transport track(s) to the center of the work table.
o Slowly jog Belt Center to move belts through at least two revolutions while
examining them using a flashlight.
o If belts are contaminated with solder paste, clean using a stiff brush and vacuum.
Replace belts if:
o They show tears or abrasions.
o They show signs of wear on the front edge, such as fibers fraying.
Contact the Technical Support Center (see Section 1.2) for a procedure on belt replacement.
Ensure proper tension on the belts:
o Look for a spring-loaded pulley at the end of the belts (by the motor).
o Loosen the pulley mount and then retighten to set the proper tension.
Edison Printer User Manual (Part Number 1023838) MAINTENANCE
Rev. A 165
Copyright © 2017 ITW EAE
All rights reserved. No part of the contents of this manual may be reproduced, copied or transmitted in any form or by any
means including graphic, electronic, or mechanical methods or photocopying, recording, or information storage and
retrieval systems without the written permission of ITW EAE, unless for purchaser's personal use.
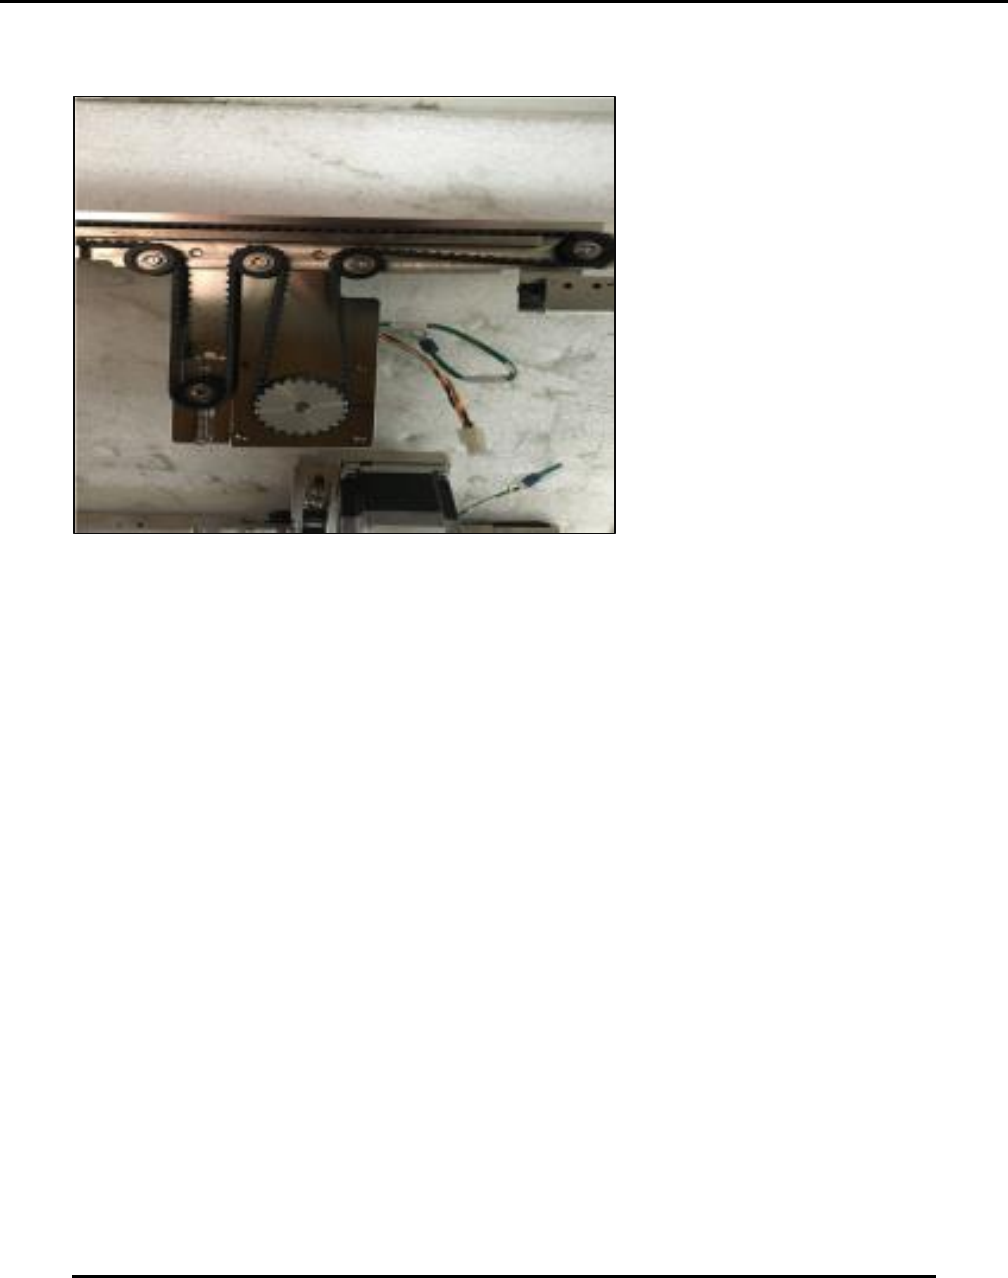
6.2.29. Inspect Squeegee Z Belt and Tensioners–Monthly
Figure 163. Inspect Squeegee Z Belt and Tensioner.
Introduction
Inspect the Squeegee Z belt and tensioners monthly (Figure 163).
Estimated Completion Time
More than 5 minutes.
Procedure
Note: If the printer was installed as Back-To-Back, pull the printer from the production line to
gain access to the rear cover.
Loosen the screws that secure the Print Head cover.
Jog the print head Y as far to the rear as possible.
Remove the cover from the Print Head Y Gantry.
Examine the timing belt used to drive the squeegee Z assembly for belt debris and wear.
o This belt should be tensioned at this time.
o Supply proper tension by loosening one or both of the eccentric pulleys and rotating
them until the belt hits the proper tension point.