PPS Pro version 8.2 - 第180页
User Manual 4022 591 98247 176 PPS-Pro v8.2 05.07 Guidelines for using PPS-Pro Act io n: Wr it e down t he n a me( s ) of t he p c b’s a nd t he ir c or re sp o ndi ng si de which mu st be optimized. SCREEN 90 Optimized …
4022 591 98247 User Manual
05.07 PPS-Pro v8.2 175
Guidelines for using PPS-Pro
In the main menu select File > Preferences... and choose the Part Data tab.
Here you will find the path to the used PSI-file.
Action: Make a copy of this file.
6. ALE-file.
In the main menu select File > Preferences and choose the Factory Data tab.
Here you will find the path to the used ALE-file.
Action: Make a copy of this file.
7. Type of line optimzer.
In the main menu select File > Preferences and select the Optimizer tab.
Action: Write down the used line optimizer.
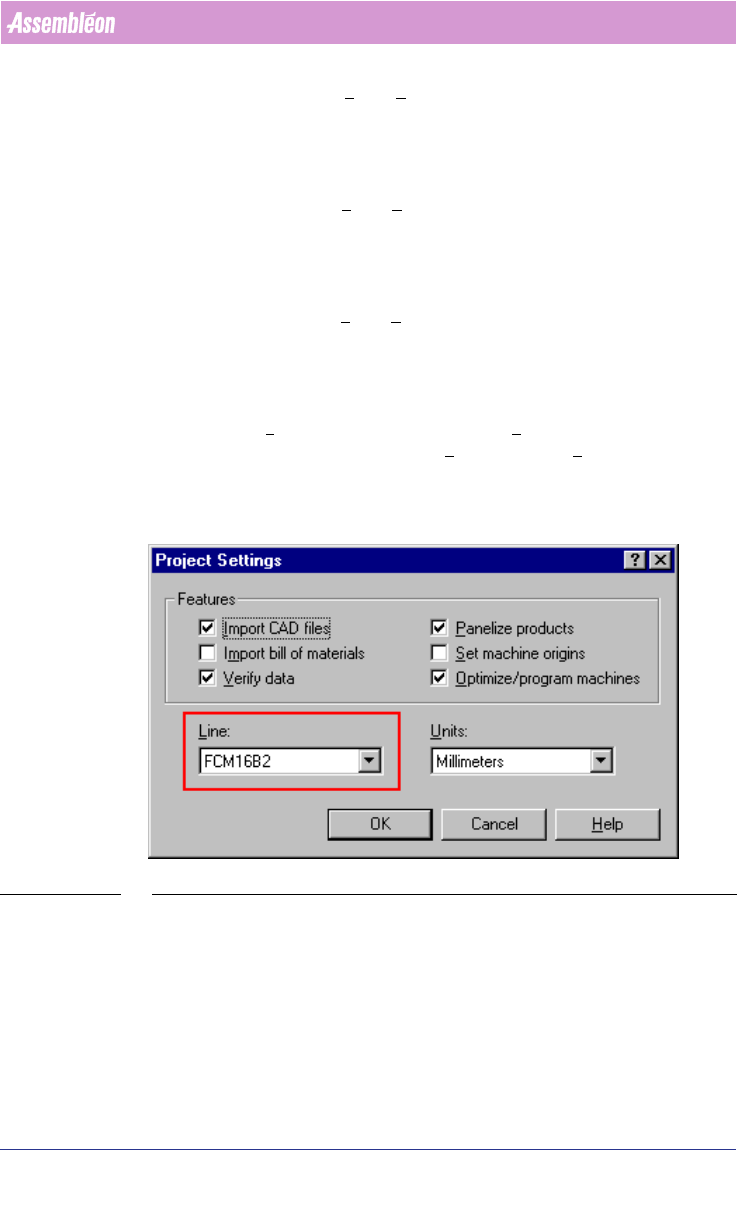
8. Name of the used line.
More than one line can be defined in the ALE file. All defined lines are repre-
sented in the Line dropdown list of Project Settings... (see SCREEN 89 on
page 175). In the main menu select File > Project Settings... to get this
screen.
Action: Write down the name of the used line for the optimization.
SCREEN 89 Line Used
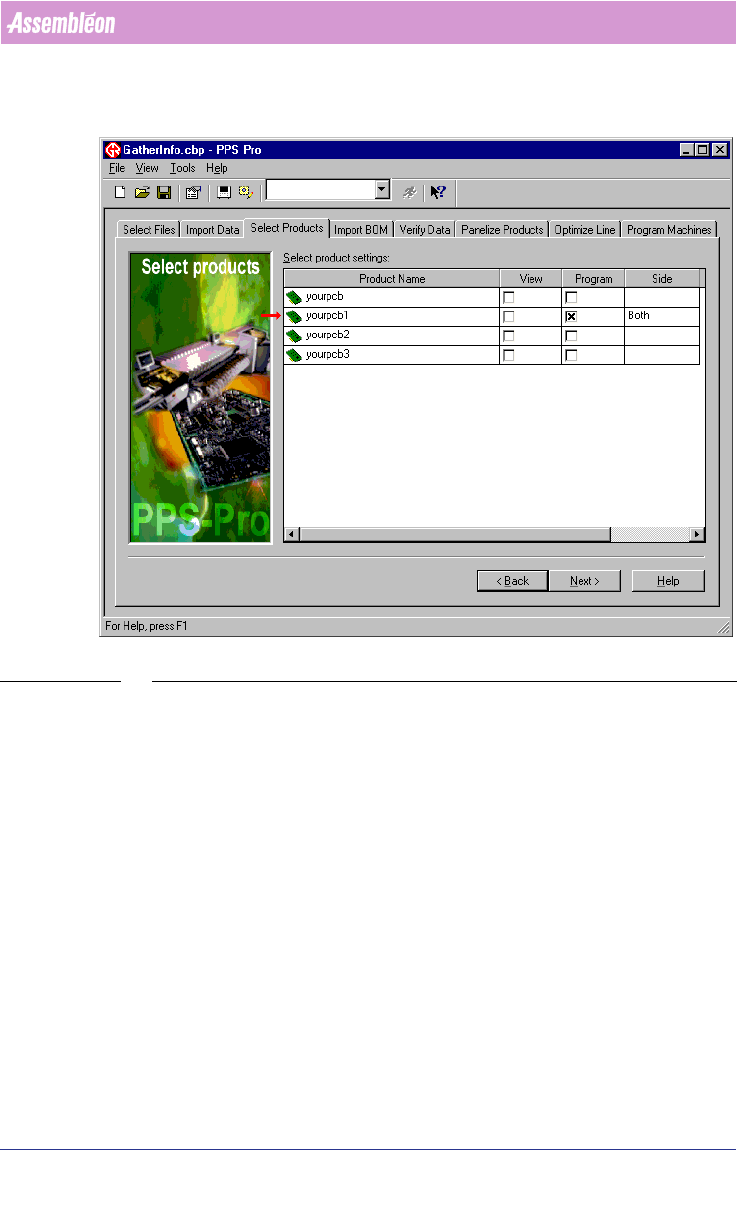
9. Name and side of the used pcb.
More than one pcb can be imported into your project. All imported pcbs are
represented in the Select Products tab
(see SCREEN 90 on page 176). The pcb’s
which must be optimized is (are) checked in the Program column. In the Side
column the side which must be optimized is specified. Possible choices are
‘Top’, ‘Bottom’ and ‘Both’.
User Manual 4022 591 98247
176 PPS-Pro v8.2 05.07
Guidelines for using PPS-Pro
Action: Write down the name(s) of the pcb’s and their corresponding side
which must be optimized.
SCREEN 90 Optimized PCB
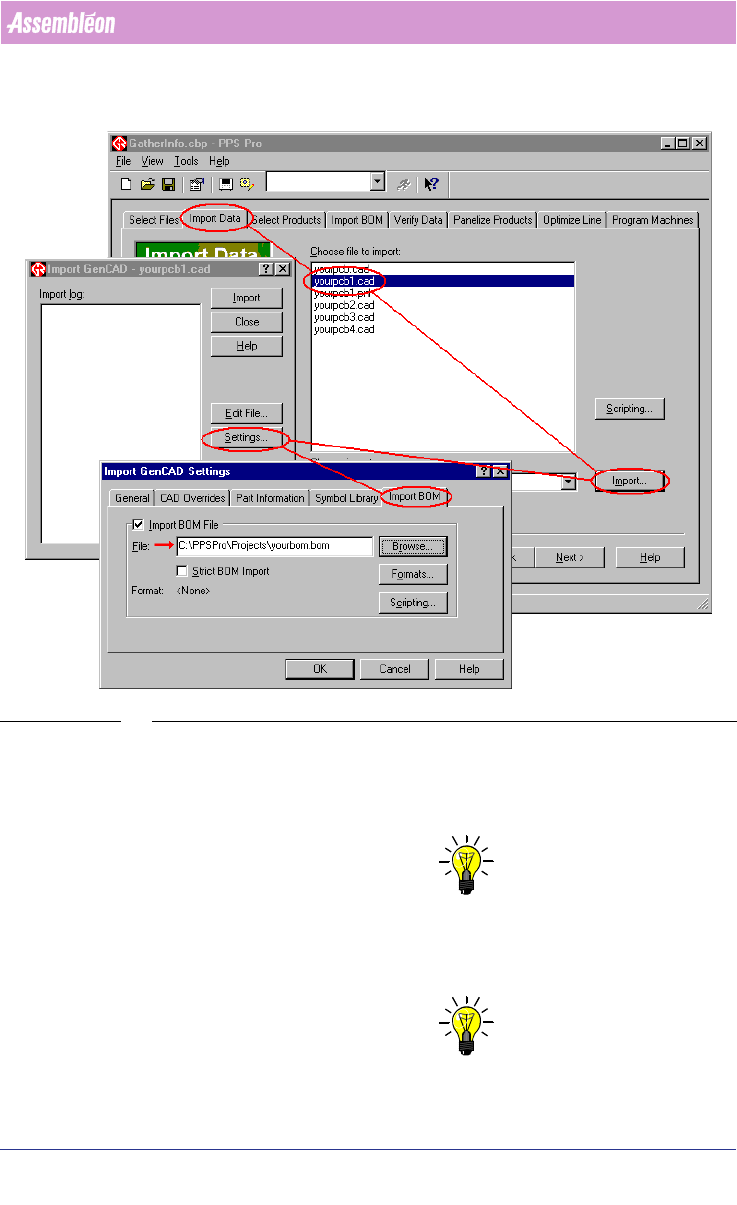
10. BOM-file (if used)
There are two ways to find out where the used BOM-file is placed.
4022 591 98247 User Manual
05.07 PPS-Pro v8.2 177
Guidelines for using PPS-Pro
The first way is via the Import Data tab (see SCREEN 91 on page 177). Just
follow the line to find the file.
SCREEN 91 Import BOM - GenCad Settings
The second way is via the Import BOM tab.
Action: Make a copy of this file.
11. Gerber and aperture files (A-Series)
NOTE: Gerber and aperture files are only needed if artwork extraction is applied.
Make sure that all relevant gerber and aperture files are send.
12. Ini-files (Powerline, only if modified)
NOTE: Ini files are only needed for Powerline optimizing.