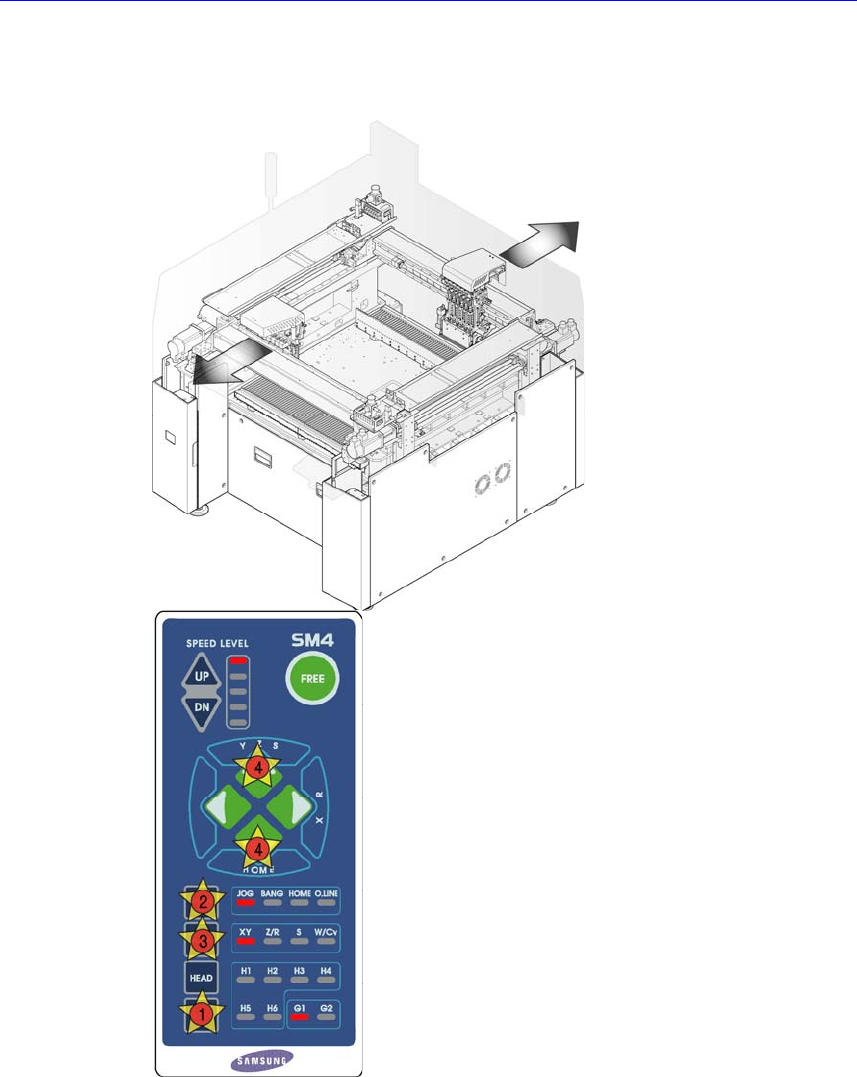
SM411F_Service Manual.pdf - 第170页
Electric Device V acuum Sensor Board 1. Manipulate the teaching box to move the head assembly to both ends as much as possible. 2. T urn Off the PC in normal way . Then turn off the main switch in the front side of the m…
Electric Device
CN4
CN5
CN6
CN7
CN10CN11
CN2CN3
CN13
CN8
CN9 CN15 CN14 CN12
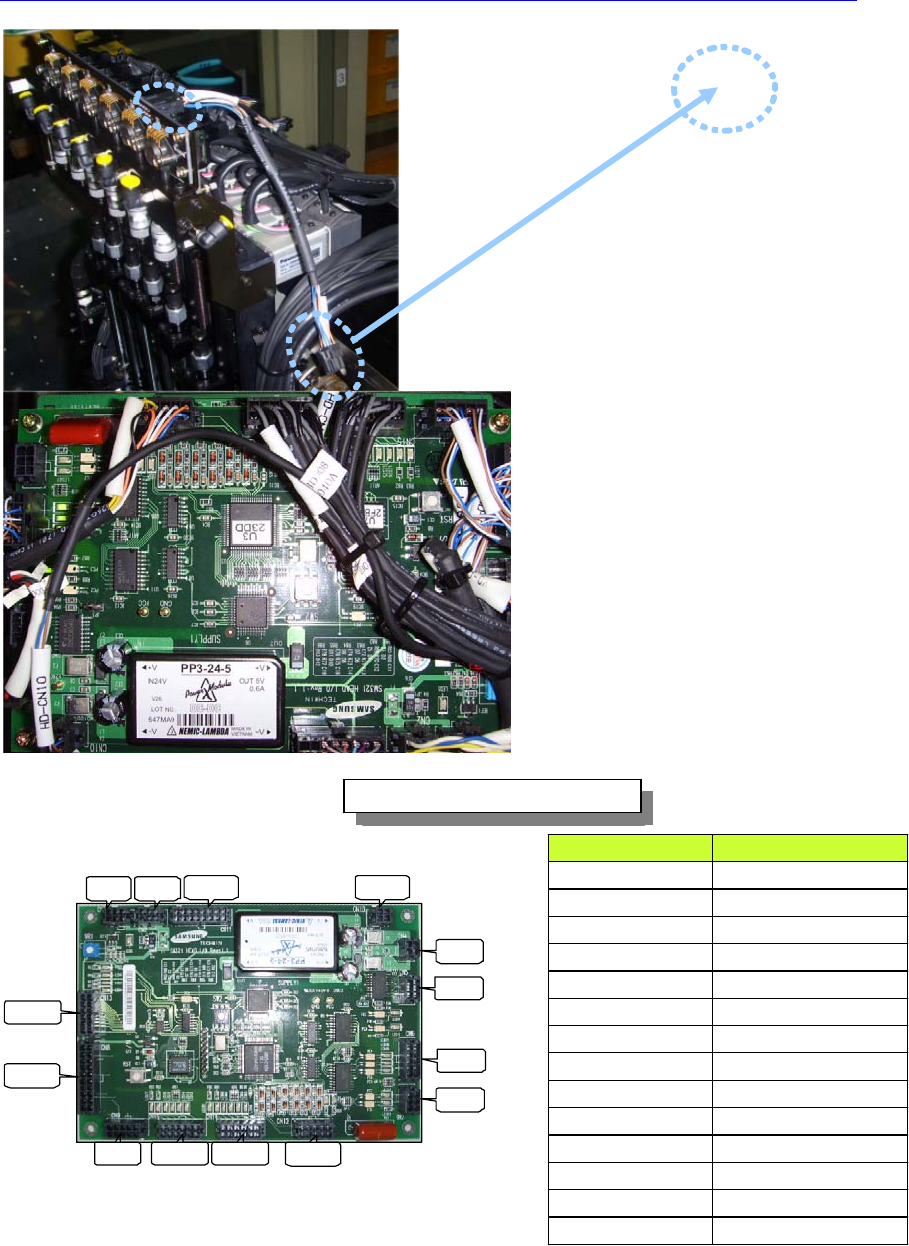
HEAD IO BOARD 조립 위치도
HEAD I/O BOARD 상대편 조립위치
CN2 HEAD ILL BD CN2
CN3 FLAT CABLE(HD CAN)
CN4 HEAD ILL CN1
CN5 SIDE ILL UP/DN SOL
CN6 R AUX SENSOR
CN7 SIDE ILL U/D SENSOR
CN8 Z1~Z6 HOME SENSOR
CN9 R HOME SENSOR
CN10 SWING HOME SENSOR
CN11 FLAT CABLE(HD_PW, HD_SNS)
CN12 HEAD VAC SNS BD CN1
CN13 FLAT CABLE(HD SOL)
CN14 H1~H6 BLOW SOL
CN15 H1~H6 VAC SOL
HEAD VAC
SNS
Head Vac. Sensor
Cable Wiring
Head I/O Board Connector Connection
COUNTERPART ASS’Y POINT
Electric Device
Vacuum Sensor Board
1. Manipulate the teaching box to move the head assembly to both ends as much
as possible.
2. Turn Off the PC in normal way. Then turn off the main switch in the front side
of the machine and then close the air valve.

Electric Device
3. Remove the air tube connected to the board.
4. Unscrew the board fixing screws using the screw driver to remove it.
5. After replacing the board, connect the air tube and assemble it in the reverse
order of disassembling.
6. Turn on the main switch on the front side of the machine and set the head
vacuum by referring to “
오류
!
참조
원본을
찾을
수
없습니다
.
오류
!
참
조
원본을
찾을
수
없습니다
.”.
When tying the vacuum & blow cables and solenoids, tie them so that interference
with the pneumatic air controls can be avoided.
Direction in which the
main switch is turned
off (counterclockwise)
TIE WORK
Fixing Bolt