2OM-1075-002.pdf - 第119页
AHB01ESPP 2 . 3 Data Entry 2.3.1 Data Entry in Edit Windows Some text boxes are provided with buttons beside them. When such a button is pressed, the corresponding edit window appears, making it easier to enter a paramet…
AHB01ESPP
2.2 Setting Operation
2.2.1 Check Box
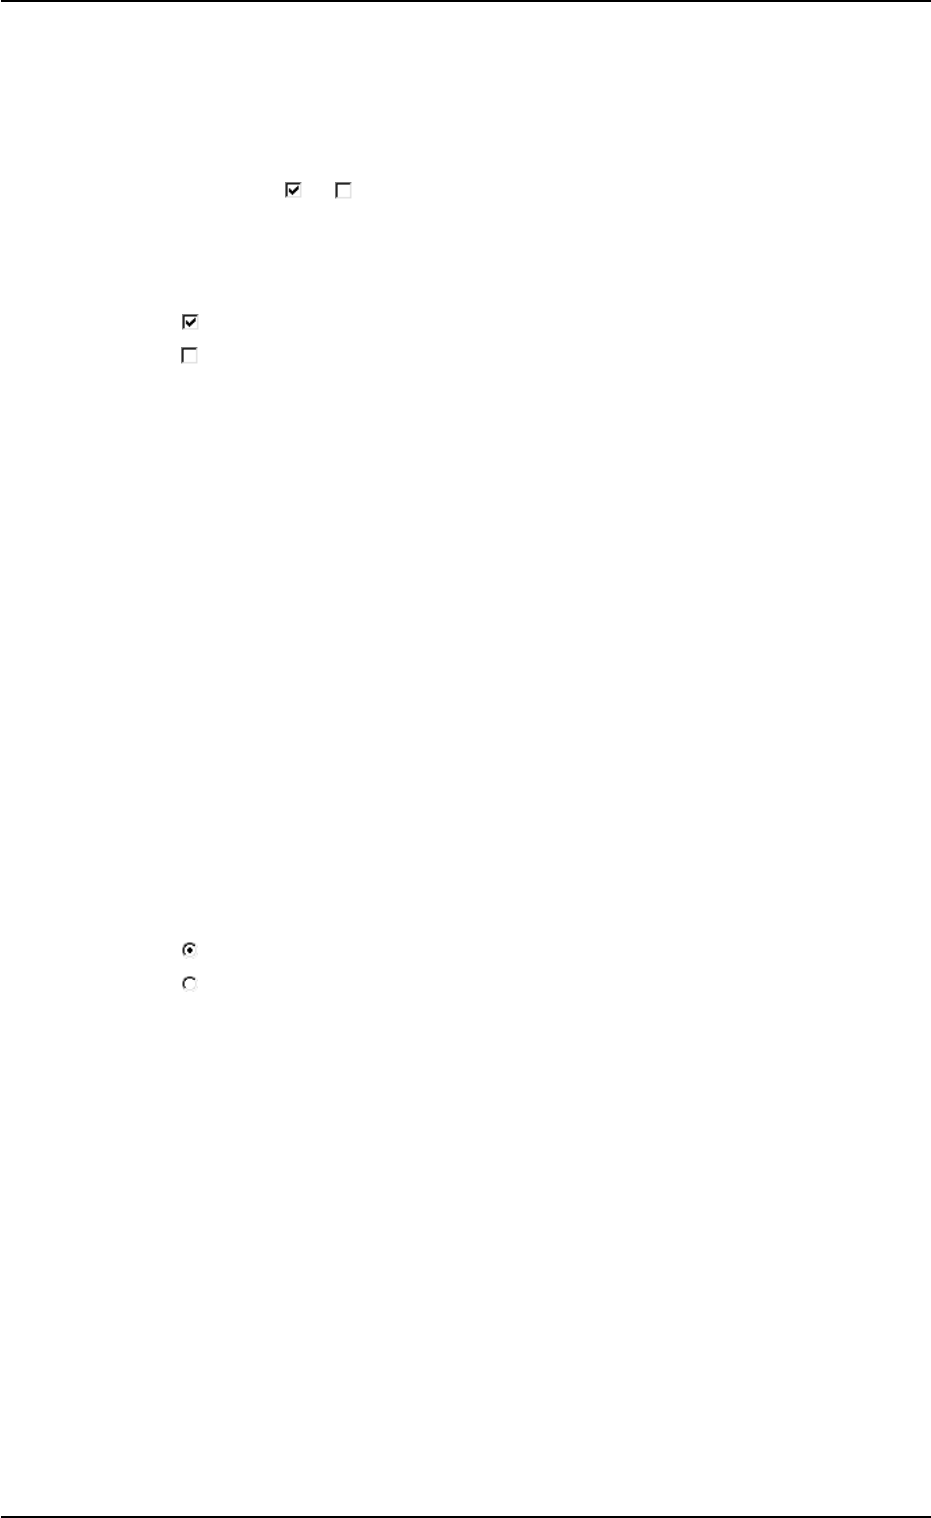
A check box ( or ) is provided in front of an item that requires an off
or on value, indicating whether the function is selected or not.
Check Boxes
: The item (function) is specified as "Enabled" or "Valid".
: The item (function) is specified as "Disabled" or "Invalid".
Turning on or off a check box
When a check box is unchecked ("Disabled" or "Invalid"), press the box.
A check mark appears inside the box, indicating that the function is speci-
fied as "Enabled" or "Valid". This is called "Checked".
When a check box is checked ("Enabled" or "Valid"), press the box. A
check mark disappears, indicating that function is specified as "Dis-
abled" or "Invalid". This is called "Unchecked".
2.2.2 Option Button
When several items (functions) are grouped and one of them must be
selected, option buttons are provided in front of the items, allowing you
to choose a single item (function) from a group of options.
Option Buttons
: The item (function) is selected.
: The item (function) is not selected.
Turning on or off an option button
When a dot is not in an option button, it means that the item (function) is
not selected. When such an option button is pressed, a dot appears
inside the circle, indicating that the function is selected.
When an option button having a dot in the circle is pressed, the dot
disappears, indicating that the selection of the function is canceled.
0107-001 4-18
2.2 Setting Operation
AHB01ESPP
2.3 Data Entry
2.3.1 Data Entry in Edit Windows
Some text boxes are provided with buttons beside them. When such a
button is pressed, the corresponding edit window appears, making it
easier to enter a parameter.
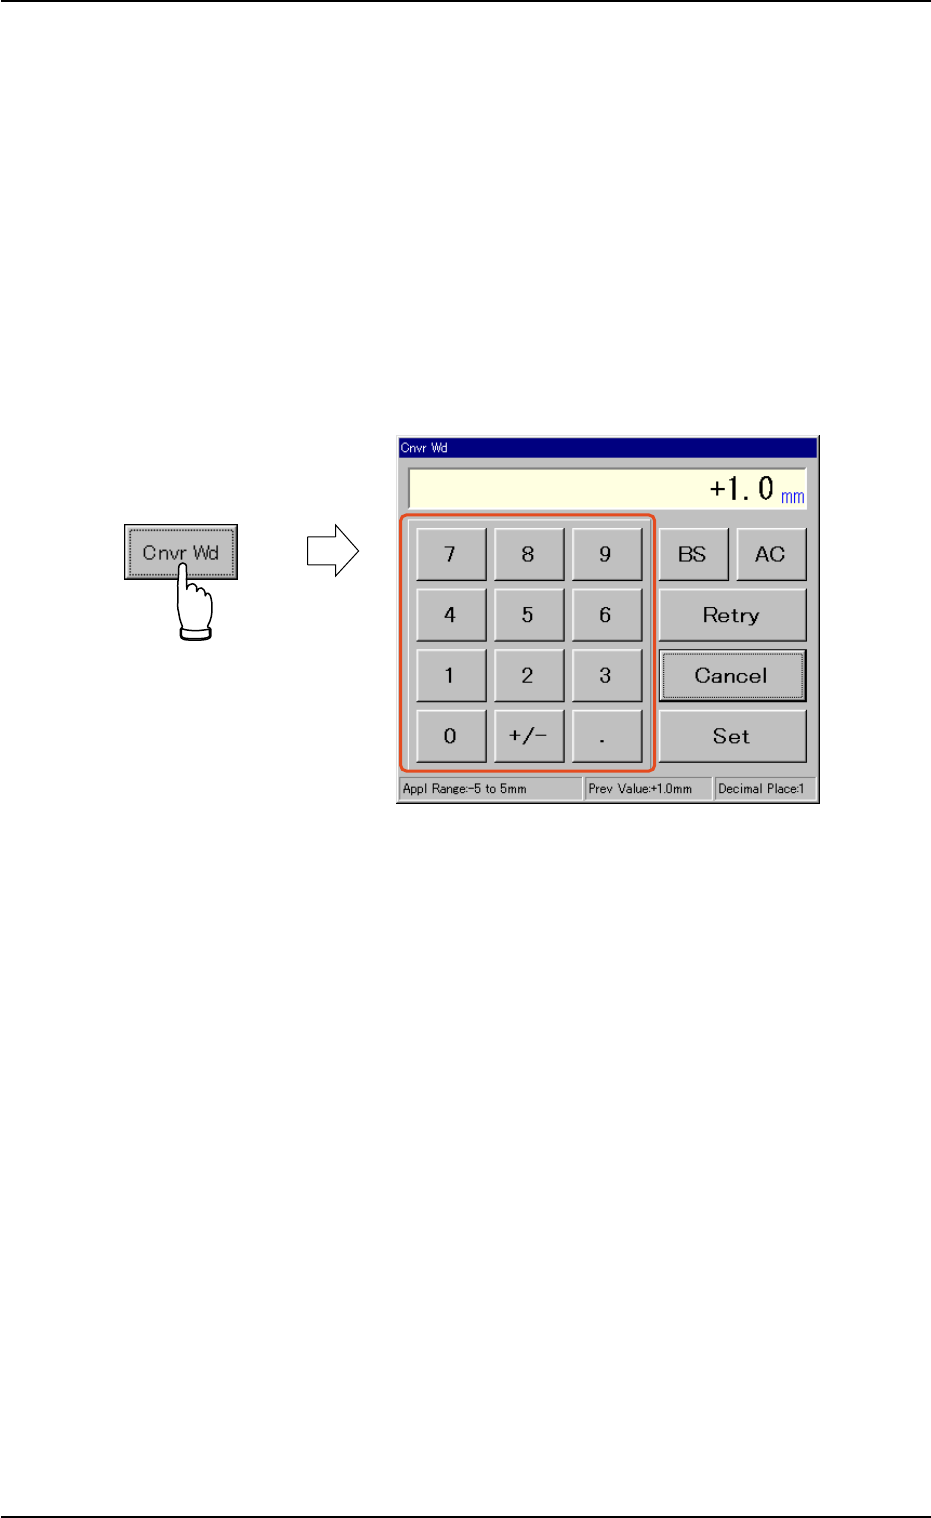
Operation Procedure
(1) When a button beside a text box is pressed, the corresponding edit
window appears.
Fig. 2D16 Edit Window
(2) Refer to the value entitled "Appl Range:" (located at the bottom of
the edit window) and enter a numerical value, using the ten-key box.
The entered value appears in the display box of the edit window.
(3) After confirming the entered value, press the [Set] button. The edit
window disappears and the entered value appears in the text box of
the selected item in the operation window.
To correct the entered value or cancel the entry operation, press
one of the following buttons.
[BS] Button : When this button is pressed, the last digit is de-
leted.
[AC] Button : When this button is pressed, all the entered dig-
its are cleared.
[Retry] Button : When this button is pressed, the value in the
display box is changed to the original one.
[Cancel] Button : When this button is pressed, the data entry op-
eration is canceled.
0107-001 4-19
2.3 Data Entry
AHB01ESPP
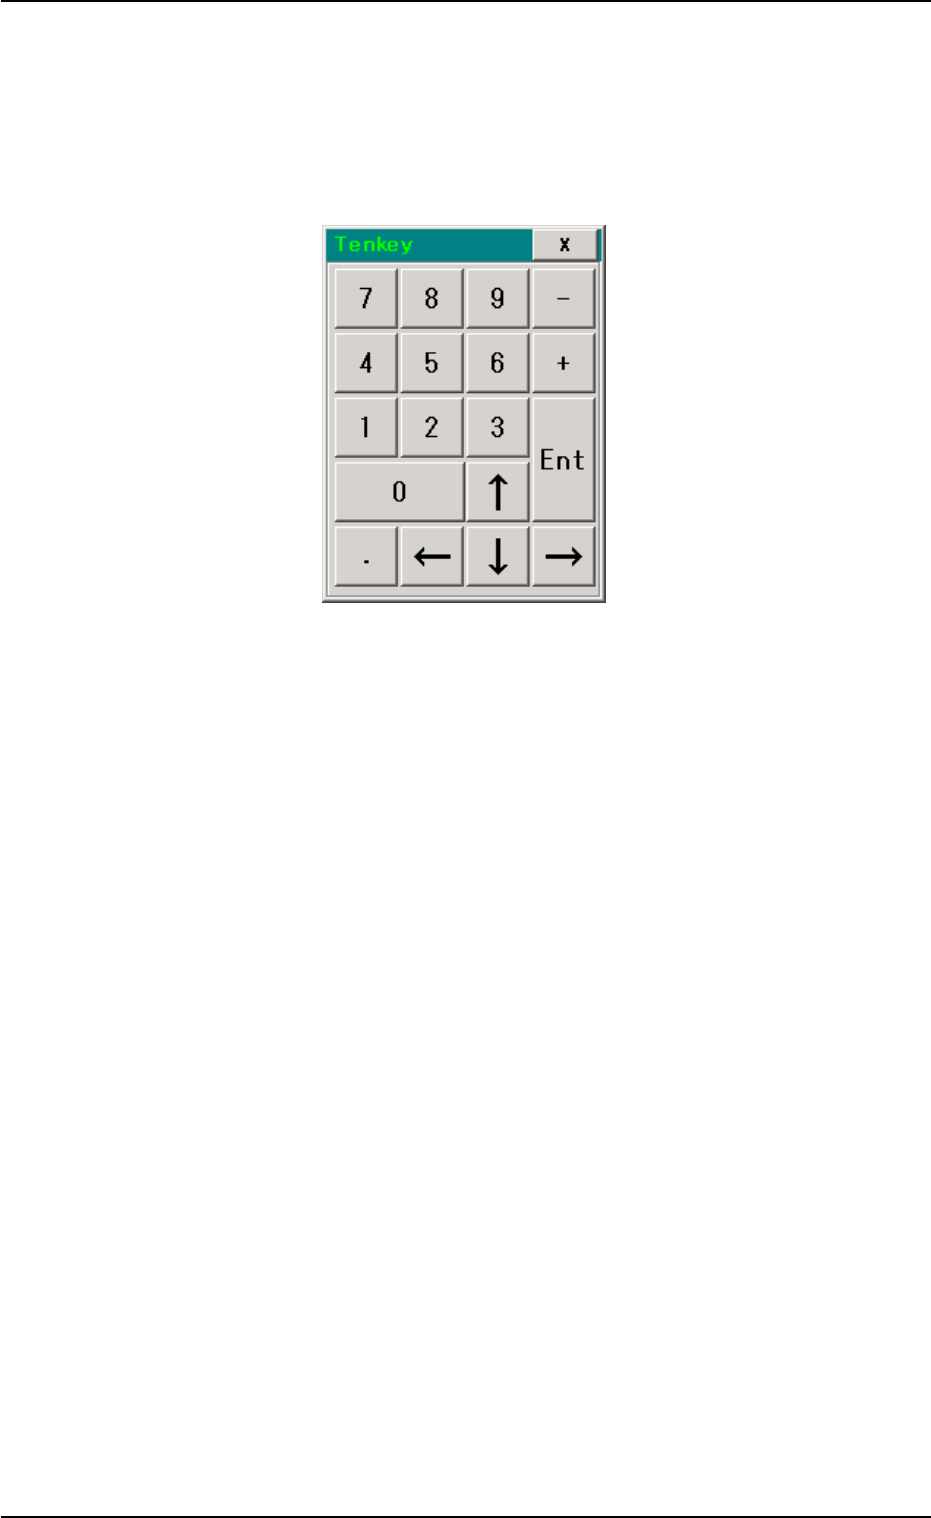
2.3.2 Data Entry with "TenKey" Window
Operation Procedure
(1) When the [TenKey] button on the main menu bar is pressed, a
"TenKey" window appears.
Fig. 2D17 "TenKey" Window
(2) Pressing a text box in which a numerical value should be entered
makes a cursor appear in the box, indicating that a parameter should
be entered.
(3) When a value is specified using the ten-key window, the value ap-
pears in the box.
(4) When the [Ent] button is pressed after confirmation to the entered
value, the "TenKey" window disappears.
01 12-002 4-20
2.3 Data Entry