2OM-1075-002.pdf - 第208页
AHB01ESPP • • • • • Entry Operation of Clearance Data (1) When the [Cnvr Wd] buton is pressed, the "Cnvr Wd" edit window opens. Enter a clearance value in the range of "-5 to +5 mm" and press the [Set…

AHB01ESPP
Status : When the [ON] button (*5) is pressed, the setup
operation starts and the status of the device is
indicated.
"Compl" : The setup operation is completed and the de-
vice is located at the position "P.C.B. Size
(Width) + Clearance".
"NOT" : The device is located at the position "P.C.B. Size
(Width) + Clearance" but the current position is
not managed.
"-----" : The current position or program is indefinite.
"-----" (red) : "NOT SET" is set for the setup data.
PCB Size : Displayed is the P.C.B. dimension (width) in the
current pattern program data.
When the current pattern program is indefinite, "-
----" appears.
Location : The currently managed width appears in the text
box.
"-----" appears when the current location is indefi-
nite or is not managed.
*2 "Mode" Group Box
A setup mode can be selected.
The background color of the selected button turns yellow.
*3 "Clearance" Group Box
This data is used to give some leeway to the conveyor width, com-
pared with the P.C.B. size in the pattern program.
The actual conveyor width becomes "P.C.B. Size (width) + Clear-
ance".
[Cnvr Wd] Button : When this button is pressed, the
"Cnvr Wd" edit window opens.
[Clearance Reset] Button : When this button is pressed after the
clearance value is changed, the
changed value is specified.
7.2 "Product Change" Tab
0107-001 5-45
AHB01ESPP
••
••
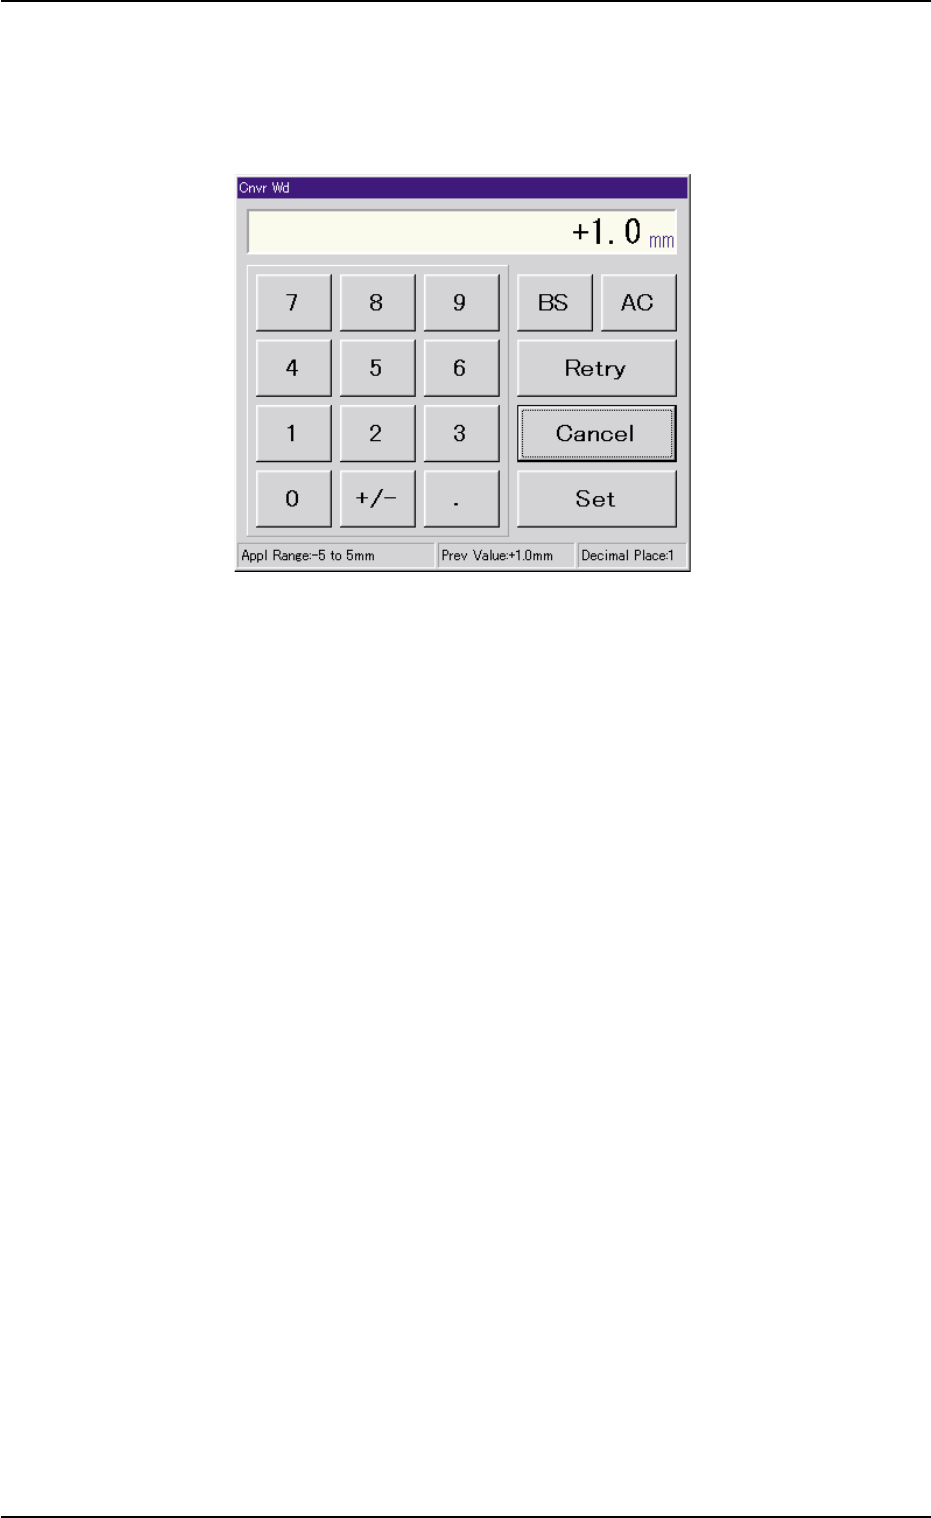
• Entry Operation of Clearance Data
(1) When the [Cnvr Wd] buton is pressed, the "Cnvr Wd" edit window
opens. Enter a clearance value in the range of "-5 to +5 mm" and
press the [Set] button.
Fig. 2E38 "Cnvr Wd" Edit Window
(2) Press the [Clearance Reset] button.
7.2 "Product Change" Tab
0206-002 5-46
AHB01ESPP
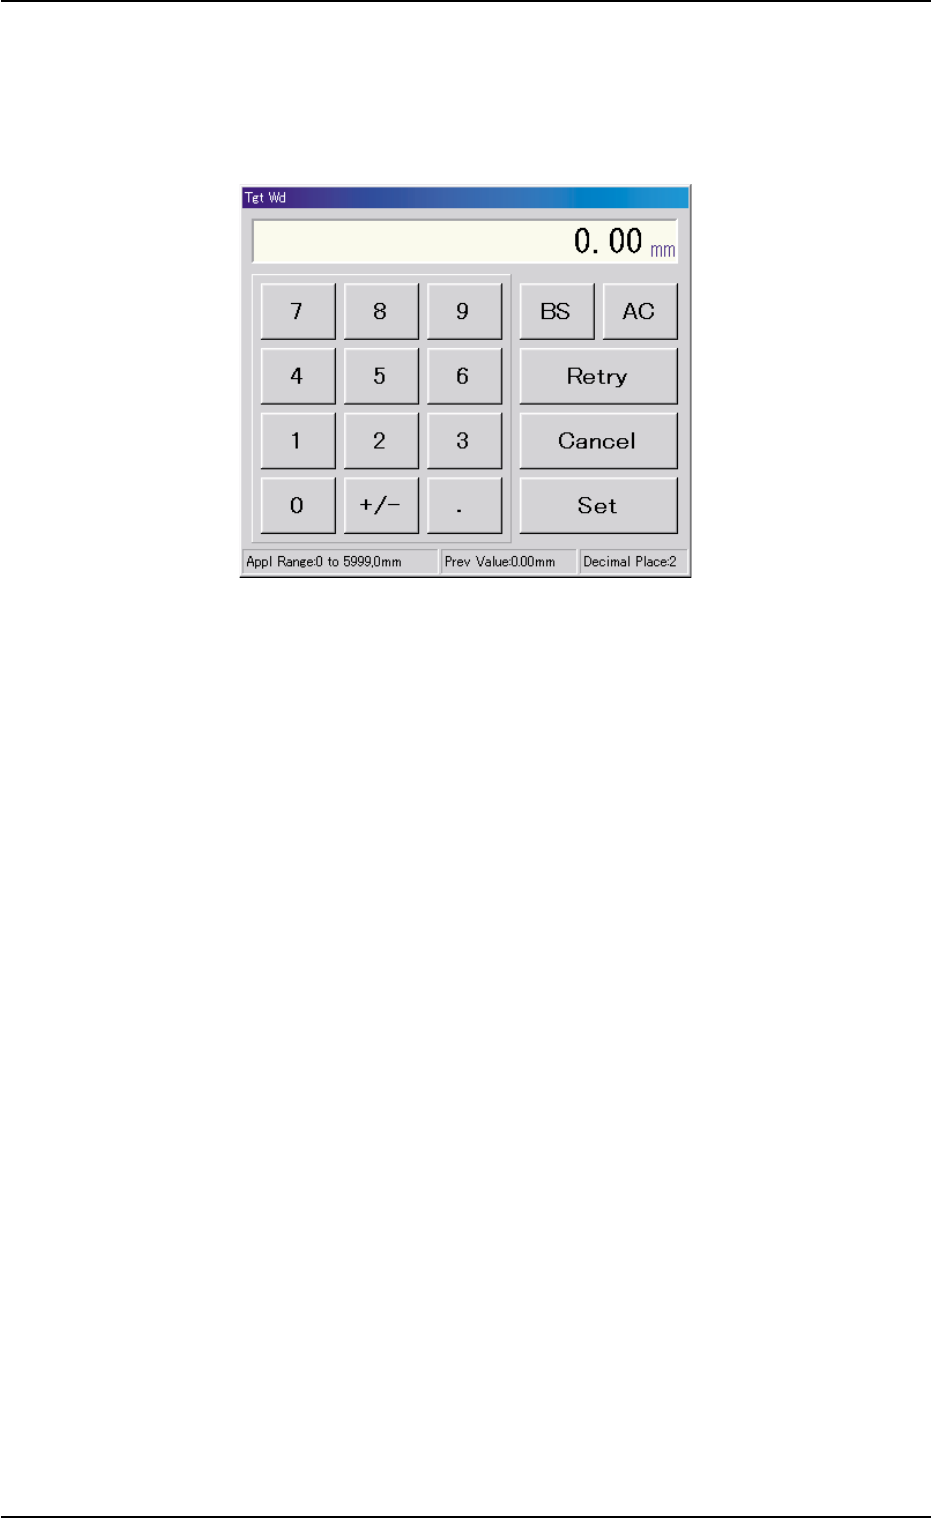
*4 [Tgt Wd] Button
When this button is pressed, the "Tgt Wd" edit window opens.
Enter a numerical value in the range of "0 to 5999 mm" and press
the [Set] button. The entered value is specified.
Fig. 2E39 "Tgt Wd" Edit Window
*5 "Control Switch" Group Box
An [ON] button (entitled "MOVE") is provided in this group box and
used to start a setup operation.
7.2 "Product Change" Tab
0206-002 5-47