2OM-1075-002.pdf - 第249页
AHB01ESPP Mark Size D1 (1) When the [Mark Size D1] button is pressed in the "P .E.C. Recog T est" tab sheet, the following window appears. Enter a value as "Mark Size D1" and press the [Set] button. T…
AHB01ESPP
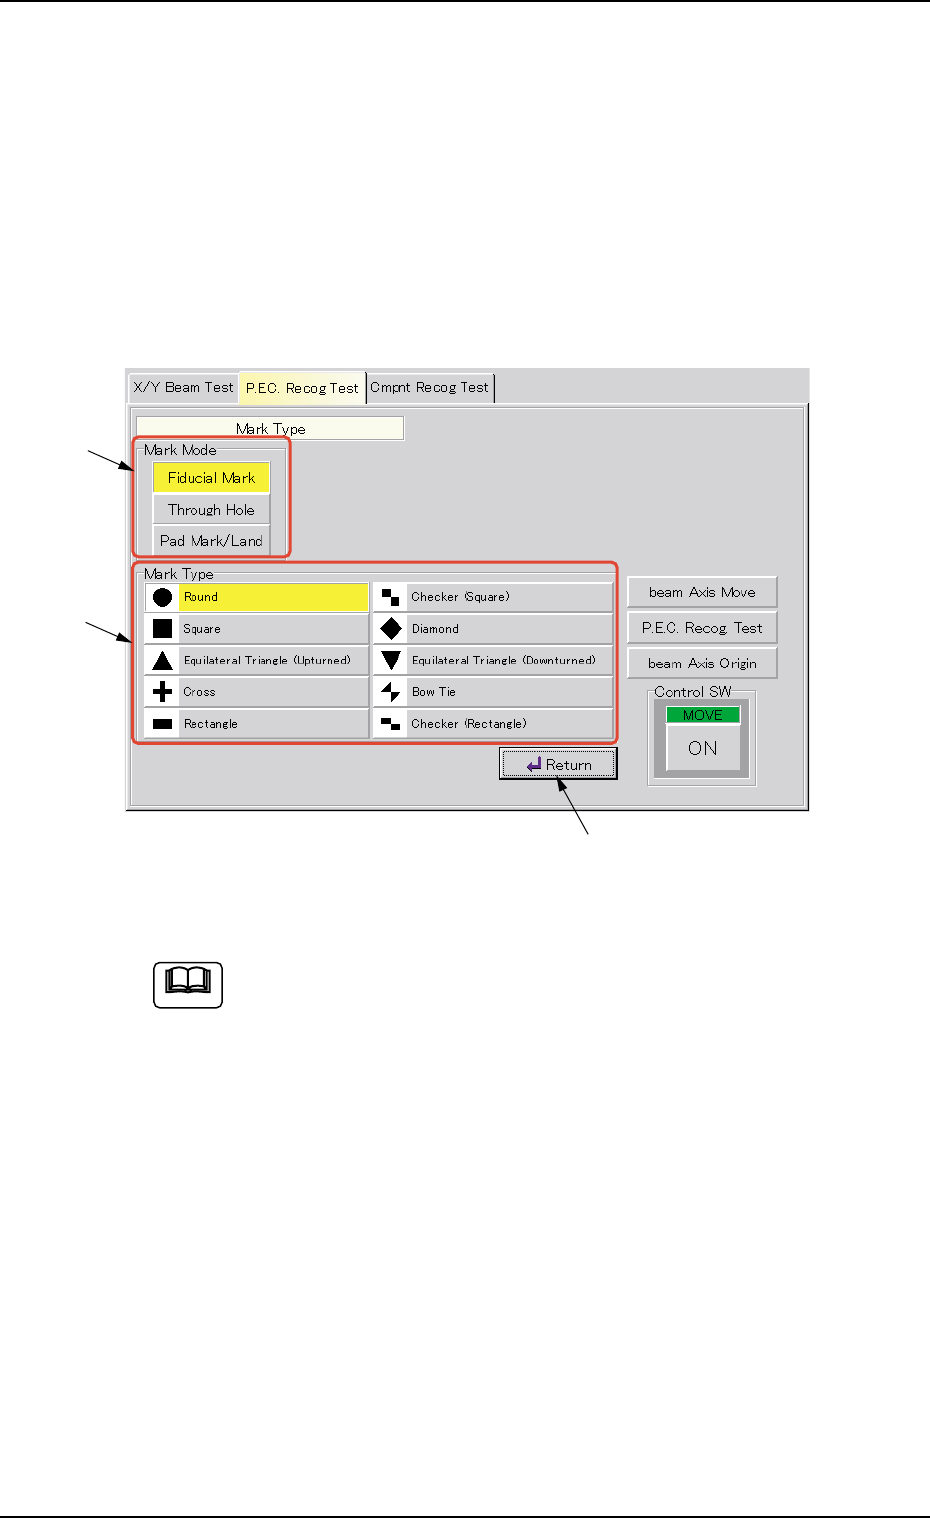
Mark Type
(1) When the [Mark Type] button is pressed in the "P.E.C. Recog. Test"
tab sheet, the "Mark Type" window appears.
Depending on which option is selected in the "Mark Mode" group
box (*1), various mark types (options) are displayed in the "Mark
Type" group box (*2).
After selecting a mark type in the "Mark Type" group box (*2), press
the [Return] button (*3).
Fig. 2F10
When the [Through Hole] or the [Pad Mark/Land] button in the
"Mark Mode" group box is selected, different buttons (mark types)
appear in the "Mark Type" group box.
0206-003 6-16
3.2 "P.E.C. Recog Test" Tab
*2
*1
*3
Note
AHB01ESPP
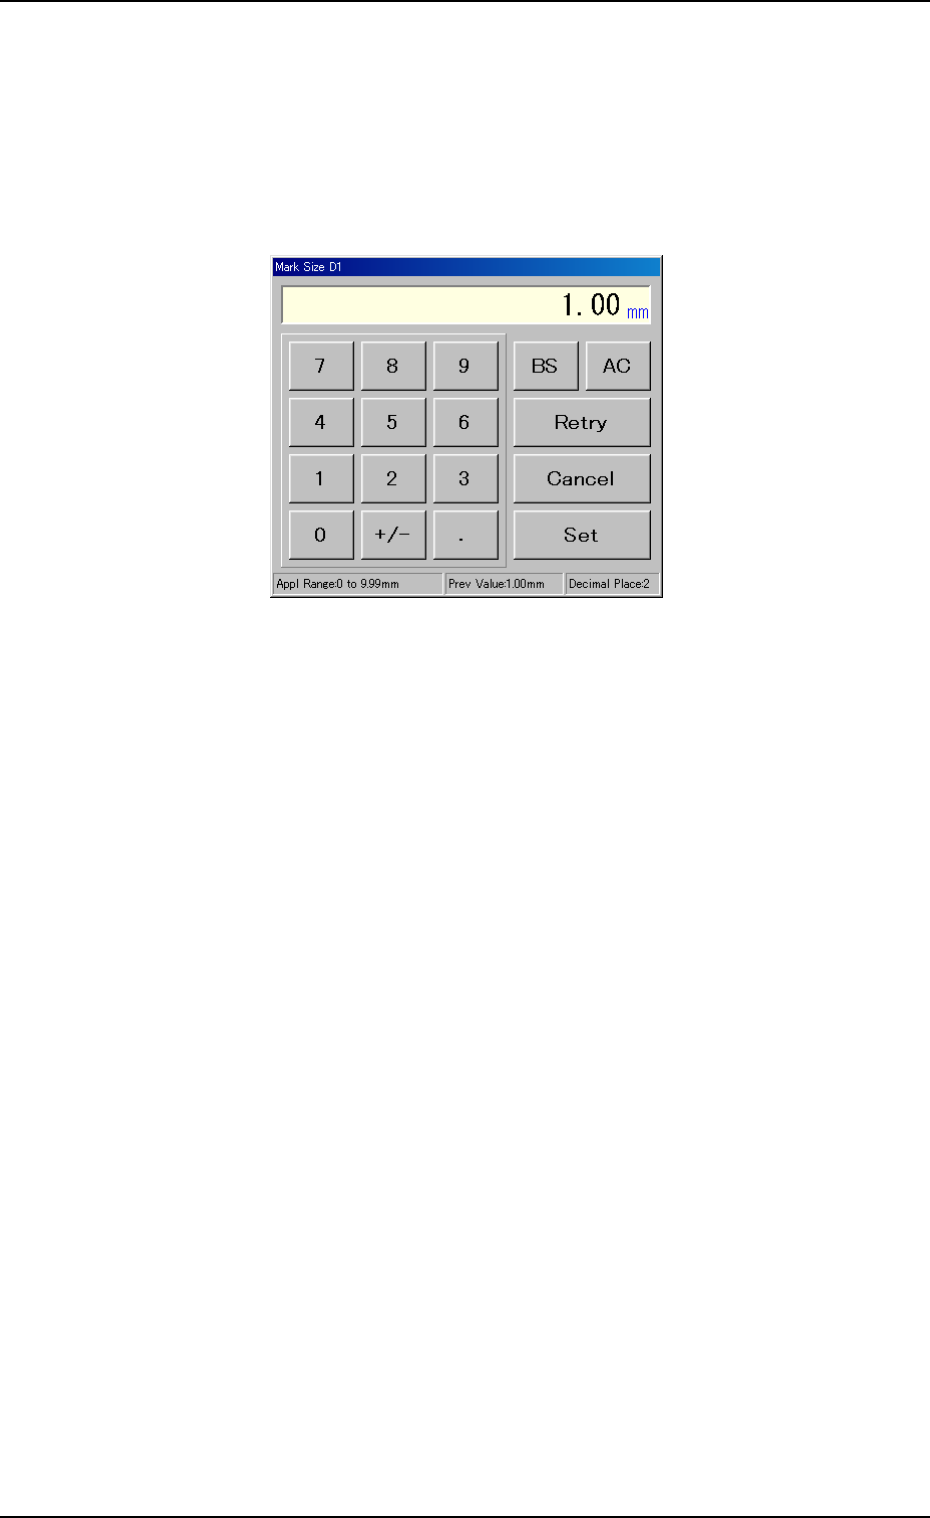
Mark Size D1
(1) When the [Mark Size D1] button is pressed in the "P.E.C. Recog
Test" tab sheet, the following window appears.
Enter a value as "Mark Size D1" and press the [Set] button. The
entered value is specified and the "Mark Size D1" edit window closes.
Fig. 2F11
Mark Size D2
(1) Follow the same procedure as "Mark Size D1" to enter a parameter
in the text box.
Window Size
(1) Follow the same procedure as "Mark Size D1" to enter a parameter
in the text box.
0206-003 6-17
3.2 "P.E.C. Recog Test" Tab
AHB01ESPP
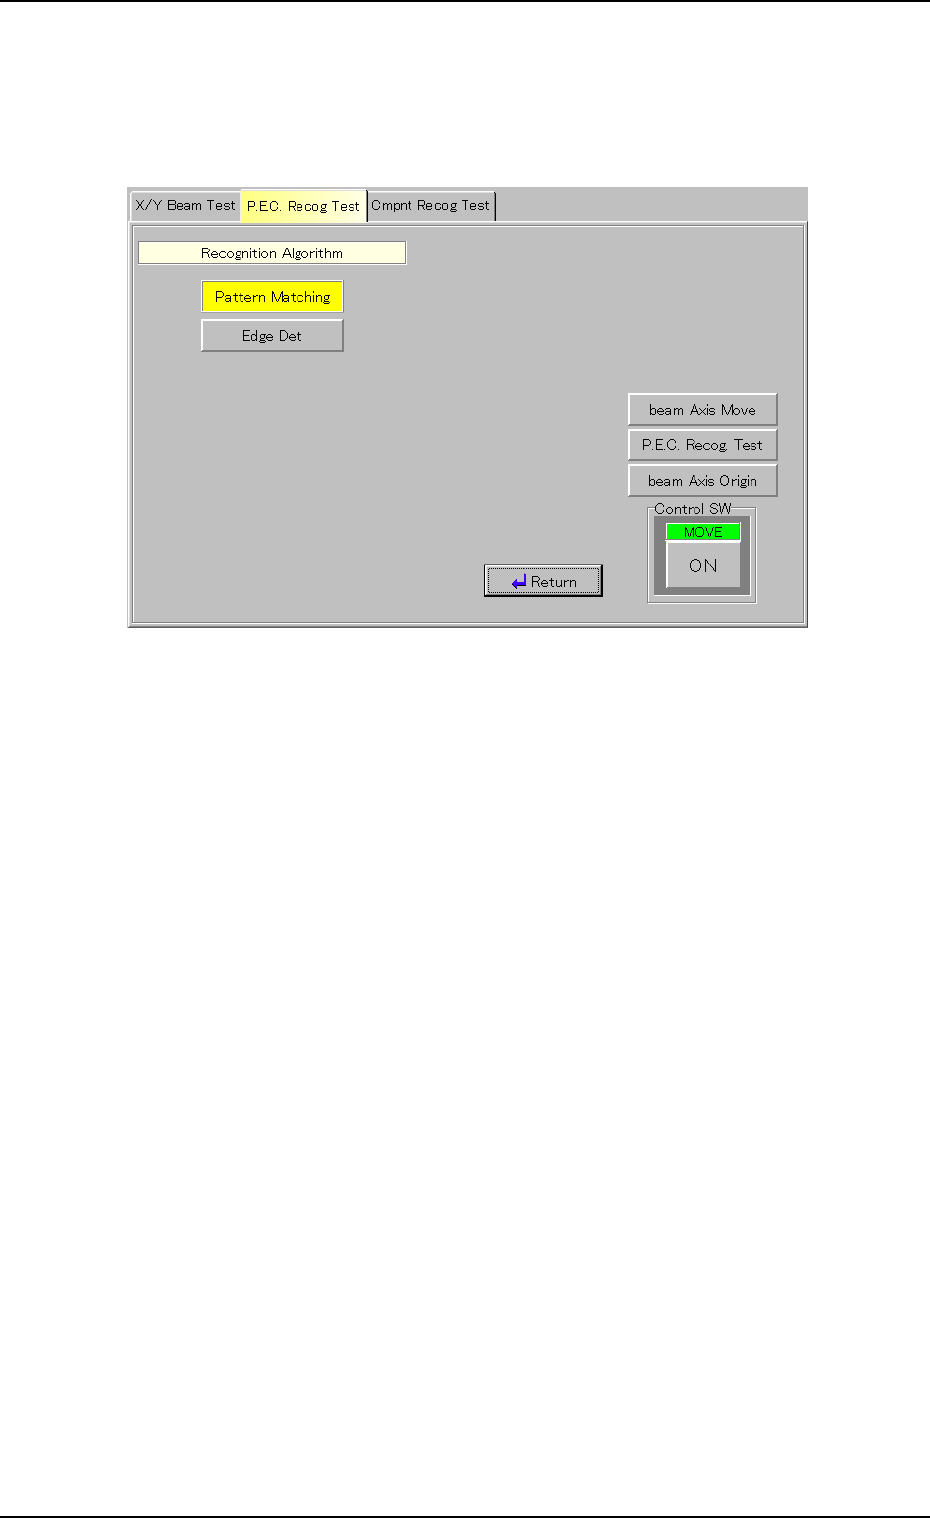
Recognition Algorithm
(1) When the [Recognition Algorithm] button is pressed in the "P.E.C.
Recog Test" tab sheet, the following sheet appears.
Fig. 2F12
(2) Press the [Pattern Matching] or the [Edge Det] button.
The background color of the selected button turns yellow, indicating
that it is selected as recognition algorithm.
(3) When the [Return] button is pressed, the "P.E.C. Recog Test" tab
sheet appears.
0206-003 6-18
3.2 "P.E.C. Recog Test" Tab