2OM-1075-002.pdf - 第269页
AHB01ESPP (4) Setting of Feeder No. for T ested Component (4-1) When the [Fdr . No.] button (*5) is pressed in the "Component Recog. T est" sheet (Fig. 2F22), the following "Fdr . No." sheet appears. …
AHB01ESPP
Fig. 2F29
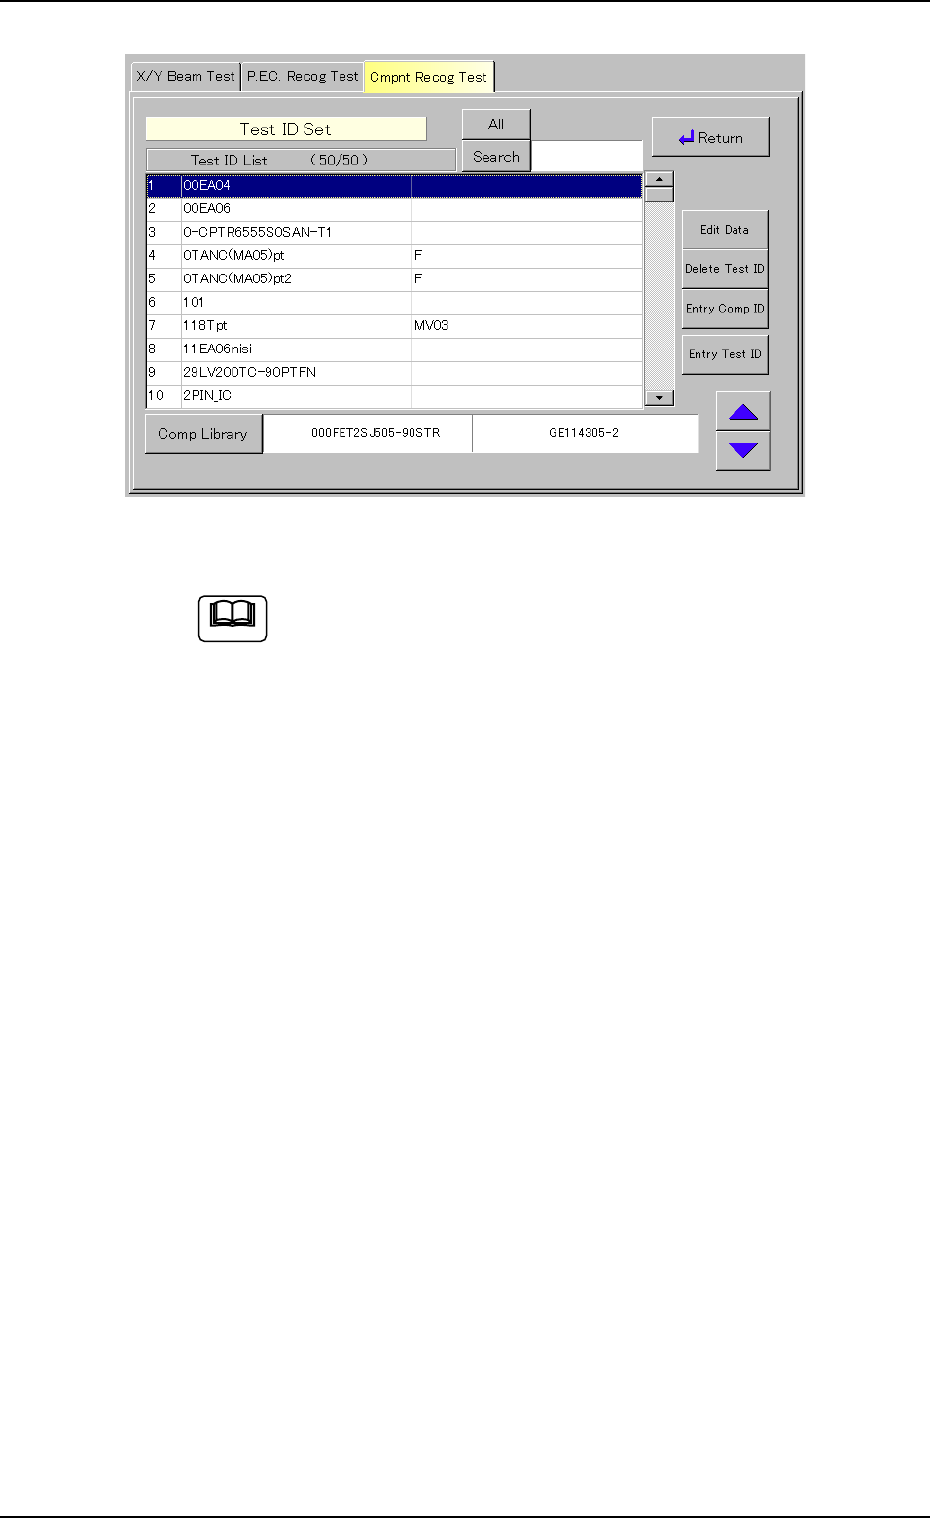
After the "Test ID List (XXX)" has appeared, the [Search],
[Edit Data], [Delete Test ID], and [Entry Comp ID] buttons
become active.
(3-5) When the [Return] button is pressed, the "Component Recog.
Test" operation sheet (Fig. 2F22) appears.
0308-004 6-36
Note
3.3 "Cmpnt Recog Test" Tab
AHB01ESPP
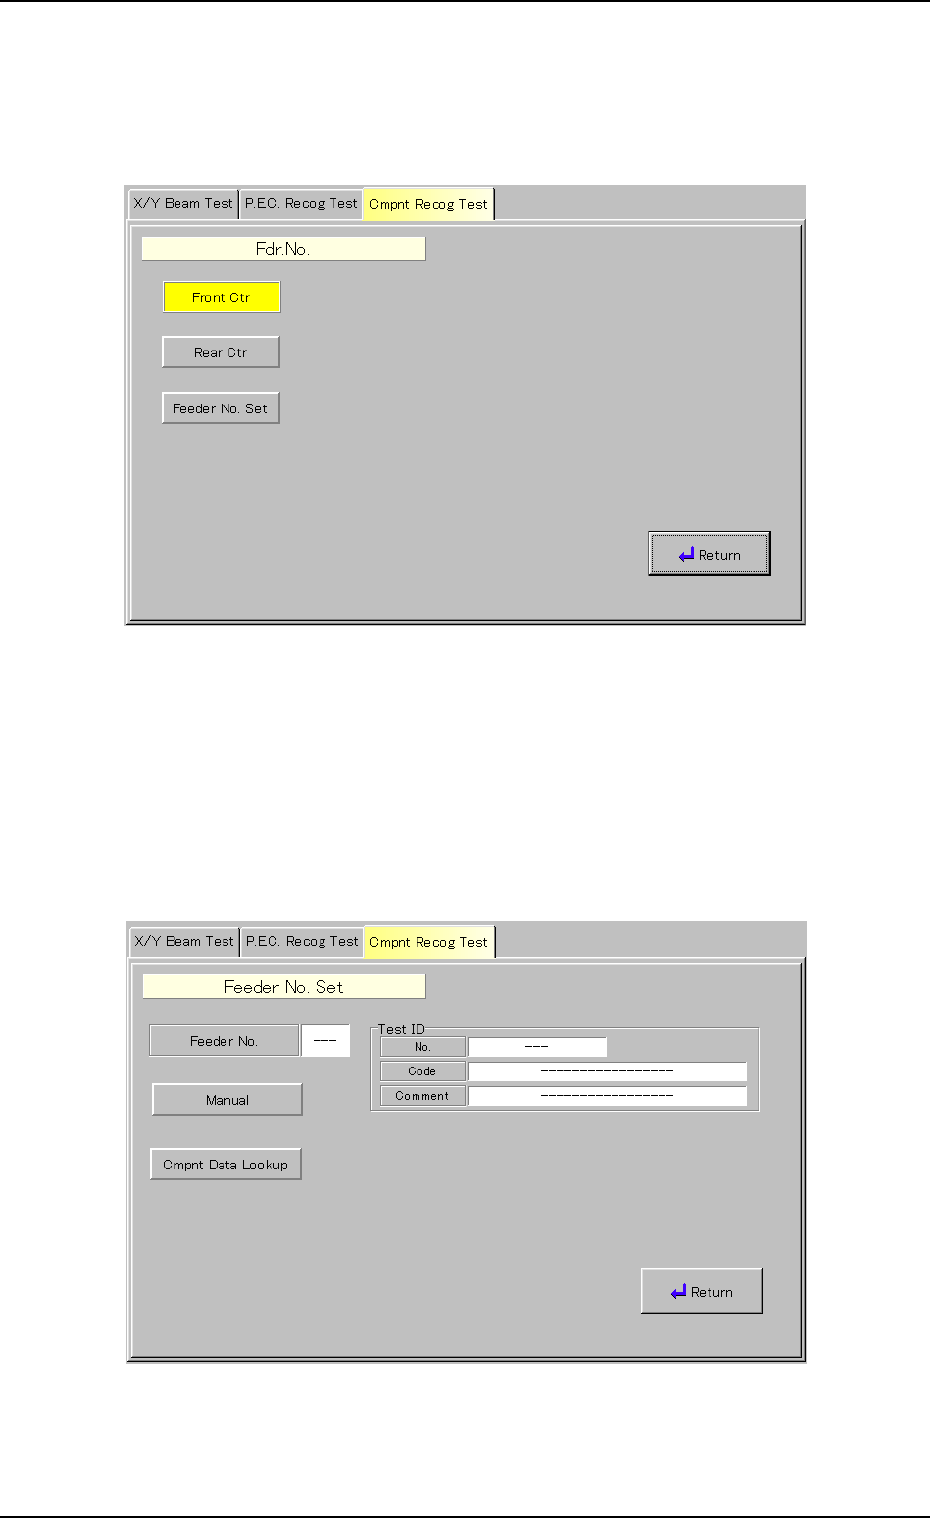
(4) Setting of Feeder No. for Tested Component
(4-1) When the [Fdr. No.] button (*5) is pressed in the "Component
Recog. Test" sheet (Fig. 2F22), the following "Fdr. No." sheet
appears.
Fig. 2F30 "Fdr. No." Sheet
(4-2) Press the [Front Ctr] or the [Rear Ctr] button in the "Fdr. No."
sheet.
(4-3) When the [Feeder No. Set] button is pressed in the "Fdr. No."
sheet, the "Feeder No. Set" sheet appears.
Fig. 2F31 "Feeder No. Set" Sheet
0206-003 6-37
3.3 "Cmpnt Recog Test" Tab
AHB01ESPP
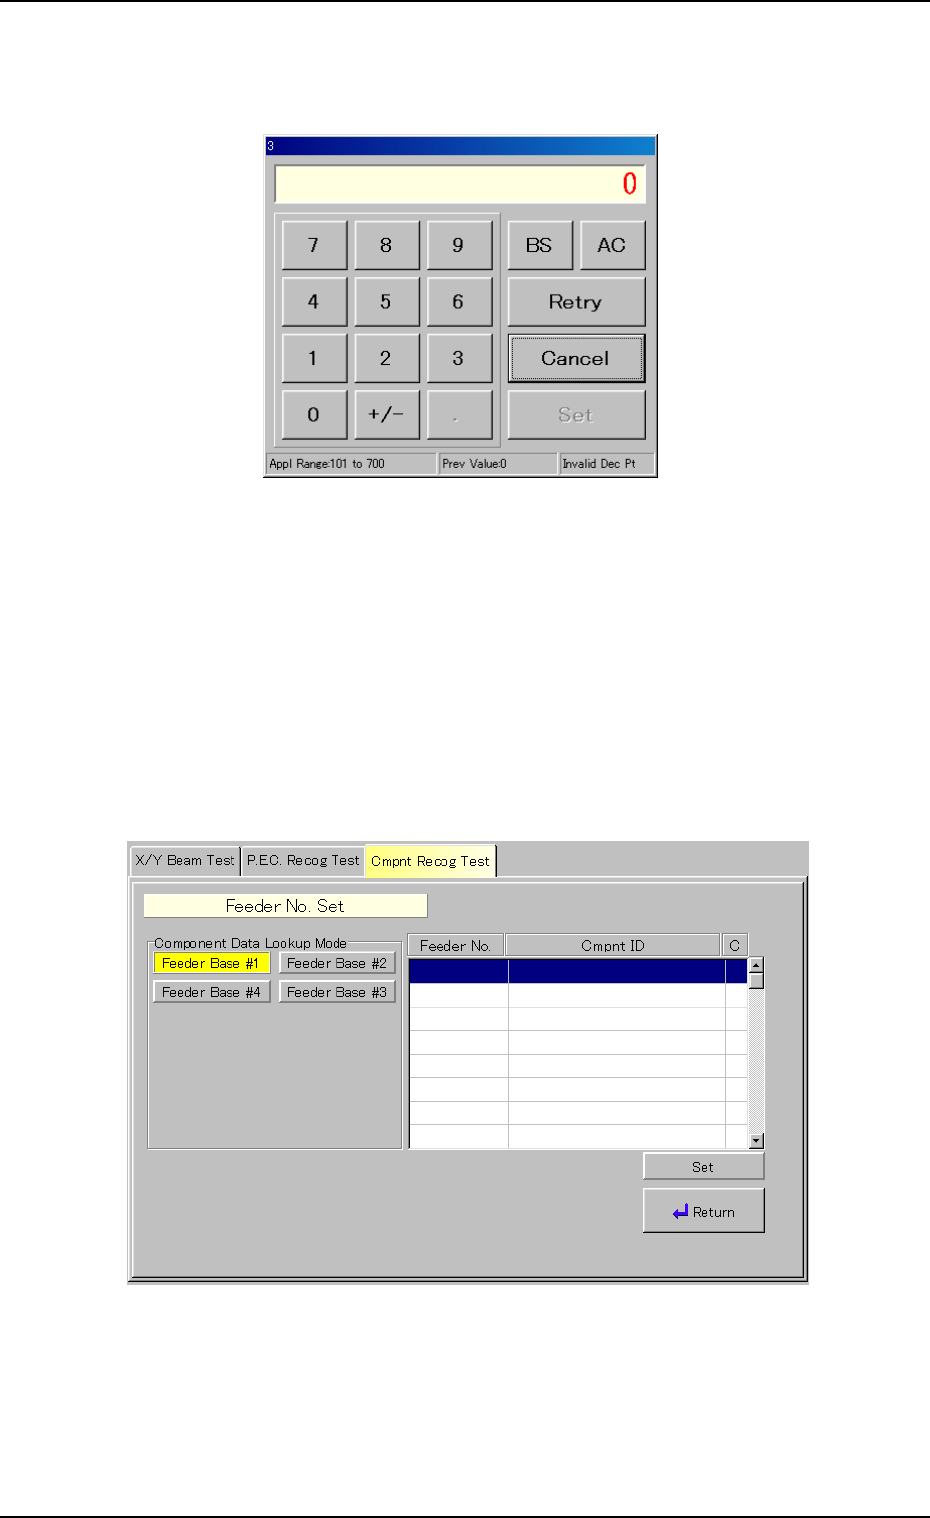
(4-4) When the [Manual] button is pressed in the "Feeder No. Set"
sheet, the following edit window appears.
Fig. 2F32 "Manual" Edit Window
(4-5) Enter a feeder No., using the number keys (ten-key pad) and
press the [Set] button.
(4-6) When the [Cmpnt Data Lookup] button is pressed in the
"Feeder No. Set" sheet, the following "Component Data
Lookup Mode" sheet appears, making it possible to select a
feeder No. while checking the component allocation.
Fig. 2F33 "Component Data Lookup Mode" Sheet
(4-7) After specifying the desired feeder base, select the feeder
No. and press the [Set] button.
0206-003 6-38
3.3 "Cmpnt Recog Test" Tab