00194474-0702_AI_HeadReconfig_X_605_DE+EN.pdf - 第162页
2 Assembly Instructions - SIPLACE X-Series Head Reconfiguration Kits Head Reconfiguration Kits 07/2010 Edition 162 2.9 Removing the T winHead : Switch the placement mach ine on at the main switch. 2 : Plug a USB stick or…
Head Reconfiguration Kits 2 Assembly Instructions - SIPLACE X-Series Head Reconfiguration Kits
07/2010 Edition
161
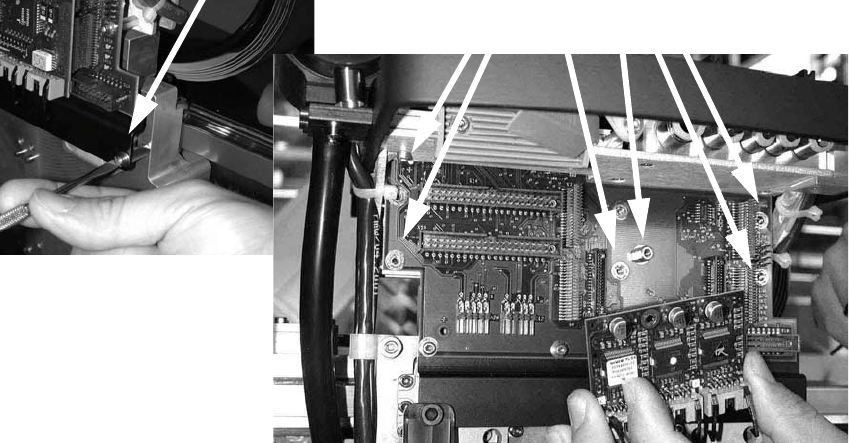
: Loosen the screws on the rail below the head adapter board and the screws of the head
adapter board, and then remove both the large (head interface) and the small board (step mo-
tor board).

2 Assembly Instructions - SIPLACE X-Series Head Reconfiguration Kits Head Reconfiguration Kits
07/2010 Edition
162
2.9 Removing the TwinHead
: Switch the placement machine on at the main switch.
2
: Plug a USB stick or another suitable storage medium into the USB slot on the station computer.
2
2
: Save the machine data to the storage medium.
: Run the machine until it is empty and set down the nozzles.
: Remove the component trolley from the location at which the IC camera is accessible.
: Switch the placement machine off at the main power switch.
USB stick
(computer unit)
USB stick
(box PC)
Head Reconfiguration Kits 2 Assembly Instructions - SIPLACE X-Series Head Reconfiguration Kits
07/2010 Edition
163
2
Wear an ESD armband for the whole time you are working on the placement head and servos.
2
2
2
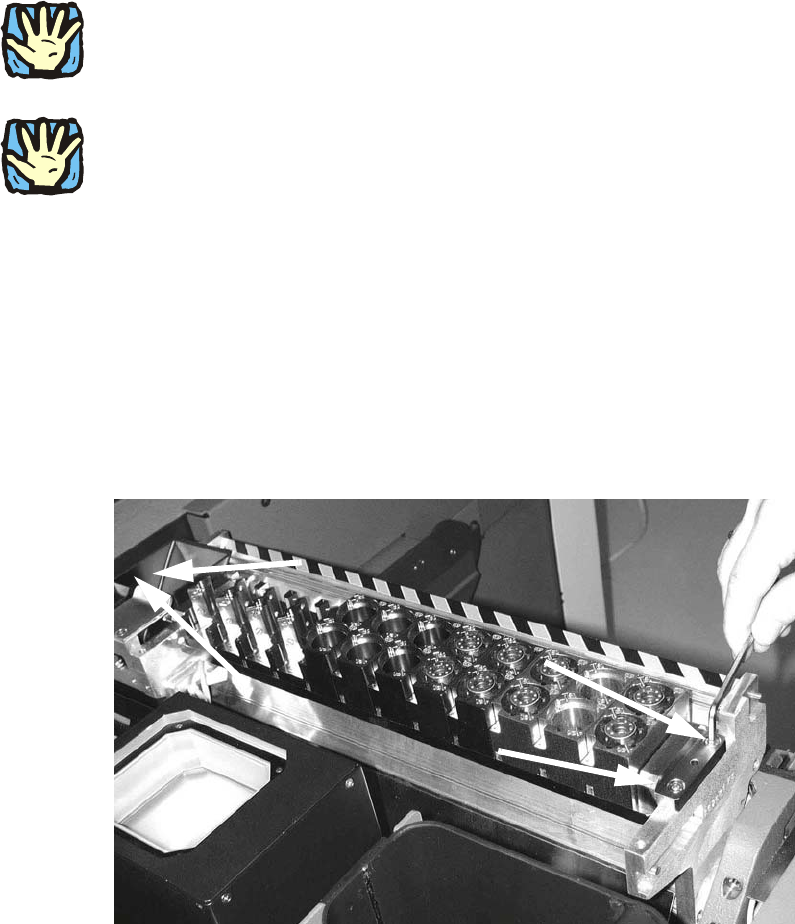
Remove the axis cards and servo cards.
Please note the overviews in the appendix Chapter 2.14.1 or Chapter 2.14.2. 2
2
2.9.1 Converting the nozzle changer / removing the cameras
2
: Remove the waste tape chute.
Removing the nozzle changer 2
: Loosen the four screws(DIN912 M5x16 - 8.8, item no. 00845044-) on the nozzle changer of
the TwinHead and remove the head.