00196428-0102_AI_Reconfig_Kit_X-Serie_CPP_DE EN - 第86页
2 Assembly Instructions Head Reconfiguration Kit CPP for the SIPLACE X Series Head Reconfiguration Kit 2.7 Installing the CPP Placement Head Issue 03/2010 86 2.7.2.2 Changing the Air Connection of the X Motor Plate (On M…
Head Reconfiguration Kit 2 Assembly Instructions Head Reconfiguration Kit CPP for the SIPLACE X Series
Issue 03/2010 2.7 Installing the CPP Placement Head
85
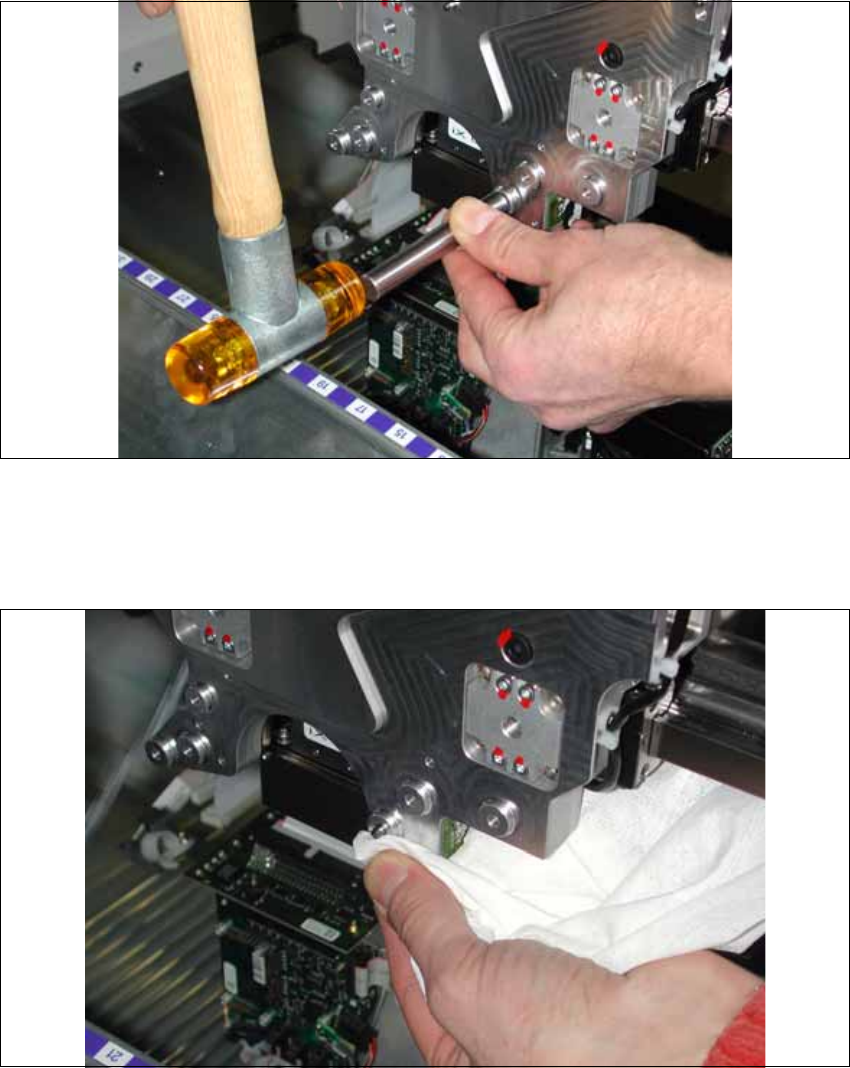
X Hammer the pins vertically into the head plate until the stop using the testing tool for pin length
4-(0.2) [03075779-xx] and a rubber hammer.
X If the adjustment aid lays flush without clearance on the head plate, the pin has been driven in
far enough.
X Remove excess Loctite 601 from the pin and the head fixture plate using a lint-free cloth.
X Replace the sealing screw according to fig. 2.7.1, Scheme of the CFK06 head plate.
Cover the sealing screws with locking varnish. Remove excess varnish with a lint-free cloth.
2 Assembly Instructions Head Reconfiguration Kit CPP for the SIPLACE X Series Head Reconfiguration Kit
2.7 Installing the CPP Placement Head Issue 03/2010
86
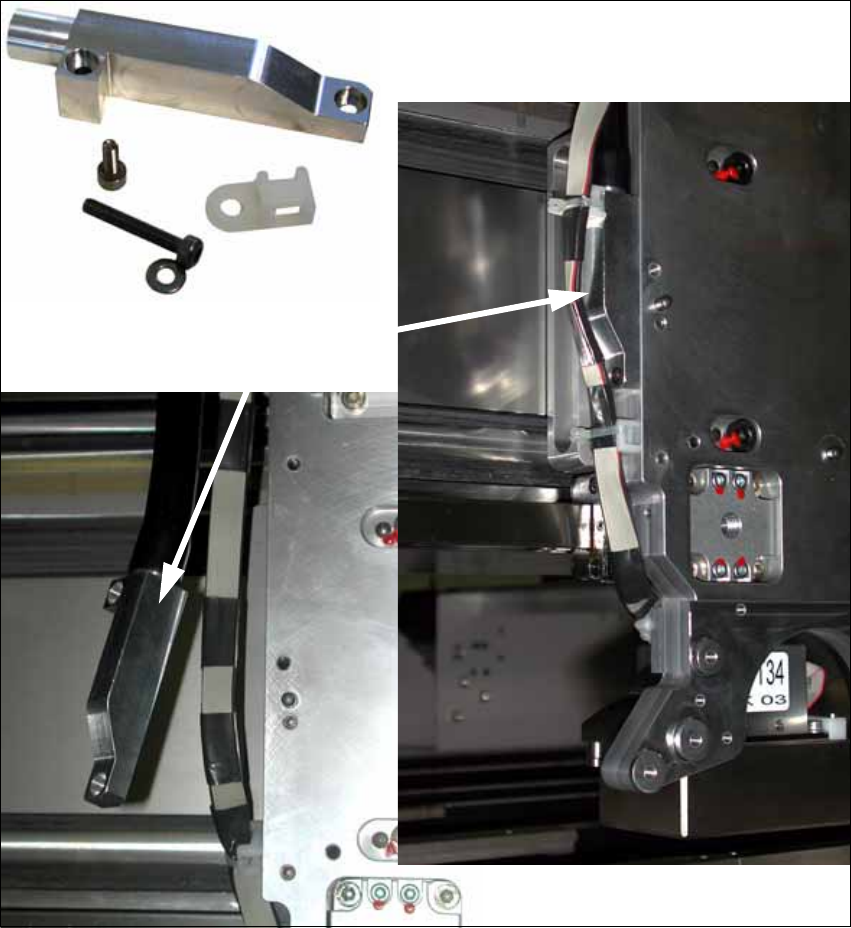
2.7.2.2 Changing the Air Connection of the X Motor Plate
(On Machines Delivered before June 2009)
X If necessary, install the assembly kit "Rework air connection X-motor plate" [03077155-xx] (on
machines that were delivered before June 2009).
Air connection
Head Reconfiguration Kit 2 Assembly Instructions Head Reconfiguration Kit CPP for the SIPLACE X Series
Issue 03/2010 2.7 Installing the CPP Placement Head
87
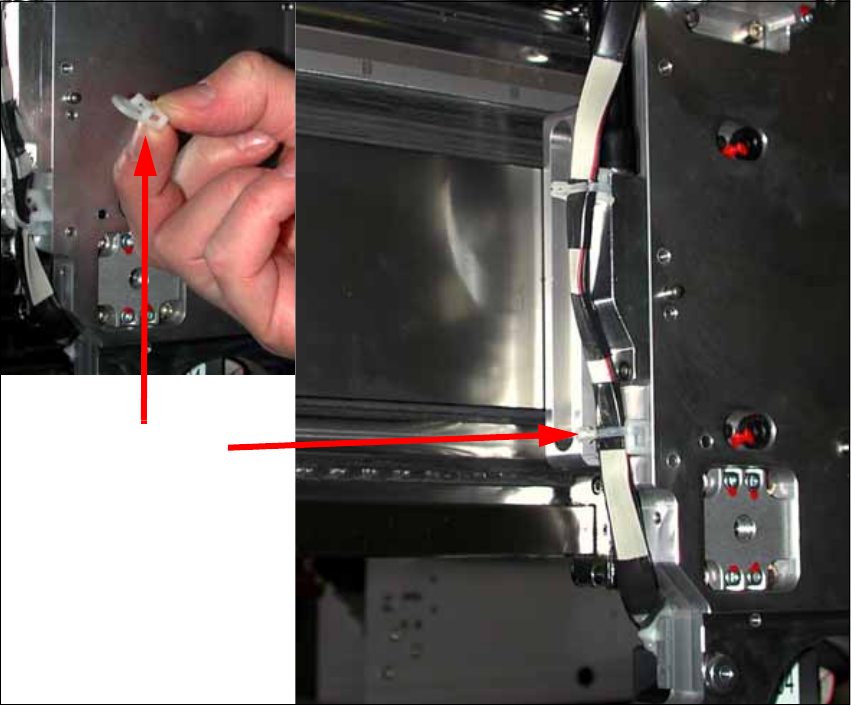
X Fix the cable clip on the left side of the head plate.
2
Cable clip 2