GD450 说明书(中英文版) - 第29页
- 2 9 - 图 3- 5( 选择不同权限用户并输入对应的用户密码 ) Pix 3-5(Select the pe rmission and input the corresponding password) 5. 单击 [ ] 按钮, 如图 3-6 , 新建一个程序 , 如“ test ” , 输完文件名后单击 [ 确定 ] 。 进入 test 程序的设置。如图 3-7 , 3-8 , 3-9 。 Click “ ” button …
- 28 -
Pix 3-4 (the printer enter the mode of returning to zero)
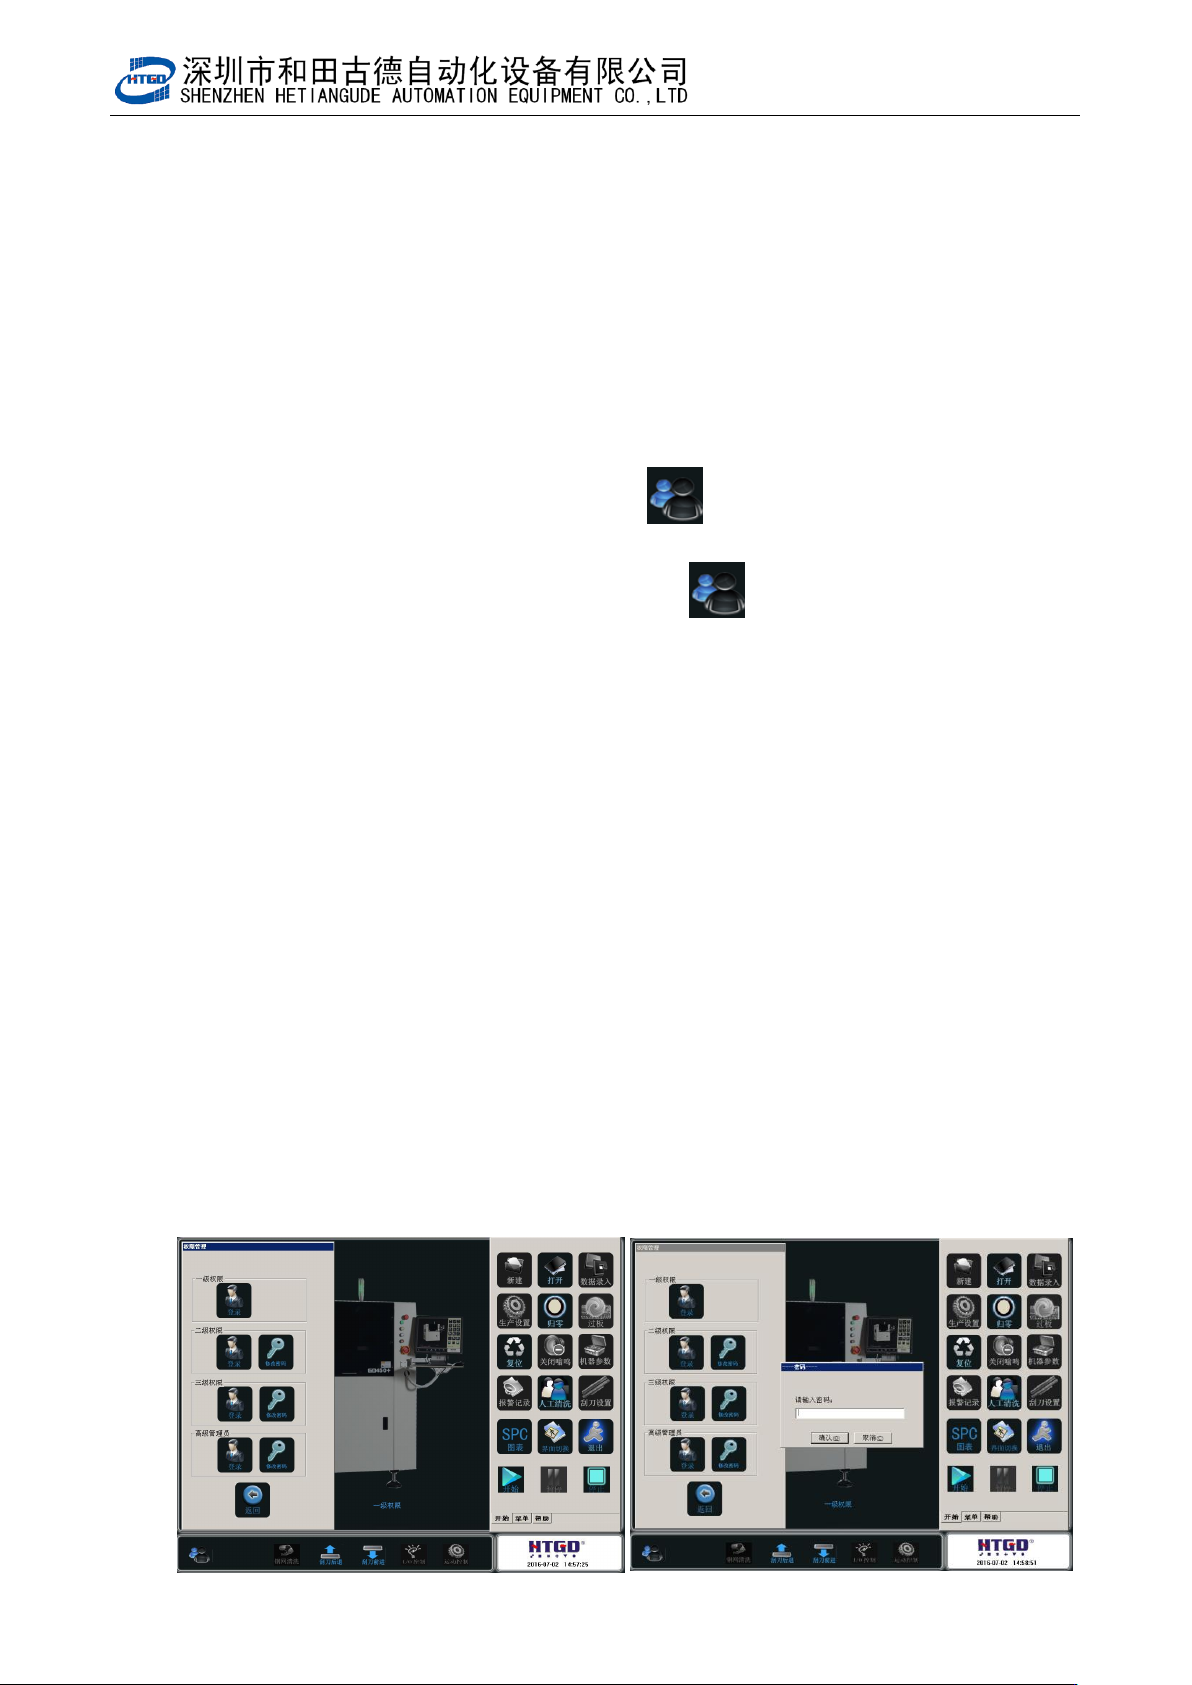
4. 在图 3-4 中点击『退出』或者单击主菜单栏[ ]按钮,出现 3-5 画面,选择“三级权
限”用户,输入密码“htgd”,点击确定。进入到“三级权限”用户环境。
Click “退出”(exit) button in the pix 3-4 or click “ ” button in the main menu bar.
See the interface in the pix 3-5. Select 三级权限(level 3 permission), input passport
htgd , click 确定 and go to the user environment of Level 3 permission
用户权限说明;一级权限为最低操作者使用,可以调用旧程序及生产操作。
二级权限有除机器参数与刮刀设置外所有权限 。
三级权限可以修改机器参数 3、4 与刮刀设置
Rights management explanation:
Level 1 permission(一级权限) is for the lowest-level operator. Operator can uses old program
and production operation.
In level 2 permission(二级权限), there are all permissions excluding the parameter setting of
equipment and scraper.
In level 3 permission(三级权限), operator can revise parameter 3,4 of the equipment and scraper
setting.
- 29 -
图 3-5(选择不同权限用户并输入对应的用户密码)
Pix 3-5(Select the permission and input the corresponding password)
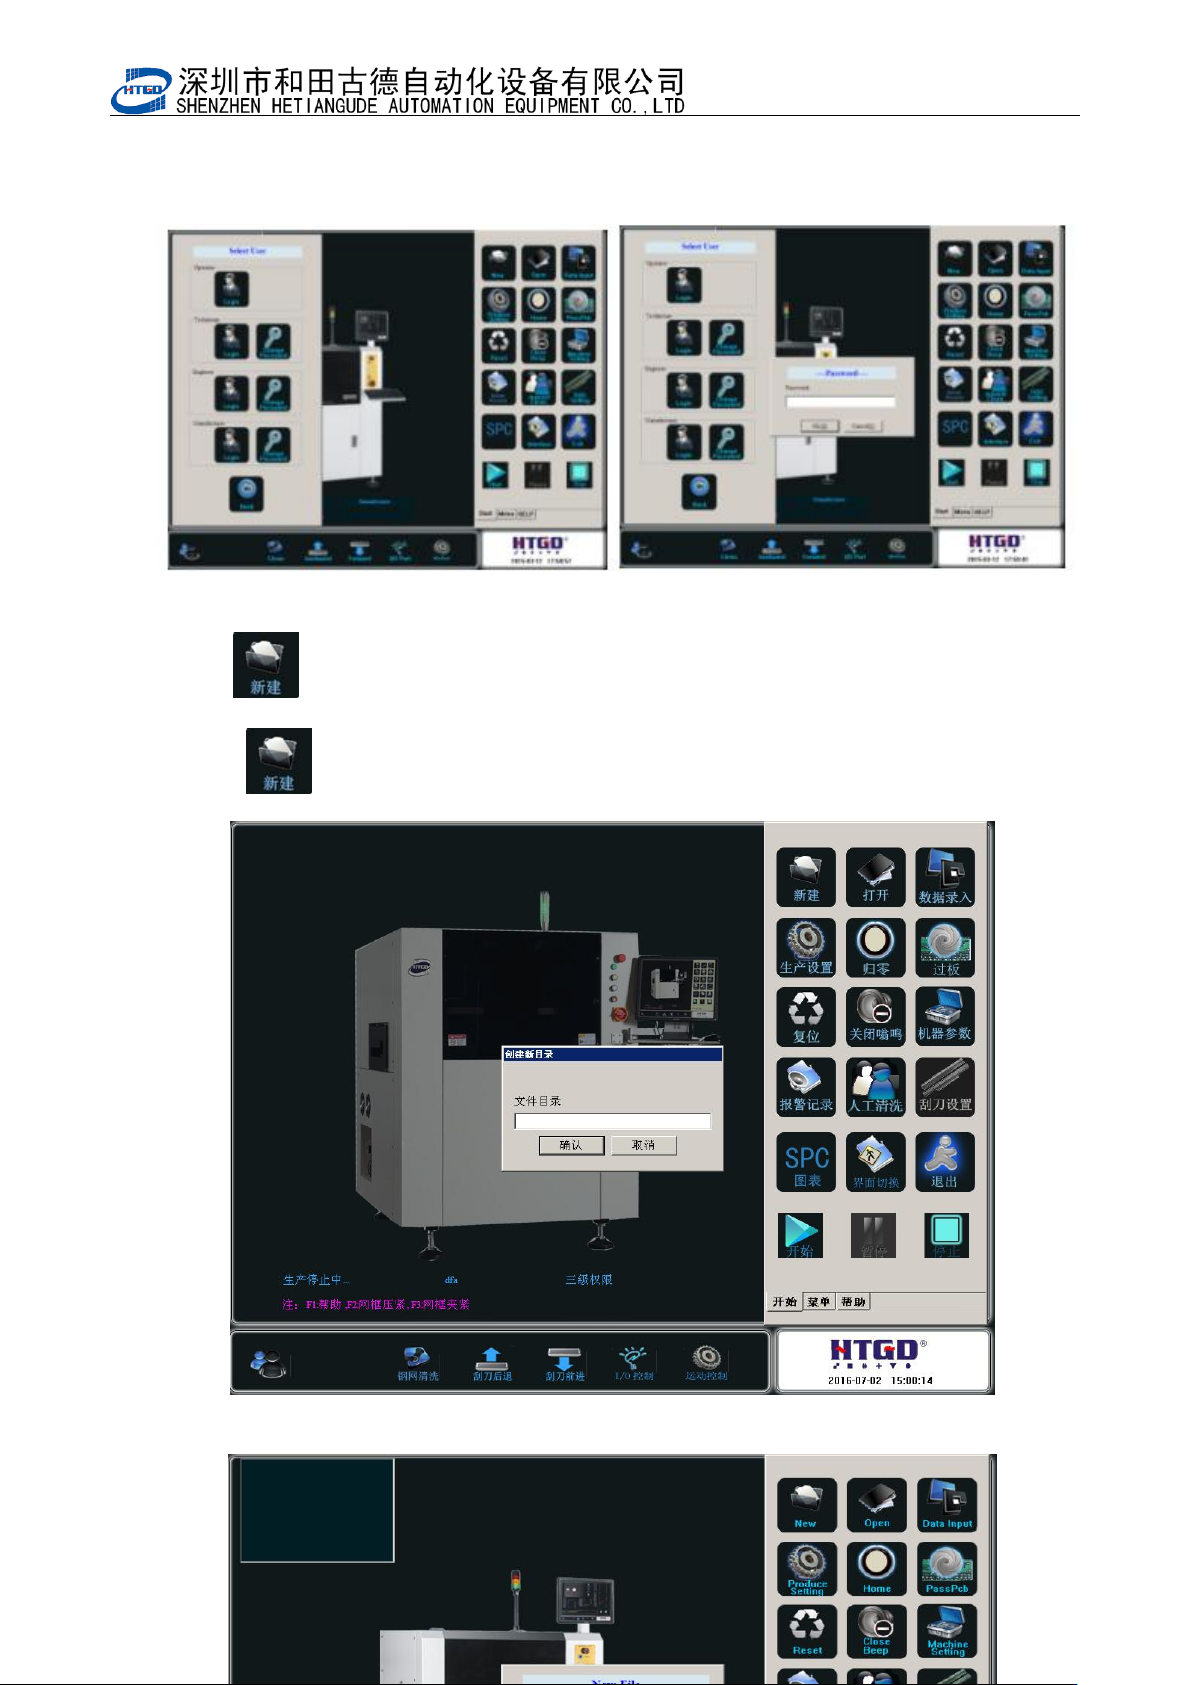
5. 单击[ ]按钮,如图 3-6,新建一个程序,如“test”,输完文件名后单击[确定]。进入 test
程序的设置。如图 3-7,3-8,3-9。
Click “ ” button to create a new application. See Pix 3-6. Name the application
test and click “确定”to go into the setting of the test application. See Pix 3-7, 3-8, 3-9.
图 3-6(要生产的 PCB 的名字)
- 30 -
Pix3-6(the name of the produced PCB)
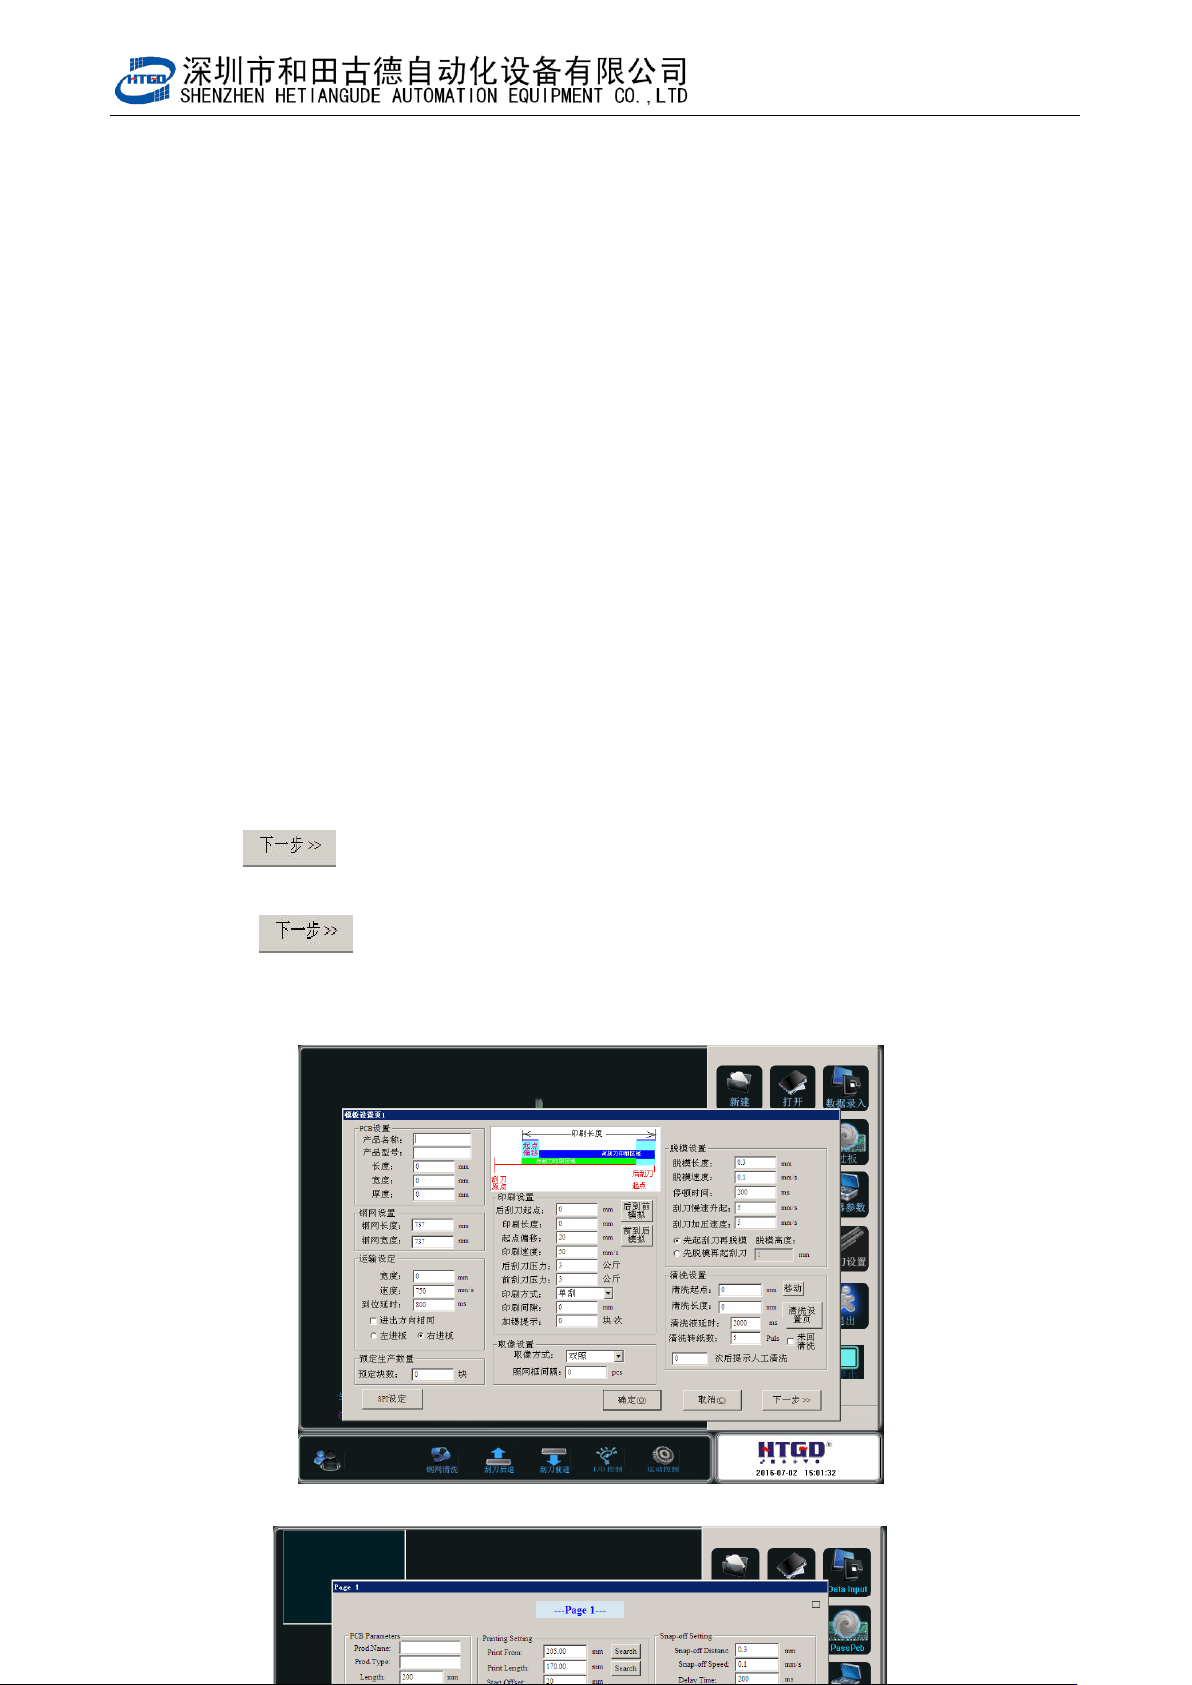
6. 在图 3-7 中,在 PCB 设置栏目下,输入 PCB 的长 200,宽 100,厚 1.6 三个参数。
及其它所有数据均有默认值,请根据自己的生产工艺自行修改。
Input 3 parameters under the PCB setting column. See pix 3-7. PCB length is 200,
width is 100 and thickness is 1.6. Other data have default and operator can revise
according to the production technology.
7. 单击[ ]按钮,进入到 3-8 画面,单击[ 确定 ]按钮进入 3-9 画面。该界面主要
进行模板匹配设置。
Click “ ”(next step) button to go to the interface show in the pix 3-8. Click “确
定”(ok)to go to the interface show in the pix 3-9. Do the template matching setting in
this interface.
图 3-7(输入 PCB 的几何尺寸,其他参数默认,但可根据工艺自行修改)