QP132三级参考手册.pdf.pdf - 第65页
4.4 Replacing Q-Axis Zero Motor 1. There is no zero set sensor for the Q-axis. 2. Timing Belt Tension f = 295 Hz ± 10 Hz Note: After the Q-motor is attached, move the placing head manually and check for any interference …

1. Select the PMC. Refer to 4.1 “Setting Proper Data to Select PM” of this
chapter to select PM.
2. Replace the motor and ensure that the coupling is tightened.
3. Move the zero set dog to the front end of the oval-shaped hole so the
zero set sensor turns ON away from the mechanical stopper.
4. [SET] → [MANUAL] → [ETC] → [PM] → [PM MAINTENANCE] →
[ZERO SET] → START.
5. After the completion of zero set, turn OFF the 200V and loosen the X-axis
coupling.
6. Push the XY-robot against the minus side mechanical stopper (front
side).
7. Rotate the X-axis motor to servo counter -1500 ± 100 pulses and tighten
the coupling. Coupling torque: 3.33 Nm (0.34 kgf/m).
8. Push the XY-robot against the mechanical stopper and confirm that the
servo counter value is within tolerance.
9. Move the XY-robot to 2500 ± 100 pulses and adjust the X-axis zero set
dog to turn on at this position.
10. Move the XY-robot and confirm that X-axis zero set sensor turns on at
-2500 ± 100 pulses.
Chapter 4 4.3 Replacing Y-Axis Zero Motor
Edition 1.1 4-8 QP-132 Level 3 Tutorial
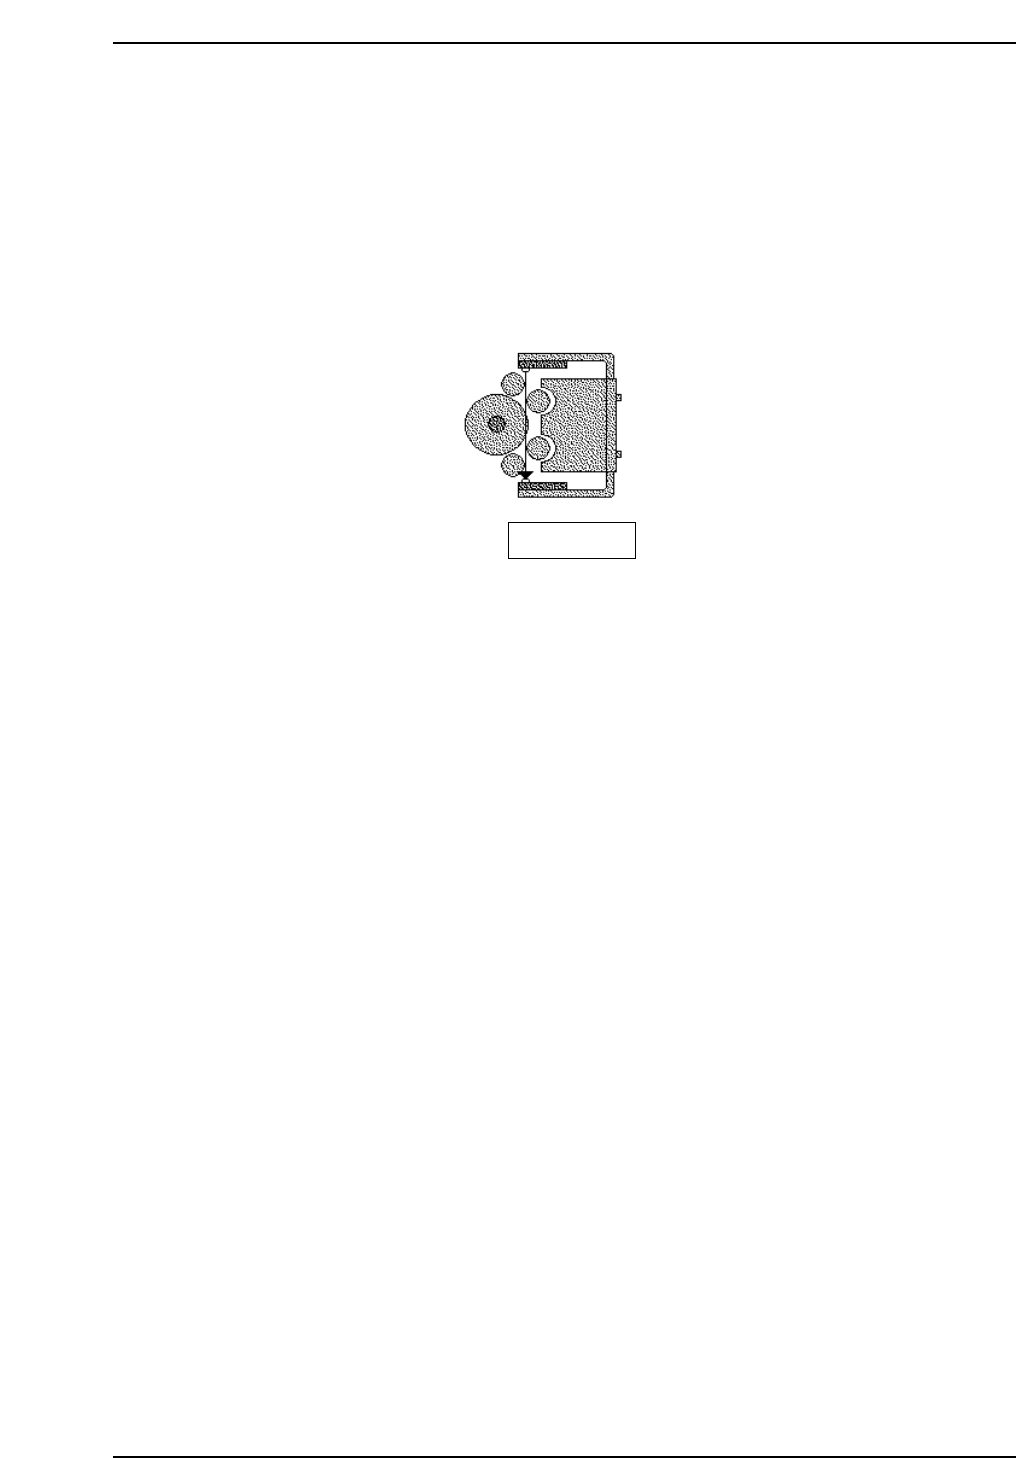
4.4 Replacing Q-Axis Zero Motor
1. There is no zero set sensor for the Q-axis.
2. Timing Belt Tension f = 295 Hz ± 10 Hz
Note: After the Q-motor is attached, move the placing head manually and check for any
interference with motors, cables, etc.
Bottom view
QP132T4006
Chapter 4 4.4 Replacing Q-Axis Zero Motor
Edition 1.1 4-9 QP-132 Level 3 Tutorial

Notes:
Chapter 4 4.4 Replacing Q-Axis Zero Motor
Edition 1.1 4-10 QP-132 Level 3 Tutorial