182050 User manual.pdf - 第242页
semi automatic &21680$ %/(5(3/ (1,6+0 (176 9257(;3/86 81'(5 6&5((1 &/($ 1(5 8.34 User Manual Software Ve rsion 07SP02 Cleaning Cassette Repl enishment W ARNING PROTECTI VE CLOTHING . APPROV ED PROTEC…
semi automatic
&21680$%/(5(3/(1,6+0(176
9257(;3/8681'(56&5((1&/($1(5
Software Version 07SP02 User Manual 8.33
1. Carry out the procedure in the previous section - Cleaning Cassette and
Solvent Replenishment.
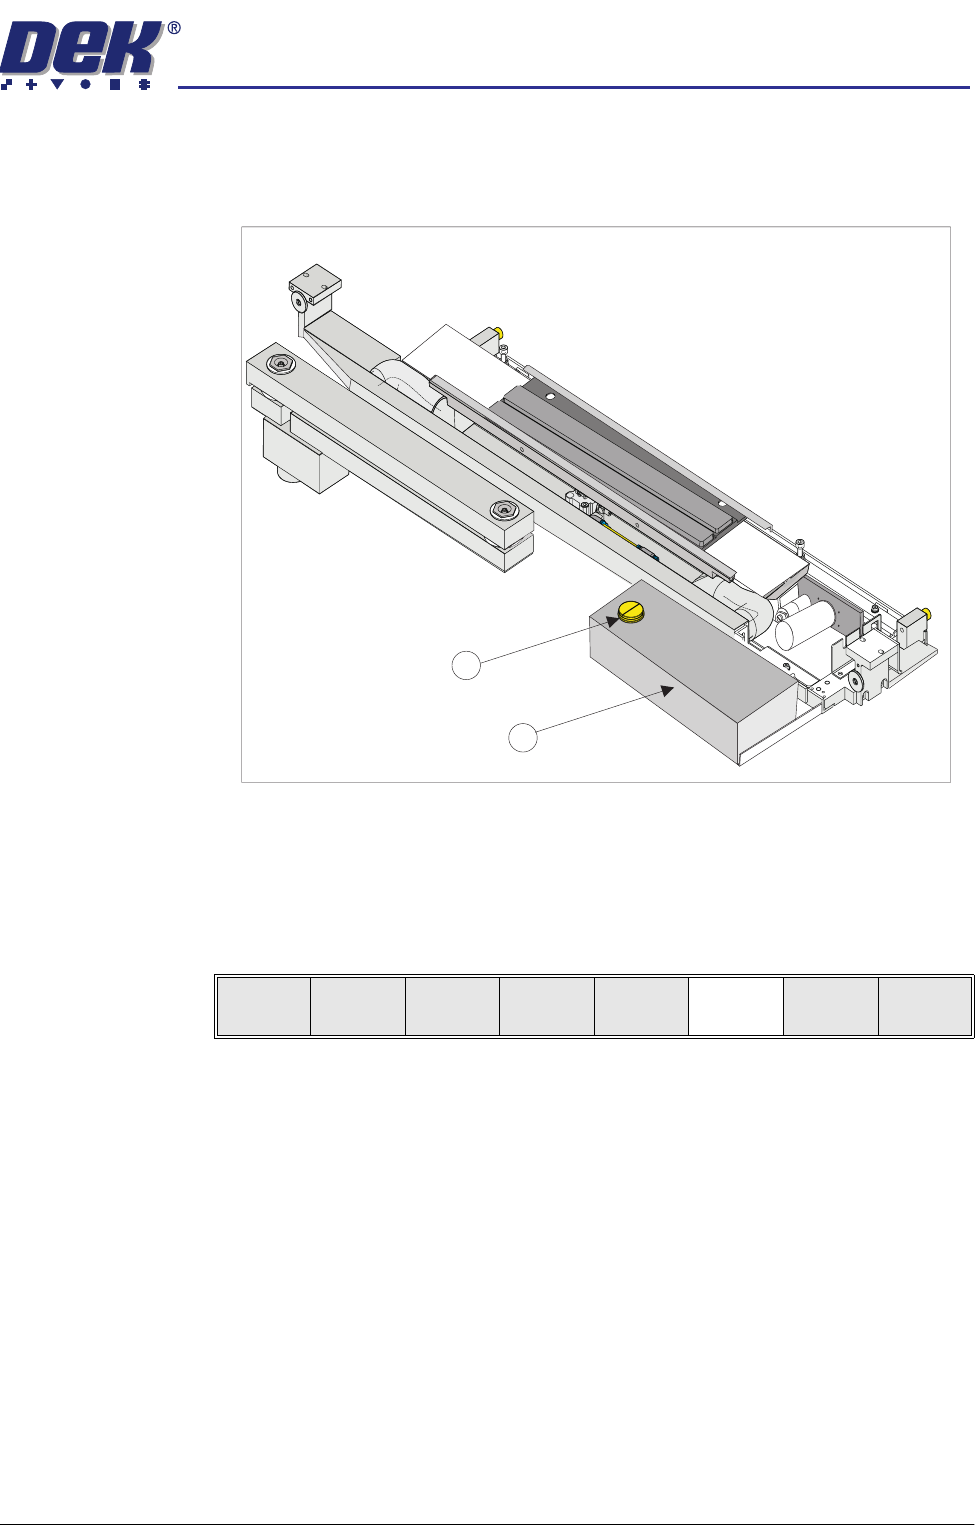
2. Remove the solvent tank cap (1) from the solvent tank (2).
3. Using a suitable solvent refill the tank and replace the cap.
4. Close the front printhead cover.
5. Press the System button.
6. Press Prime Solvent (F6). The message ‘Press the two button control
buttons to prime solvent.’ is displayed.
7. Prime the solvent using the two button control.
1
2
Change
Screen
Board
Clamps
Prime
Solvent
Exit
semi automatic
&21680$%/(5(3/(1,6+0(176
9257(;3/8681'(56&5((1&/($1(5
8.34 User Manual Software Version 07SP02
Cleaning Cassette Replenishment
WARNING
PROTECTIVE CLOTHING. APPROVED PROTECTIVE CLOTHING SHOULD BE
WORN BY SOLDER PASTE AND SOLVENT HANDLERS AT ALL TIMES TO
ELIMINATE FUME INHALATION, EYE CONTACT, SKIN CONTACT AND
INGESTION.
WARNING
FLAMMABLE. THE USED VORTEX CLEANING CASSETTE AND VORTEX FILTER
CASSETTE CONTAIN RESIDUES OF UNDERSCREEN CLEANER FLUID AND
SOLDER PASTE. OBSERVE MANUFACTURERS’ RECOMMENDED DISPOSAL
INSTRUCTIONS.
NOTE
The cleaning cassettes come in different sizes, ensure the correct size is
replaced.
1. Carry out the procedure in the previous section - Cleaning Cassette and
Solvent Replenishment.
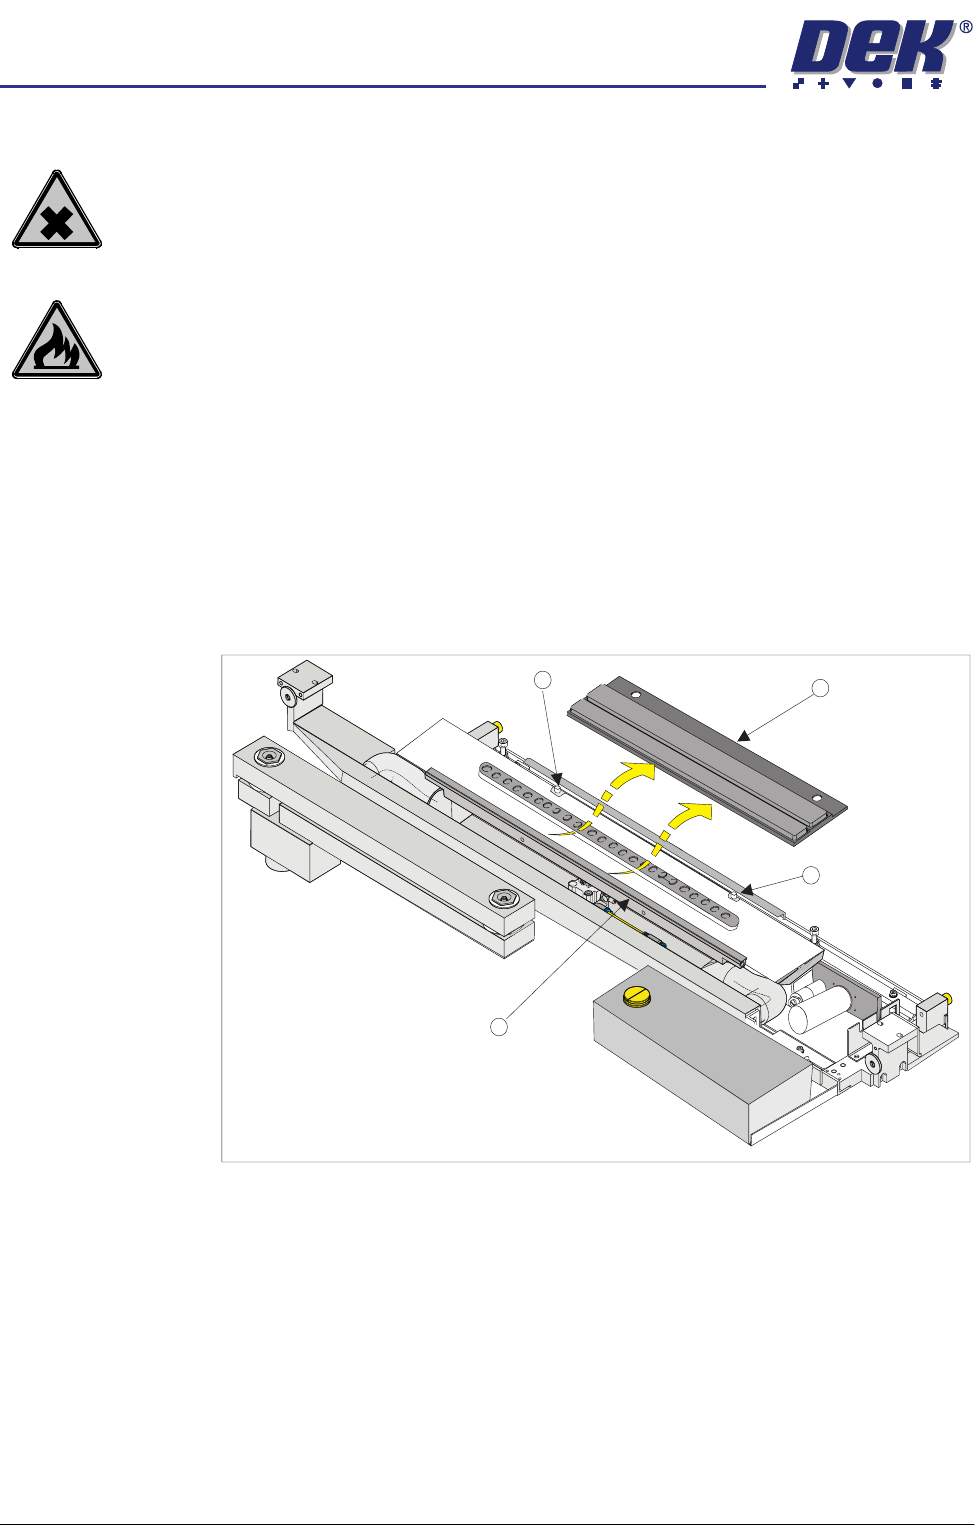
2. Carefully lift the cleaning cassette (1) clear of the two pins (2) and slide out
from beneath the solvent spray bar (3).
3. Dispose of the used cleaning cassette in accordance with local authority
guidelines.
4. If the filter is to be replaced continue with Step 4. If the filter cassette is not
being replaced go to Step 7.
1
2
2
3
semi automatic
&21680$%/(5(3/(1,6+0(176
9257(;3/8681'(56&5((1&/($1(5
Software Version 07SP02 User Manual 8.35
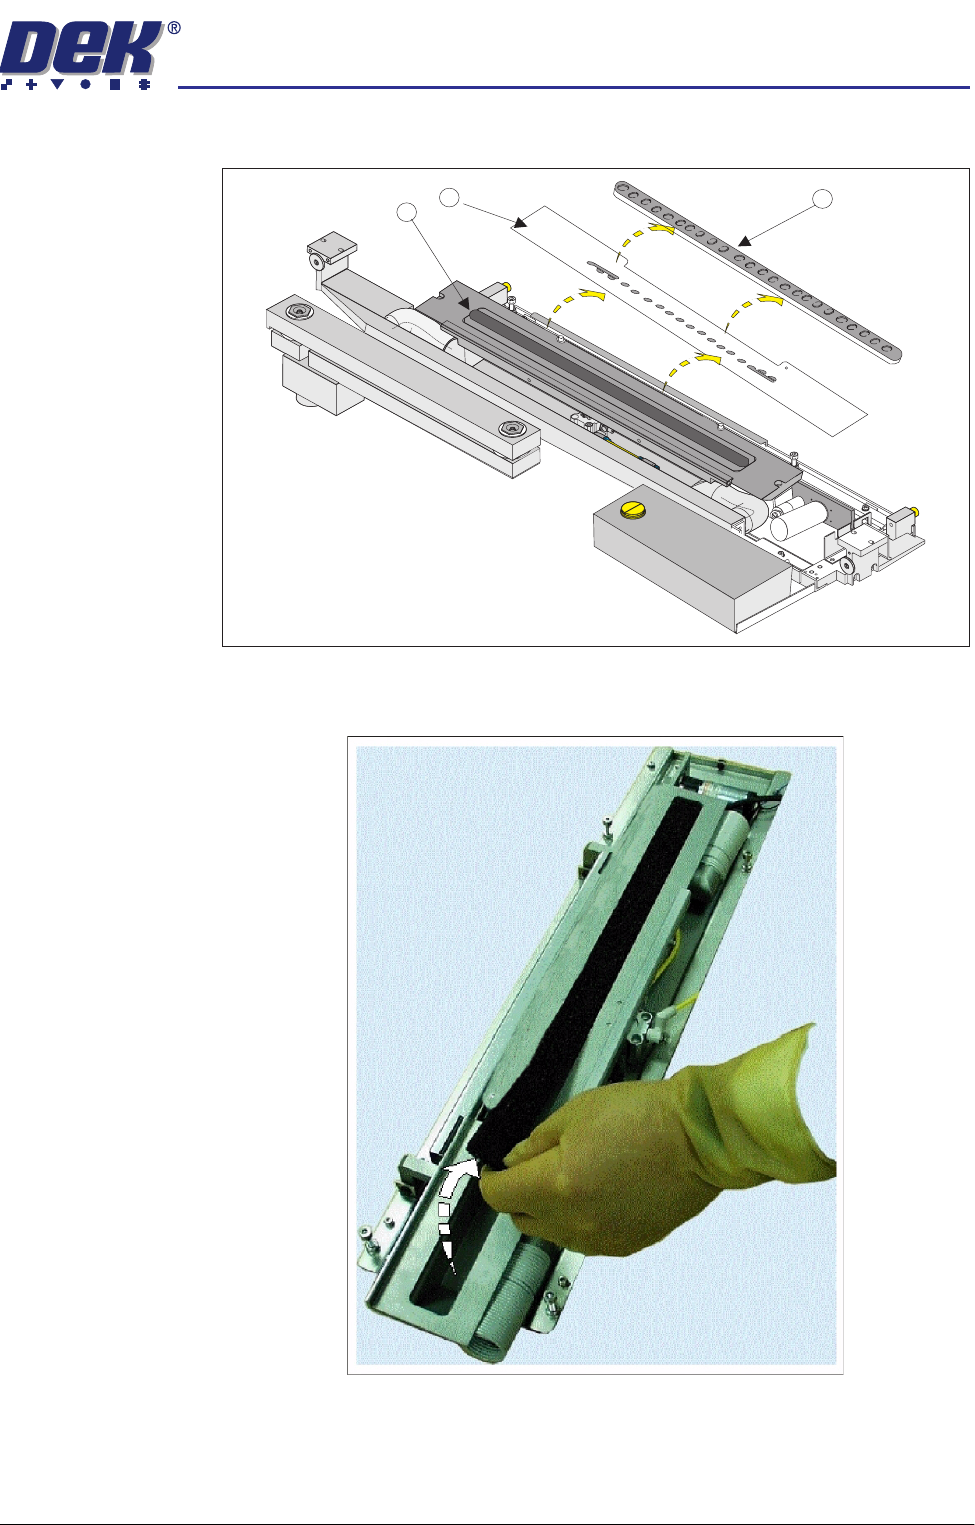
5. Remove the gasket (4) and the top plate (5).
6. Remove and Dispose of the used filter (6) in accordance with local authority
guidelines.
4
5
6