182050 User manual.pdf - 第77页
semi automatic 0$&+,1 (352*5 $00,1 * 67$*( 35,17 ,167 (302'( Software Version 07SP02 User Manual 1.67 6. Press the Continue (F1) button. Run a Product in Step Mode 1. Load a boar d on to t he conveyor .…
semi automatic
0$&+,1(352*5$00,1*
67$*(35,17,167(302'(
1.66 User Manual Software Version 07SP02
5. Lower the printhead cover.
6. Press the System button.
7. Select Continue (F1).
8. Select Exit (F8)
Paste
Replenishment On
NOTE
With the Paste Dispenser not fitted, the paste dispense rate (in the product file)
pauses the machine after printing the amount of boards specified. This allows
the operator to open the printhead to load paste on to the stencil. The paste
dispense rate can be set from 1 to 100 boards. If 0 (zero) is entered, the
operator is not be reminded to replenish the paste.
1. When the machine has printed the amount of boards specified in the Paste
Dispense Rate setting, the machine is paused and the message ‘Open
cover and load paste’ is displayed in the Message Prompt Window of the
MMI. The following menu bar is displayed.
NOTE
Selecting the Continue (F1) button restarts the printing without the oppor-
tunity to replenish the paste.
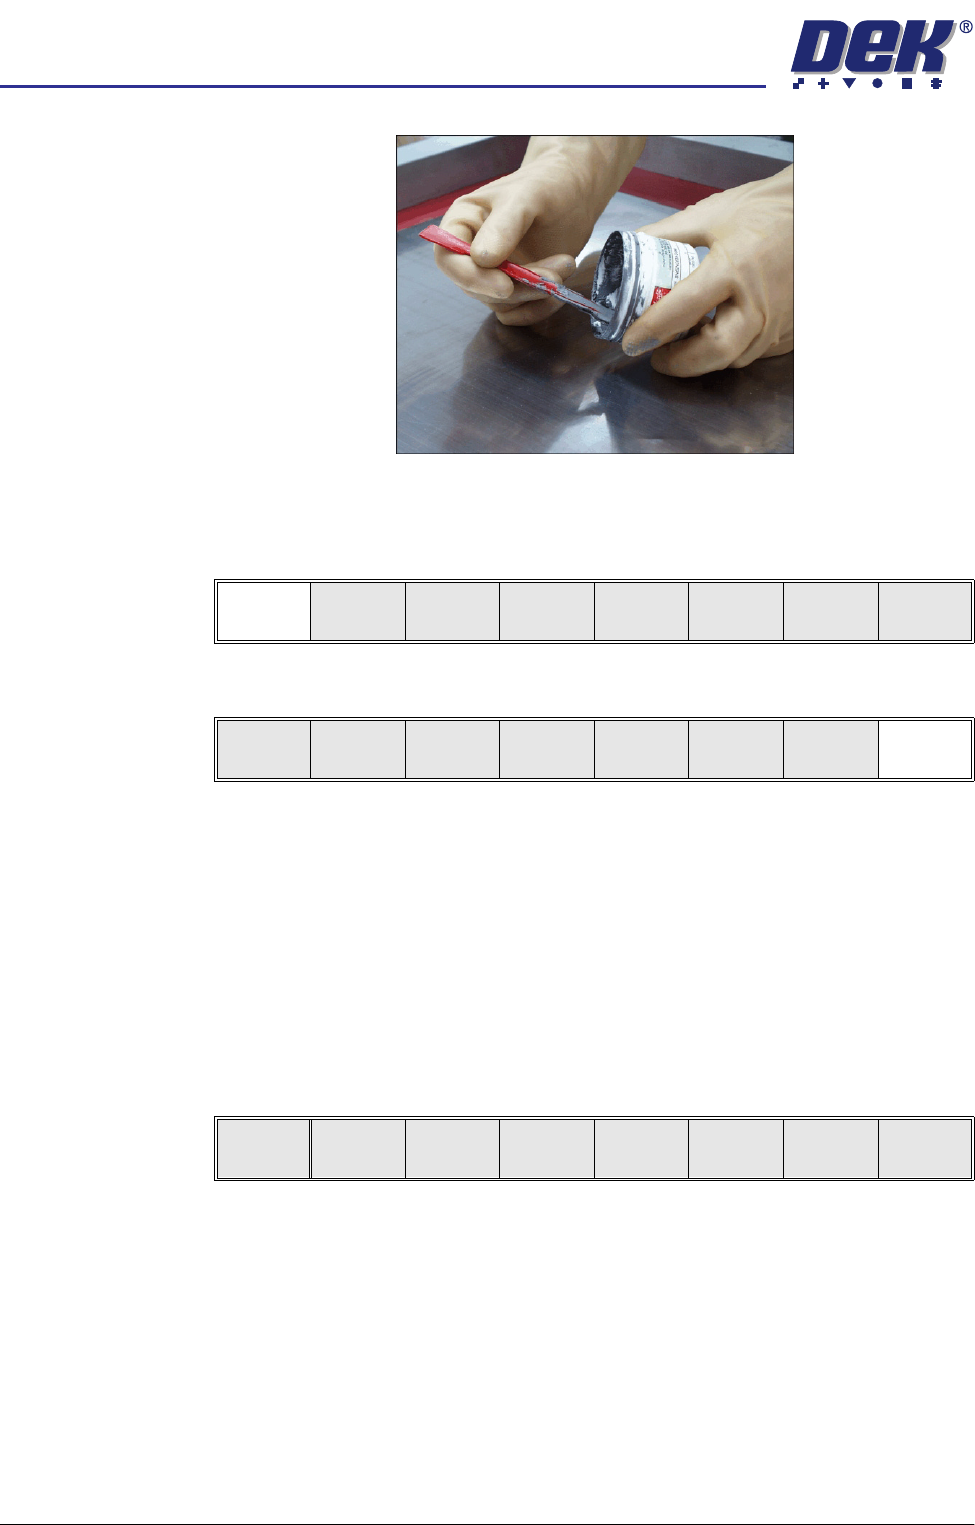
2. Raise the printhead cover.
3. Load the solder paste onto the stencil.
4. Lower the printhead cover.
5. Press the System button.
Continue
Auto
Dispense
Manual
Load
Load
Cart.
Print
Directn
Exit
Continue
semi automatic
0$&+,1(352*5$00,1*
67$*(35,17,167(302'(
Software Version 07SP02 User Manual 1.67
6. Press the Continue (F1) button.
Run a Product in
Step Mode
1. Load a board on to the conveyor.
2. Select Run (F1).
3. Select Step (F1).
4. Select Step (F1).
5. Select Step (F1).
6. Select Step (F1).
7. Select Step (F1).
8. Select Step (F1).
9. Select Step (F1).
10. Remove the board from the conveyor and inspect the print for alignment. If
the alignment is satisfactory go to Step 14, if the alignment needs adjusting,
calculate the following:
X Offset, Y Offset and θ Offset.
Continue
Run
Open
Cover
Paste
Load
Clean
Screen
Setup Monitor Maint.
Step
Open
Cover
Inspect
Setup
Single Exit
Step
Open
Cover
Inspect
Setup
Single Exit
Step
Open
Cover
Fiducial
Setup
Adjust
Search
Step
Search
Reset
Single Exit
Step
Open
Cover
Fiducial
Setup
Adjust
Search
Step
Search
Reset
Single Exit
Step
Open
Cover
Fiducial
Setup
Adjust
Search
Step
Search
Reset
Single Exit
Step
Open
Cover
Fiducial
Setup
Adjust
Search
Step
Search
Reset
Single Exit
Step
Inspect
setup
Single Exit

semi automatic
0$&+,1(352*5$00,1*
67$*(35,17,167(302'(
1.68 User Manual Software Version 07SP02
11. Select Edit Data (F3).
12. Enter the X Offset, Y Offset and θ Offset, calculated in Step 10 to both the
Forward and Reverse set of offsets.
13. Repeat Steps 1-10 until the alignment is correct for both a forward and
reverse print.
14. If 2D Inspection is being used continue with Stage 8, if 2D Inspection isn’t
being used go to Stage 9.
Auto
Adjust
Load
Data
Edit
Data
Setup
Squeegee
Change
Screen
Change
Tooling
Change
Language
Exit