00192267-02 - 第28页
HS-50 Changeover Instructions Cont rol PCB Convey or 2.3 Points to not e before starting serv icing work 04/2002 Issue 28 3 RLQW V WRQRWHEHIRUHV W DUWLQJVHUYLFLQJ Z RUN : 6ZLWFKRIIWKHSODFHPHQWV\ VWHPRQWKH…
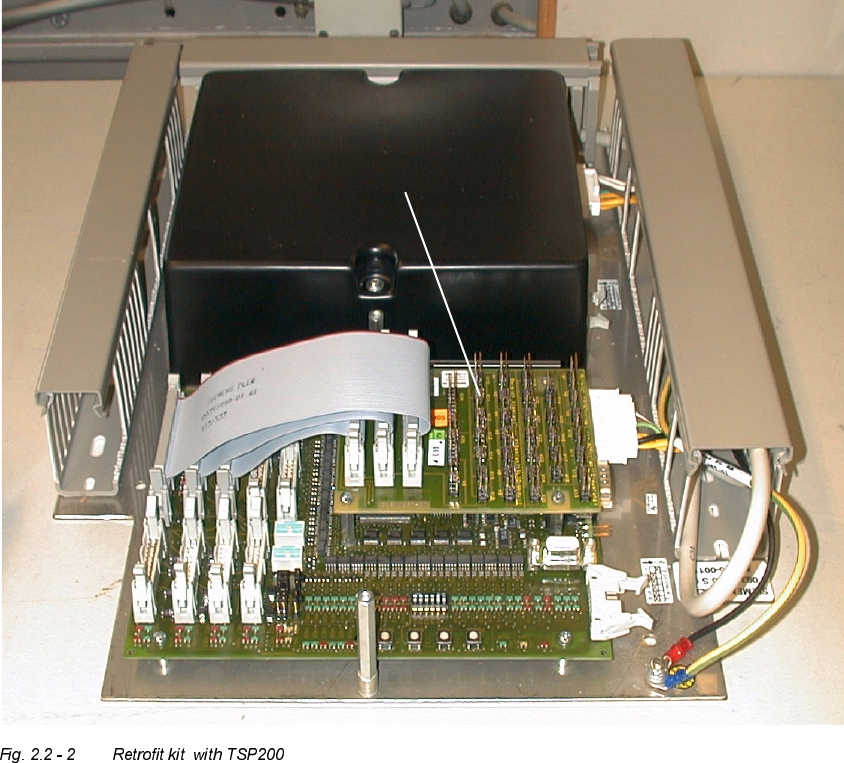
Changeover Instructions Control PCB Conveyor HS-50
04/2002 Issue 2.2 Overview
27
FRQYHUVLRQERDUG

HS-50 Changeover Instructions Control PCB Conveyor
2.3 Points to note before starting servicing work 04/2002 Issue
28
3RLQWVWRQRWHEHIRUHVWDUWLQJVHUYLFLQJZRUN
: 6ZLWFKRIIWKHSODFHPHQWV\VWHPRQWKHPDLQVZLWFK
: 6ZLWFKRIIDOOSODFHPHQWV\VWHPVRIWKHOLQH
______________________________________________________________________
DANGER
The machines in the SIPLACE family are powered with 3 x 400 V
+/- 50/60 Hz mains voltage.
In consequence, portions of the system are conducting dangerous voltage. This voltage is pre-
sent in certain assemblies inside the machine base even when the master switch is turned off!
Improper handling of the machine or contact with parts of the machine which are live may result
in death or severe bodily injury as well as considerable material damage.
Always comply with the pertinent accident prevention code, the regulations of the society of elec-
trical engineers and the special safety laws which apply in your country.
The more stringent German safety regulations VDE 0113 apply for all work performed inside the
machine base.
Secure the machine to prevent it from being switched back on without authorization.
All safety instructions in the SIPLACE operating manual take precedence for the operation of the
machine.
The safety instructions in the pertinent chapter of the SIPLACE service manual also apply when
working on resolving problems.
All preconditions and restrictions stipulated in this manual must also be observed!
Never actuate the width adjustment when the interface connector is not plugged in!
__________________________________________________________________________
Changeover Instructions Control PCB Conveyor HS-50
04/2002 Issue 2.4 Assembly and Wiring
29
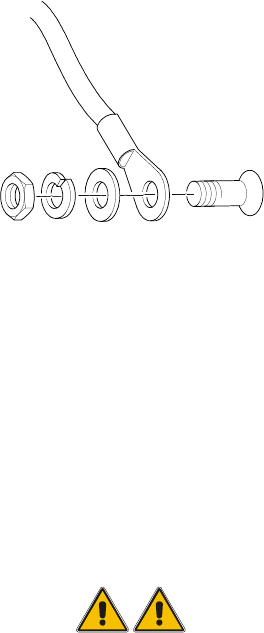
$VVHPEO\DQG:LULQJ
: disconnect complete wiring of Conveyor Control and SLIOs;
: disconnect grounding cords (grounding mounting plate - machine base);
: remove mounting plate and changeover kit (assemble single/double conveyor, fixture points
identical);
: remove old cable power supply "conveyor control" (Mat.-No.: 00335234) and "SLIO conveyor"
(Mat.-No.: 00335233) (these are no longer required);
: connect the new cable power supply (component of the changeover kit) to the plug X79;
: ,PSRUWDQW6FUHZWKHJURXQGLQJFRUGRQWRWKHPDFKLQHEDVH
DUUDQJHPHQWVHHEHORZ
: connect available CAN-Bus cable (00335323) to the CAN connection of the conveyor controls
(Please note: the plug markings on the available CAN-Bus cable are not identical to the names
on the controls, therefore the following procedure:
last plug on the cable (X18am) to the CAN connection of the control conveyor 1 (X22ao);
penultimate plug on the cable (X34ao) to the CAN connection of the control conveyor 2
(X22ap);
: The control signals for the motor lifting tables X3 / X6 (cable 00333592) must be plugged to the
associated pin contacts on the conveyor control.
Please note: both plugs are coded the same, therefore there is the danger of them being mixed
up, pay attention to the markings.
WARNING
If the plugs of the interface cord to precedent/following machine are connected incorrectly the con-
veyor controls can be damaged: The plugs of the old conveyor control TSP100 are not coded.
Please pay attention to the Pin1 markings on the board.