HS50_advance_level 1_20200522_221201 (1).pdf - 第245页
Studen t Guide HS-50 A dvanced I 06/200 2 Edition 7 Calibration 15 0 7. 3.9. 2 Mi nimu m T raver sing Pa th Y -Axis Gant ry 4 (3 ) à M anually , move gantry 1 (2) up to a dist ance of 35 mm to the right ha nd m achine st…
06/2002 Edition Student Guide HS-50 Advanced I
7 Calibration
14
0
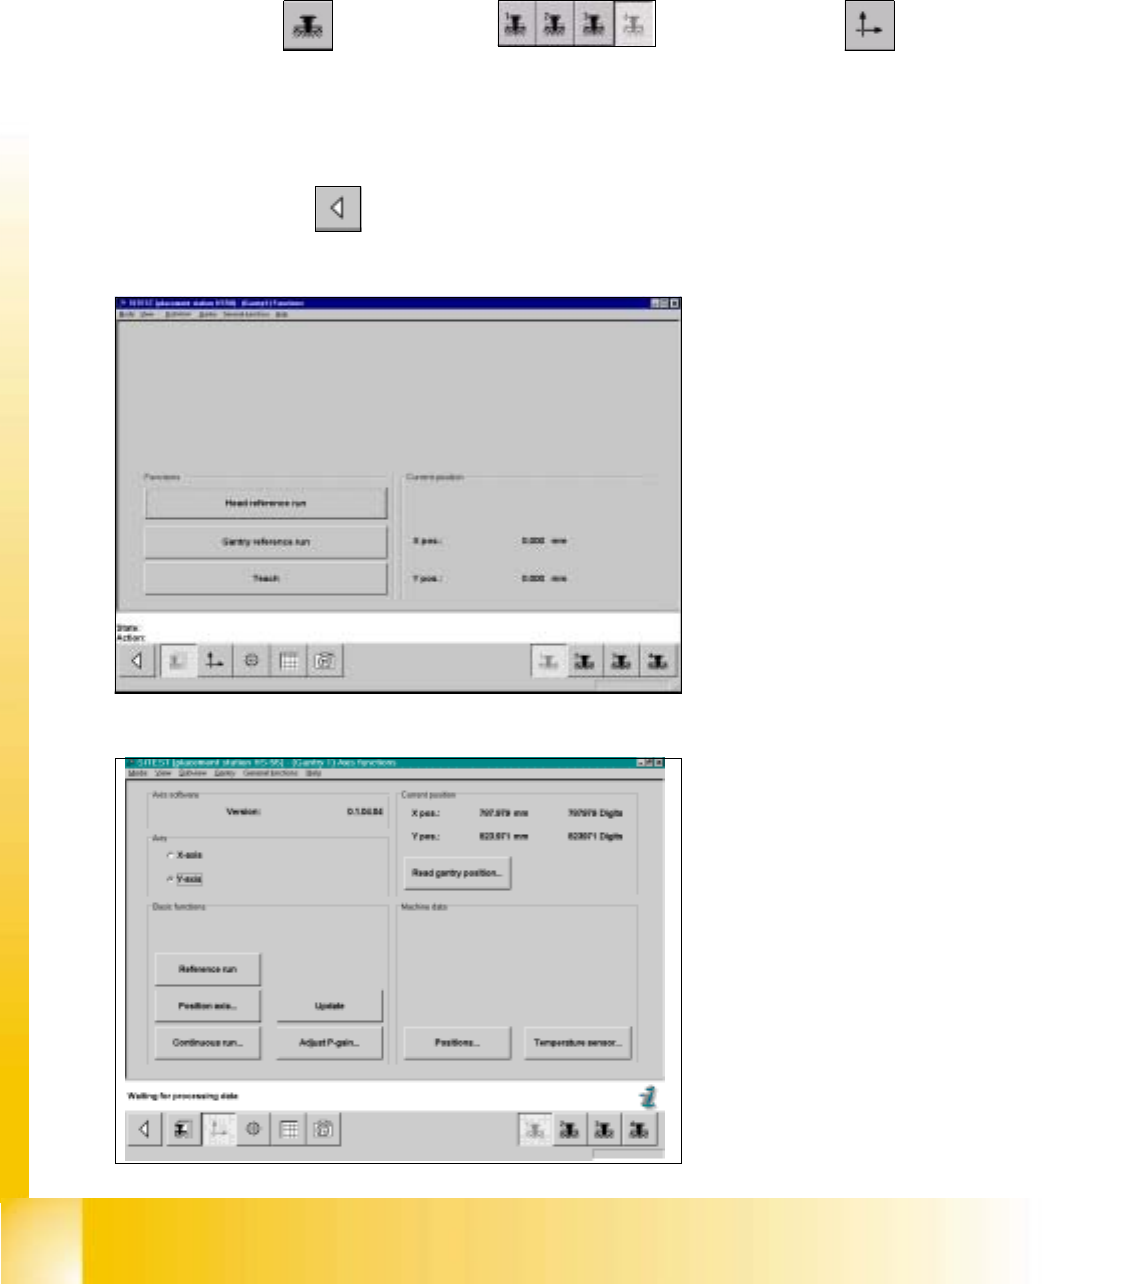
fig 7.3 - 18 Display: "Gantry functions"
0
fig 7.3 - 19 Display: "Axis functions"
7.3.9 Determination of Traversing Paths of Gantry Axes
7.3.9.1 Maximum Traversing Path Y-Axis Gantry 4 (3)
à Manually, move the gantry 4 (3) up to 35 mm to the left hand machine stop.
SITEST: 7
à Select "Gantry" ==> "Gantry 4 (3) ==> "Axis functions" ==> "Y-axis" ==>
"Positions...".
à Edit the value for the current position of the y-axis under "Maximum position [dgts]" and
accept.
à Perform a reference run.
à Select "Main View" ==> "Settings" ==> "Save machine data".
Student Guide HS-50 Advanced I 06/2002 Edition
7 Calibration
15
0
7.3.9.2 Minimum Traversing Path Y-Axis Gantry 4 (3)
à Manually, move gantry 1 (2) up to a distance of 35 mm to the right hand machine stop.
à Now, move gantry 4 (3) to a distance of 35 mm from gantry 1 (2).
SITEST: 7
à Select "Gantry" ==> "Gantry 4 (3) ==> "Axis functions" ==> "Y-axis" ==>
"Positions ...".
à Edit the value for the current position of the y-axis under "Minimum position [dgts]" and accept the value.
à Perform a reference run.
à Select "Main View" ==> "Settings" ==> "Save machine data".
7.3.9.3 Maximum Traversing Path Y-Axis Gantry 1 (2)
à Manually, move gantry 4 (3) to a distance of 35 mm to the upper machine stop.
à Now, move gantry 1 (2) to a distance of 35 mm to gantry 4 (3).
SITEST: 7
à Select "Gantry" ==> "Gantry 1 (2) ==> "Axis functions" ==> "Y-axis" ==>
"Positions ...".
à Edit this value for the current position of the y-axis under "Maximum position [dgts]" and accept the value.
à Perform a reference run.
à Select "Main View" ==> "Settings" ==> "Save machine data".
7.3.9.4 Minimum Traversing Path Y-Axis Gantry 1 (2)
à Manually, move gantry 1 (2) to a distance of 35 mm to the right hand machine stop.
SITEST: 7
à Select "Gantry" ==> "Gantry 1 (2) ==> "Axis functions" ==> "Y-Axis" ==>
"Positions ...".
à Edit the value for the current position of the y-axis under "Minimum position [dgts]" and accept the value.
à Perform a reference run.
à Select "Main View" ==> "Settings" ==> "Save machine data".
06/2002 Edition Student Guide HS-50 Advanced I
7 Calibration
16
0
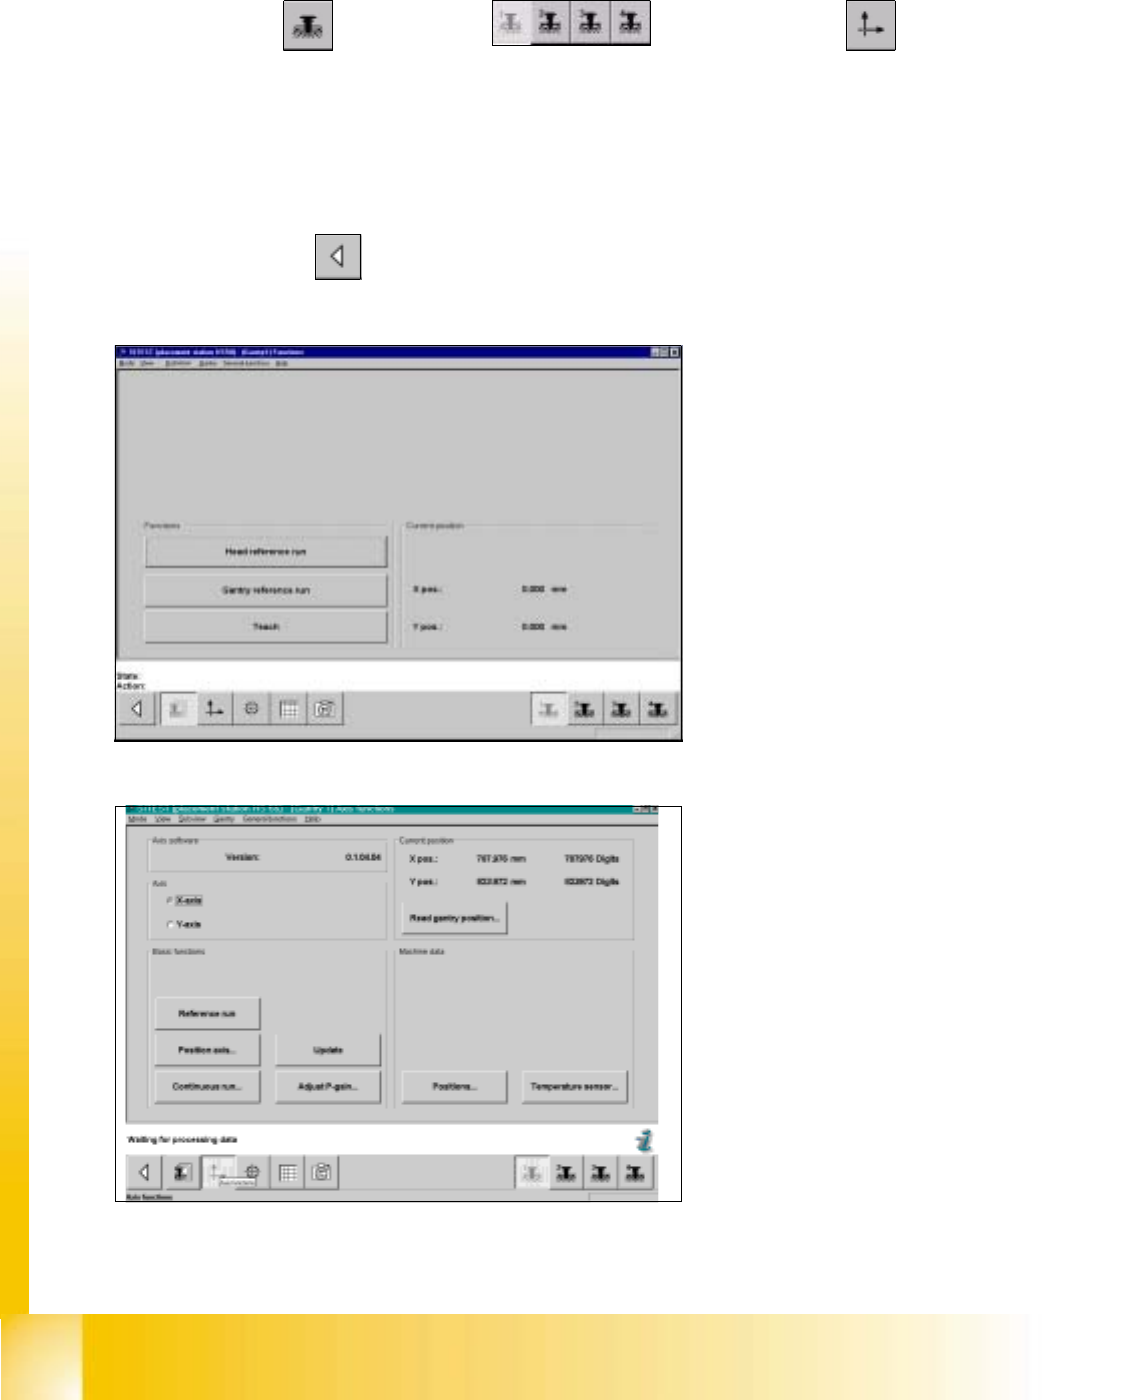
fig 7.3 - 20 Display: "Gantry functions"
0
fig 7.3 - 21 Display: "Axis Functions"
0
0
7.3.9.5 Maximum Traversing Path X-Axis Gantry 1 (4)
SITEST: 7
à Select "Gantry" ==> "Gantry 1(4) ==> "Axis Functions" ==> "X-Axis" ==>
"Read Gantry position".
à Manually, move gantry 1 (4) towards X-motor, until both proximity switches are off.
à Now, manually move gantry 1 (4) towards the deflection unit - X until one proximity switch is just on.
à Edit this value for the actual current position of the X-axis under "Positions...."==> "Maximum position [dgts]"
(-200) and accept the value.
à Select "Main View" ==> "Settings" ==> "Save machine data"==>"Reference run" .